 | Super Simple 3D Christmas Cards20 December 2014 | Nicola |

If you’re making your own Christmas cards, the options for colourful, cheerful and quirky design are pretty much endless. But rather than sticking with flat images, why not branch out and go for something with a bit more depth? 3D cards might sound tricky and time-consuming, but they don’t have to be – in the last instalment of our Christmas card tutorials, we’re going to show you how to make something that will really stand out.
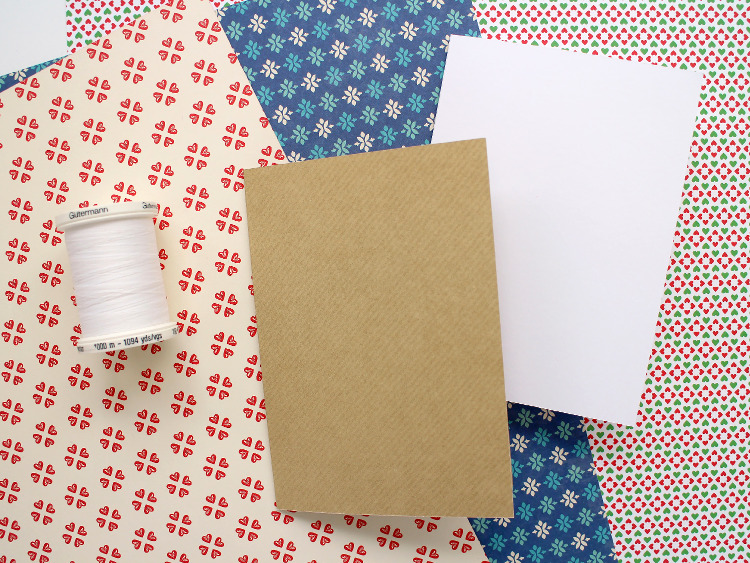
You Will Need:
Festive scrapbook paper
A Christmas-themed cookie cutter or shape template
Card blanks
A sewing machine or needle and thread
Sharp scissors
Glue
1. Start by choosing your shape, and your paper design. We went with a simple star, but you could use a Christmas tree, bauble, present, angel… anything that is vertically symmetrical will work.

2. Cut two copies of your shape out of the same sheet of paper. Using the glue, stick one onto the blank card.
3. Fold the other shape in half, then glue along the edge. Place it in the centre of the first shape, and allow the glue to dry.
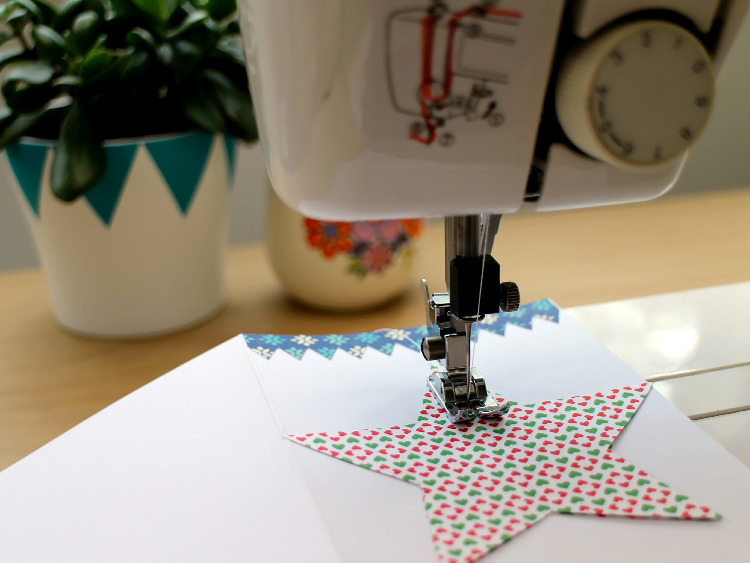
4. Using the sewing machine or needle and thread, stitch a straight line along the fold, thoroughly securing the shape in place.
5. Finish your card off with extra pieces of scrapbook paper or washi tape.

