|
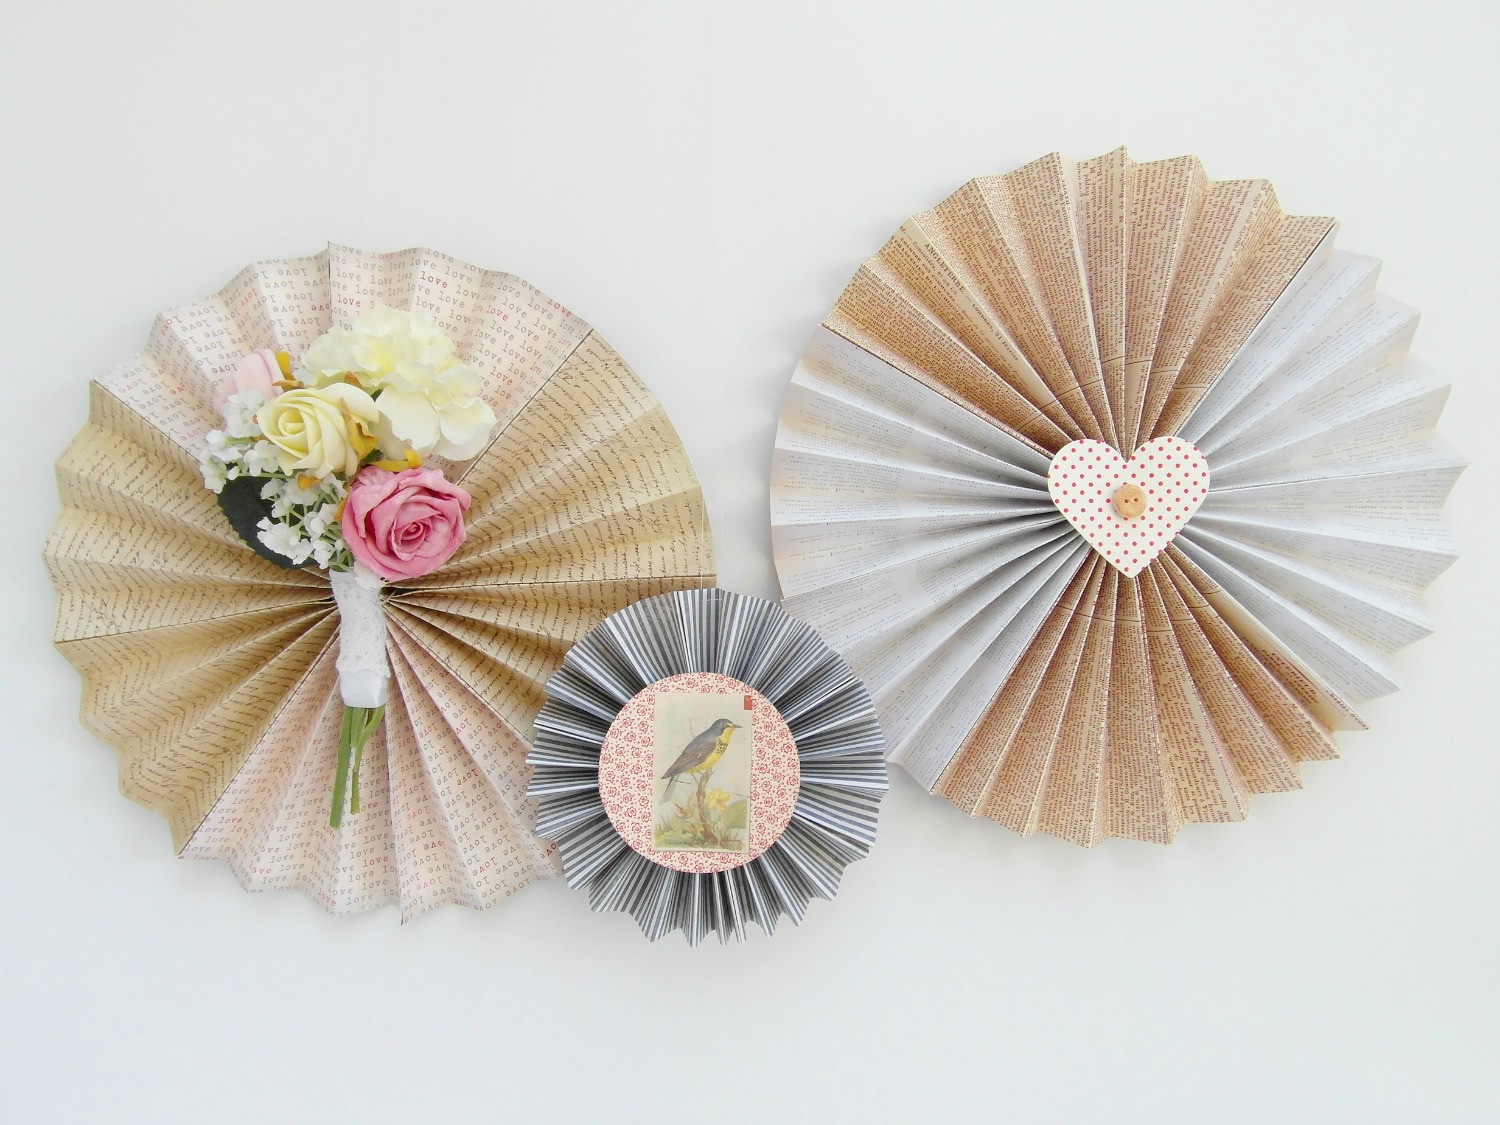
The StickyTiger Summer Decor Series: Simple Fanwheels In the third edition of our summer decor series, we’re saying goodbye to tissue paper and having an adventure with scrapbooking card and printed paper with a couple of easy peasy decorative fanwheels. Fabulously versatile, you can make them in any size and then string them up to use as ceiling decorations, pin them to the wall to create an eclectic backdrop, or make tiny ones to turn into table decorations. Method One There are two ways to make fanwheels; the first is quick, but fiddly and the second is more time consuming but far easier. We’re going to show you both methods, starting with the quicker way.
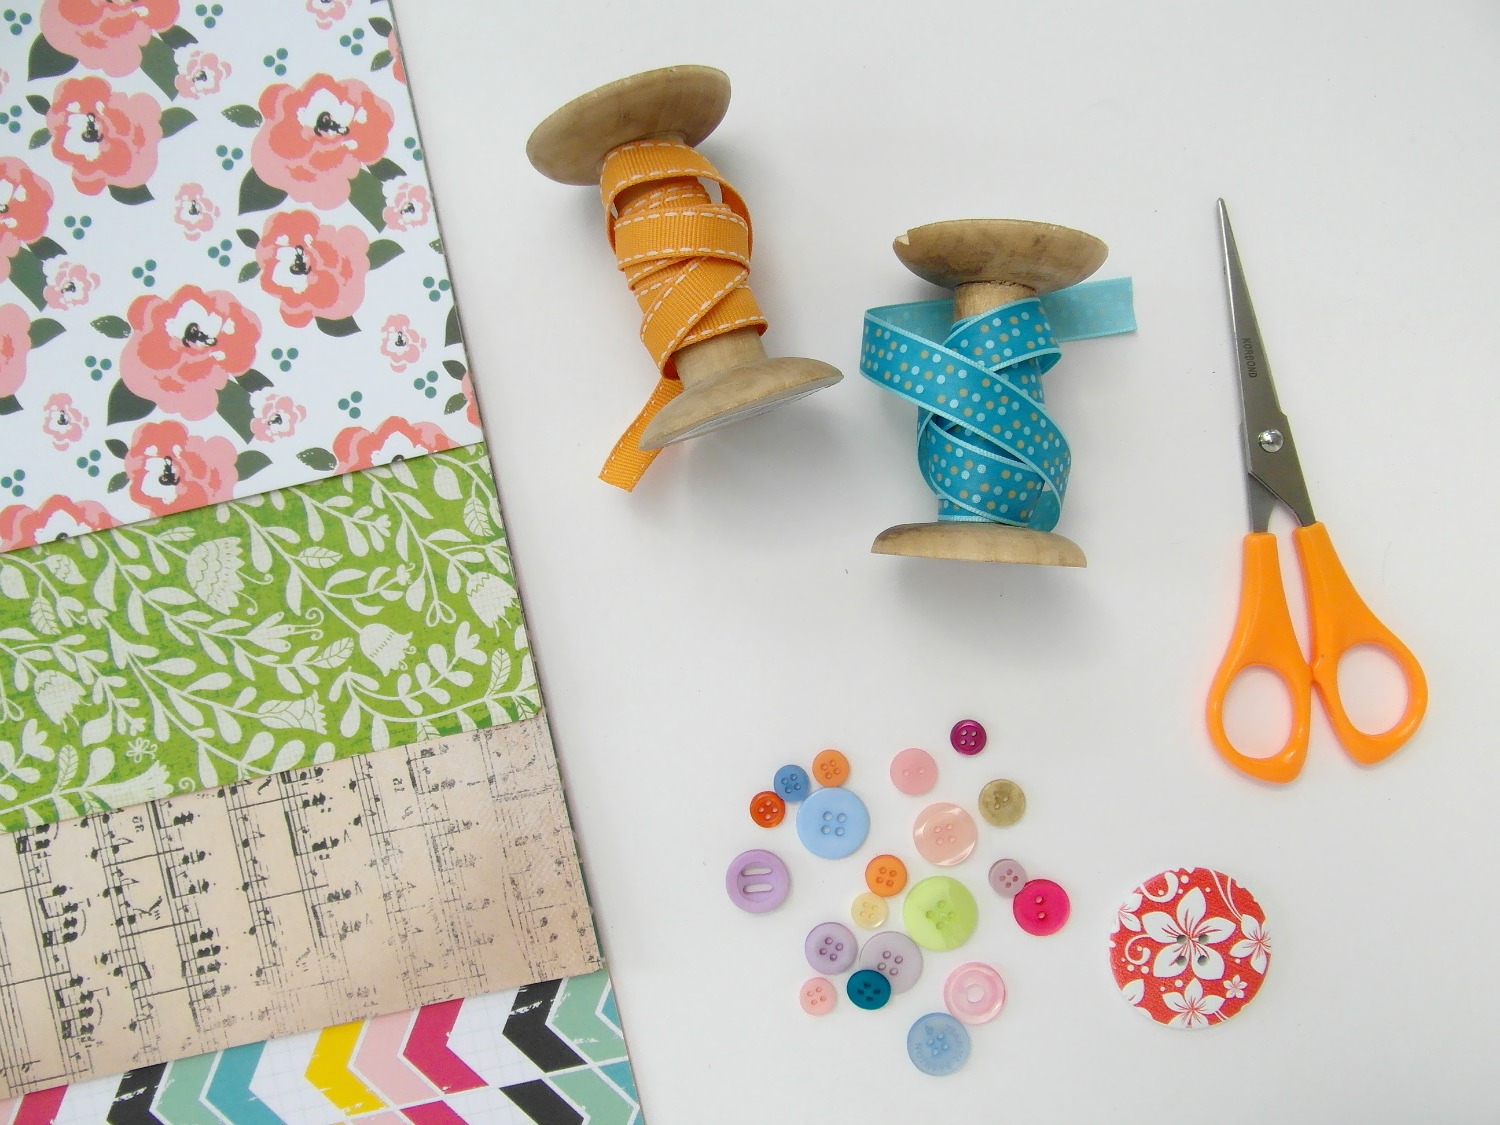
You Will Need: Two sheets of paper or card – 12” scrapbook paper is ideal Extra paper or card for decoration Buttons or embellishments such as flowers, beads and haberdashery Ribbon or thread for hanging (if desired) Very sharp scissors A stapler or glue gun A ruler A pencil
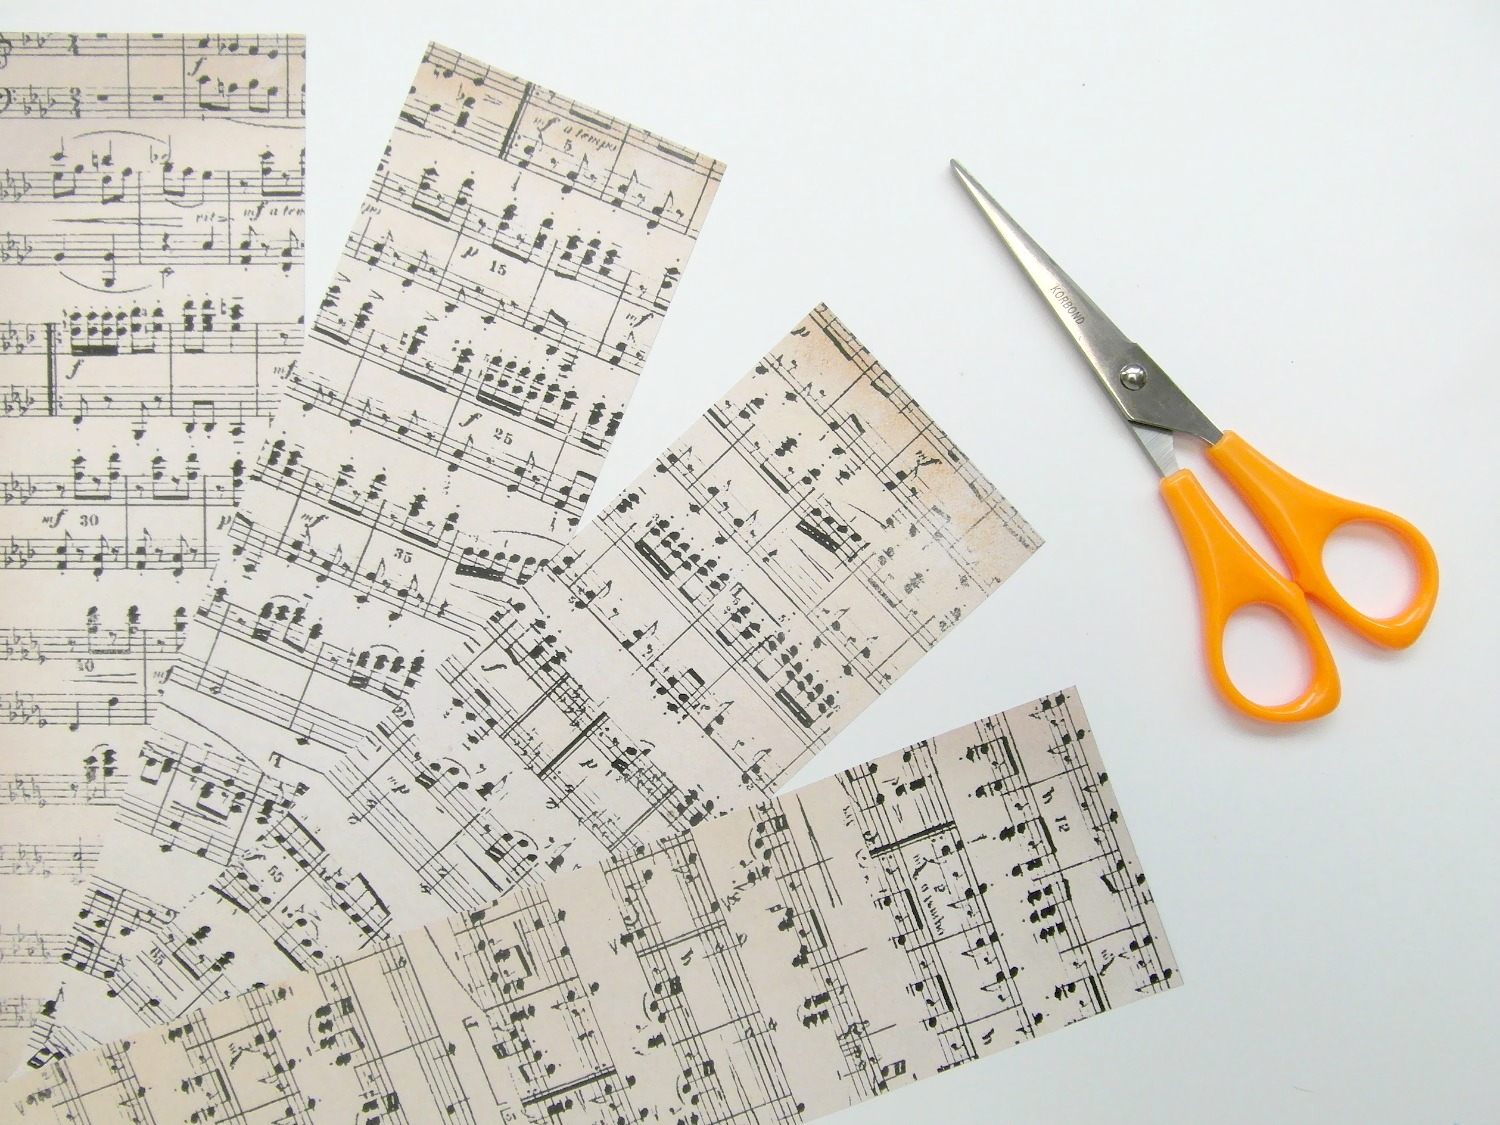
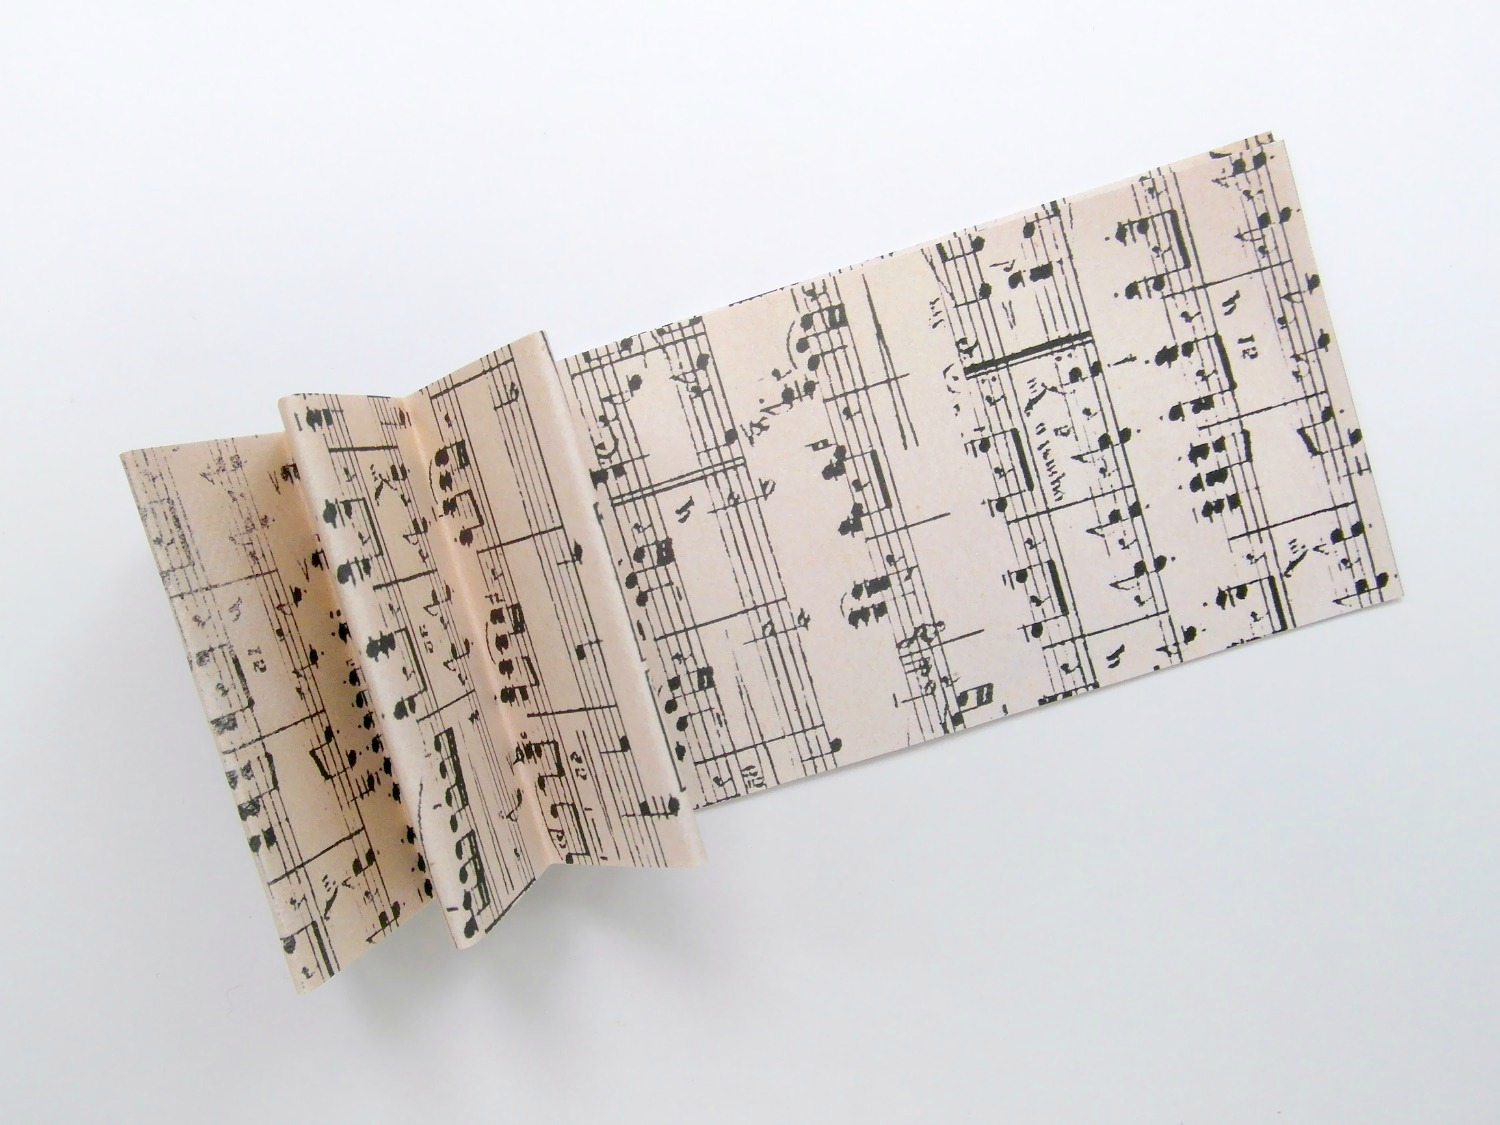
1. Start by taking two sheets of paper or card, and cutting them in half, so you have four strips exactly the same. 2. Place the strips on top of each other, then concertina fold all the way along to the end – each fold should be about 1 inch wide.
3. Separate the strips again, then staple each one to the next and join up into a circle.
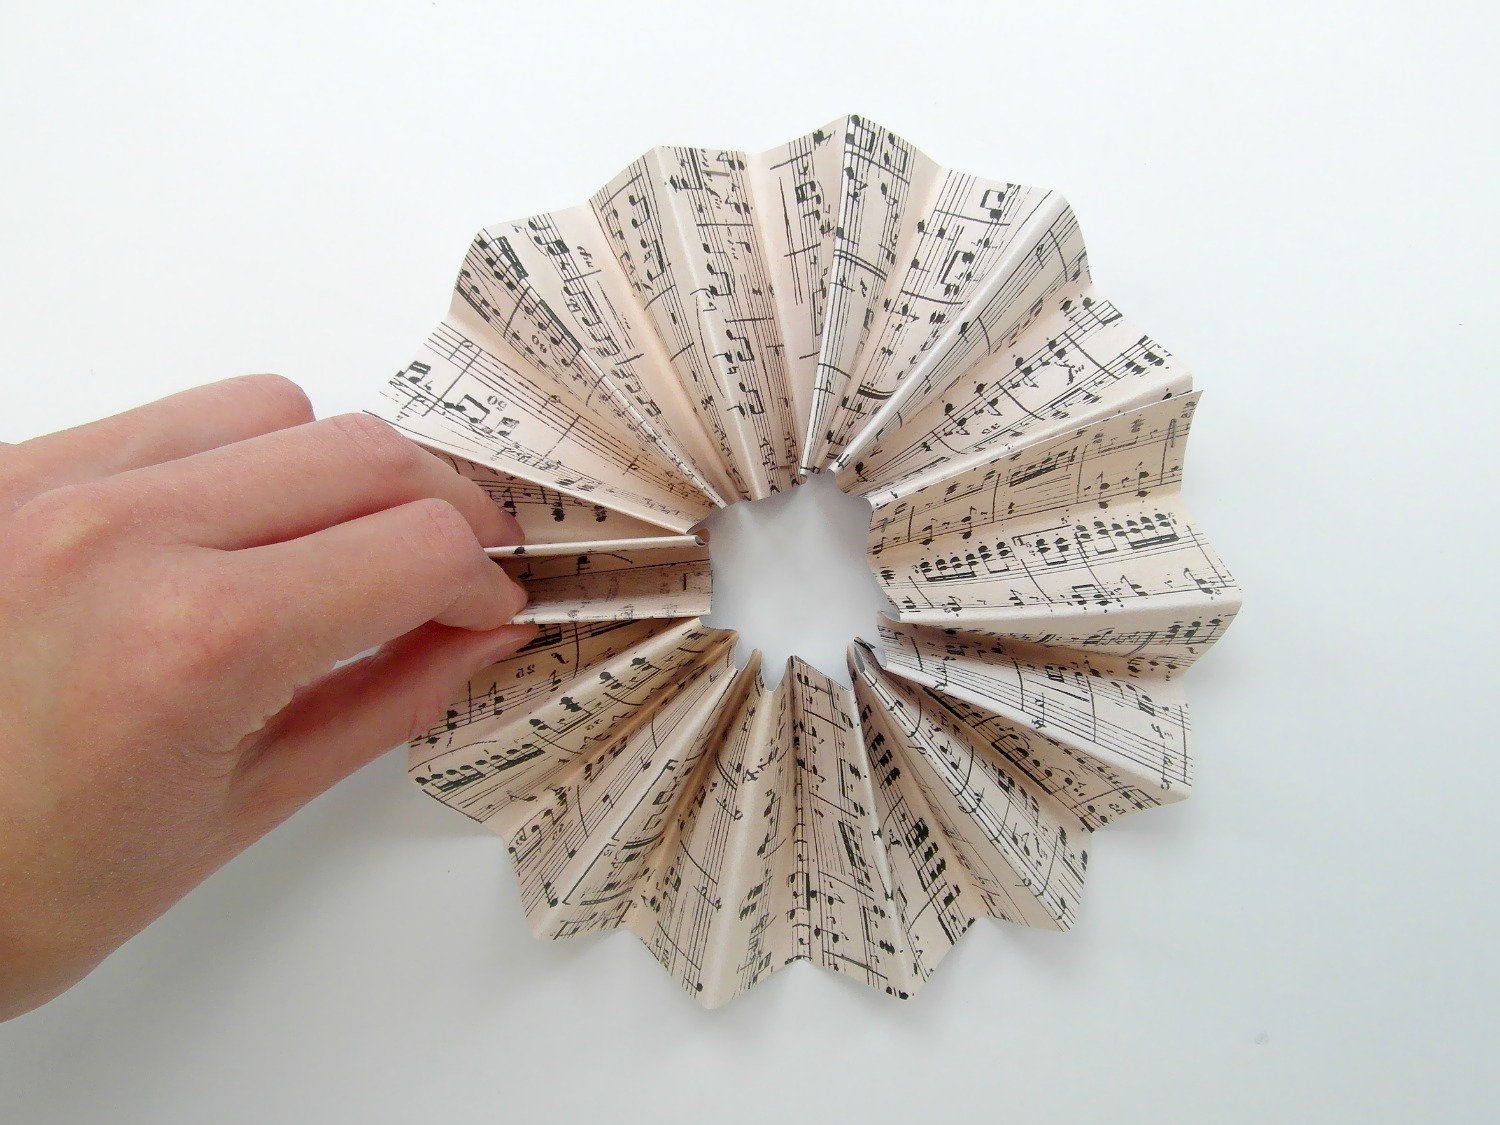
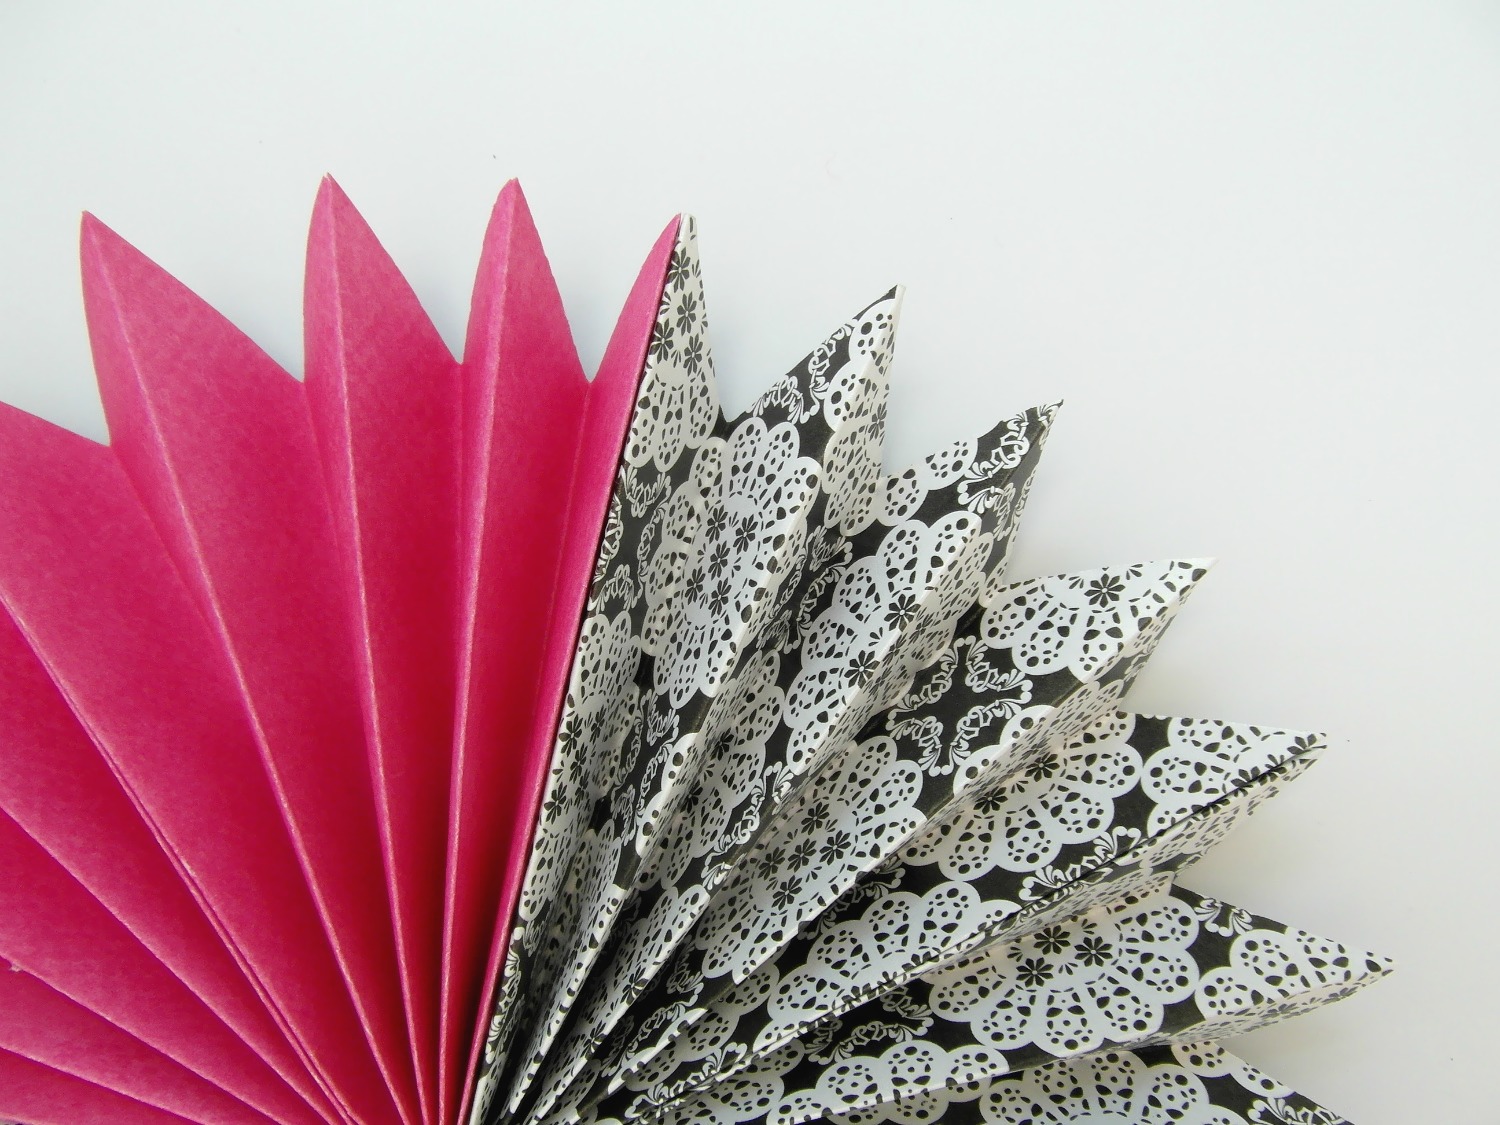
4. This is the fiddly bit – place the circle of paper onto a hard surface, and gently push the top edges towards the centre. It might take a few goes, but eventually the paper will flatten into a fanwheel shape, as in the picture above.
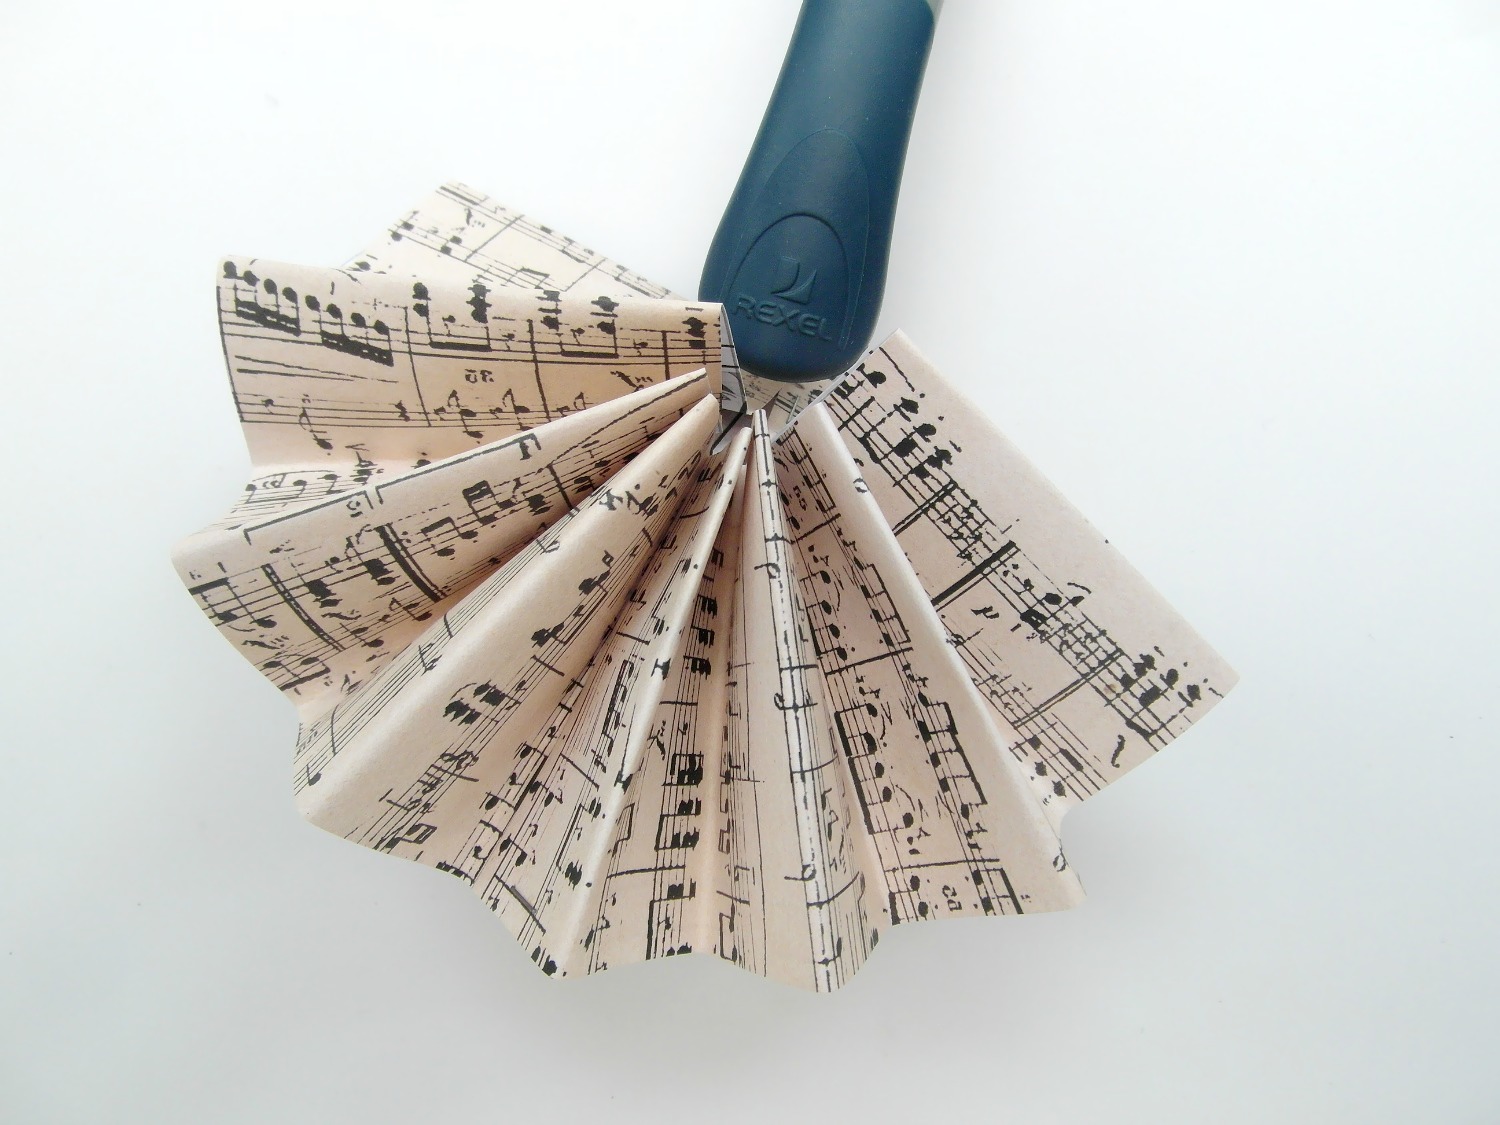
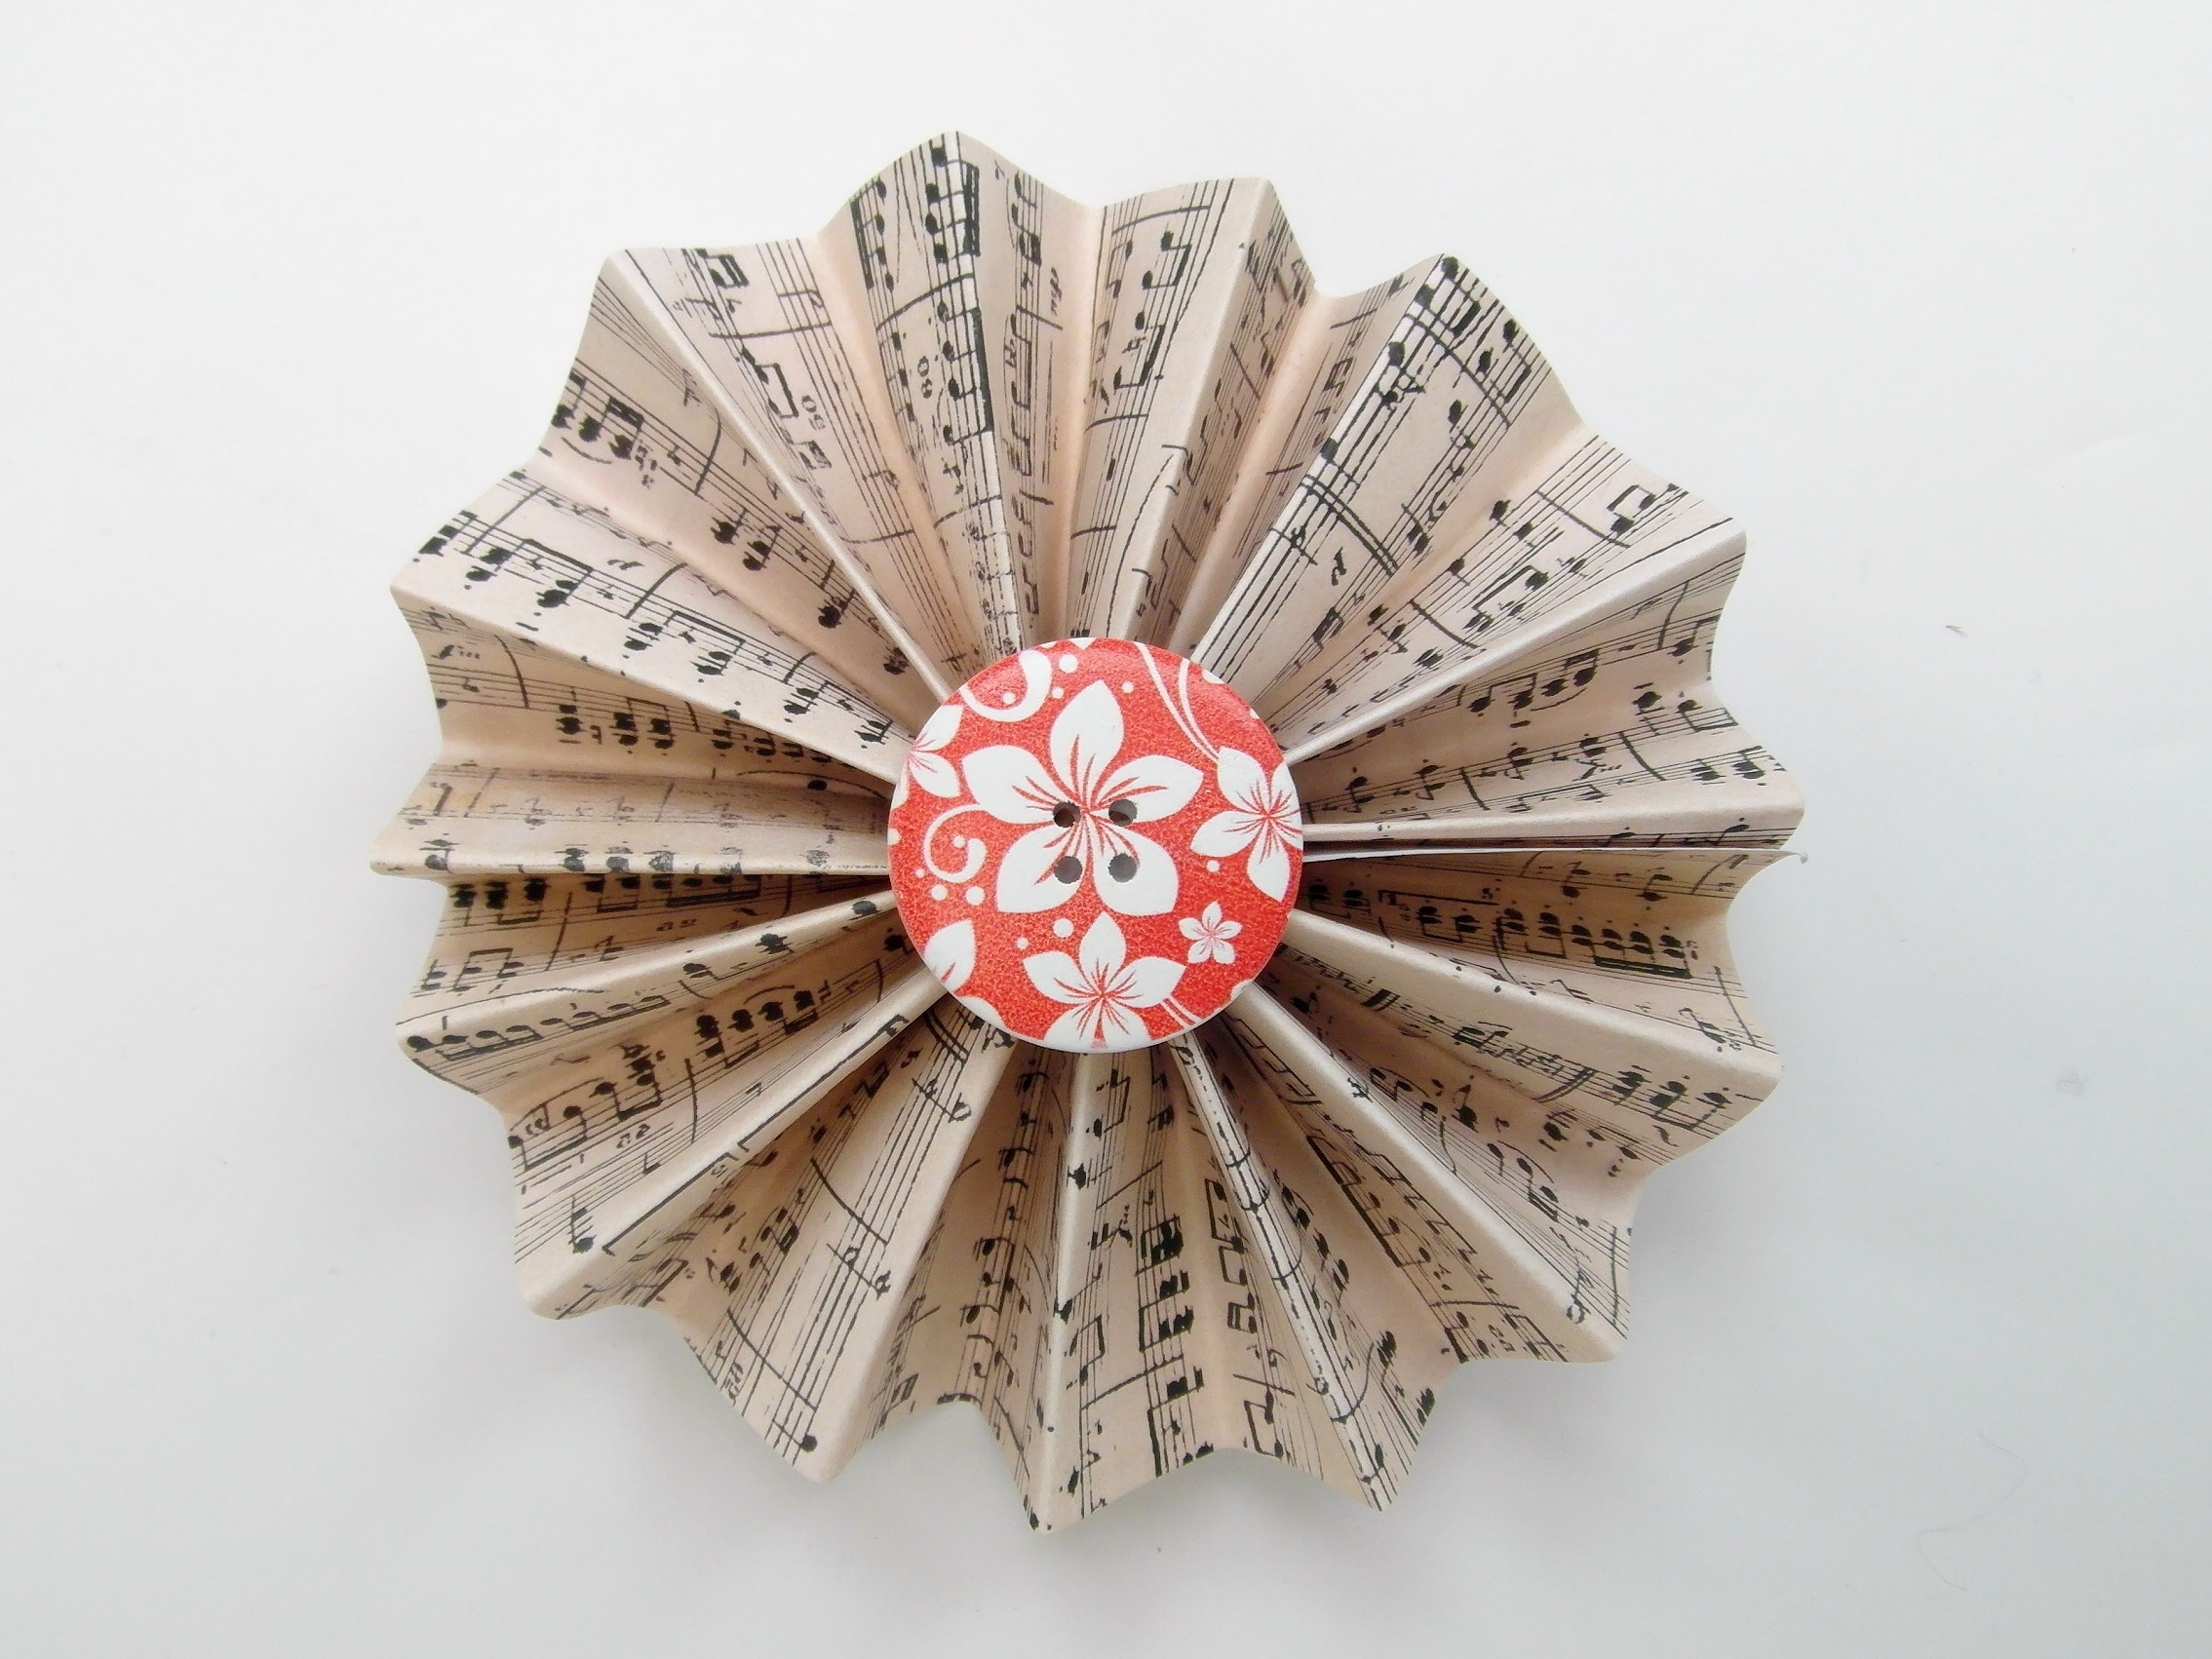
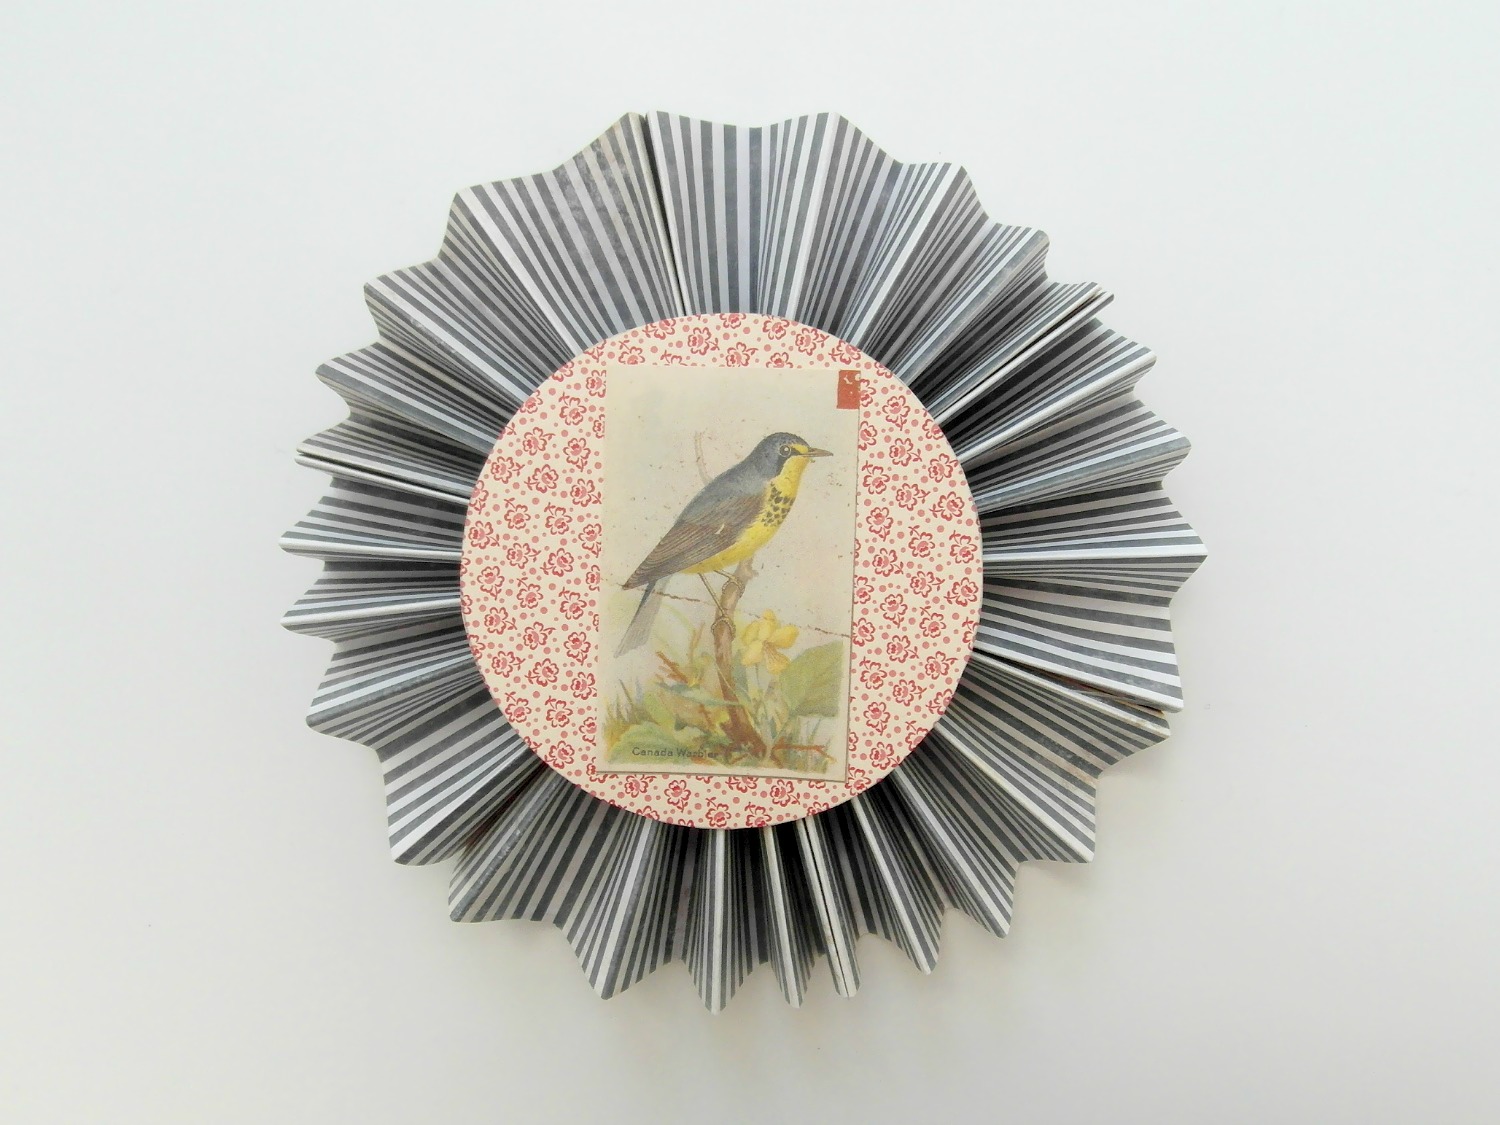
5. Secure the middle of the fanwheel to stop it springing back again – a stapler or hot glue gun is the easiest way; don’t worry too much if the results aren’t perfect, you can add a huge variety of embellishments to the middle to hide any messy bits!
6. Add the button, cardboard shapes or whatever you’re going to attach to the middle, then string up with ribbon or thread and admire! Method Two The second way of making fanwheels is a lot simpler, but requires a lot more folding. The results are neater as well, so which method you use depends entirely on how quick you like your crafts to be! You Will Need: Four sheets of 12” scrapbook paper or card, either identical or contrasting Extra paper or card for decoration Buttons or embellishments such as flowers, beads and haberdashery Ribbon or thread for hanging (if desired) Very sharp scissors Double sided tape A ruler A pencil 1. Take your first sheet of paper, and concertina fold it into sections 1 inch wide until it becomes one strip of paper. 2. Fold in half, and secure with double-sided tape – you should end up with something like this:
3. Repeat this process for the other three pieces of paper, then attach them all together with double-sided tape. Your fanwheel is complete!
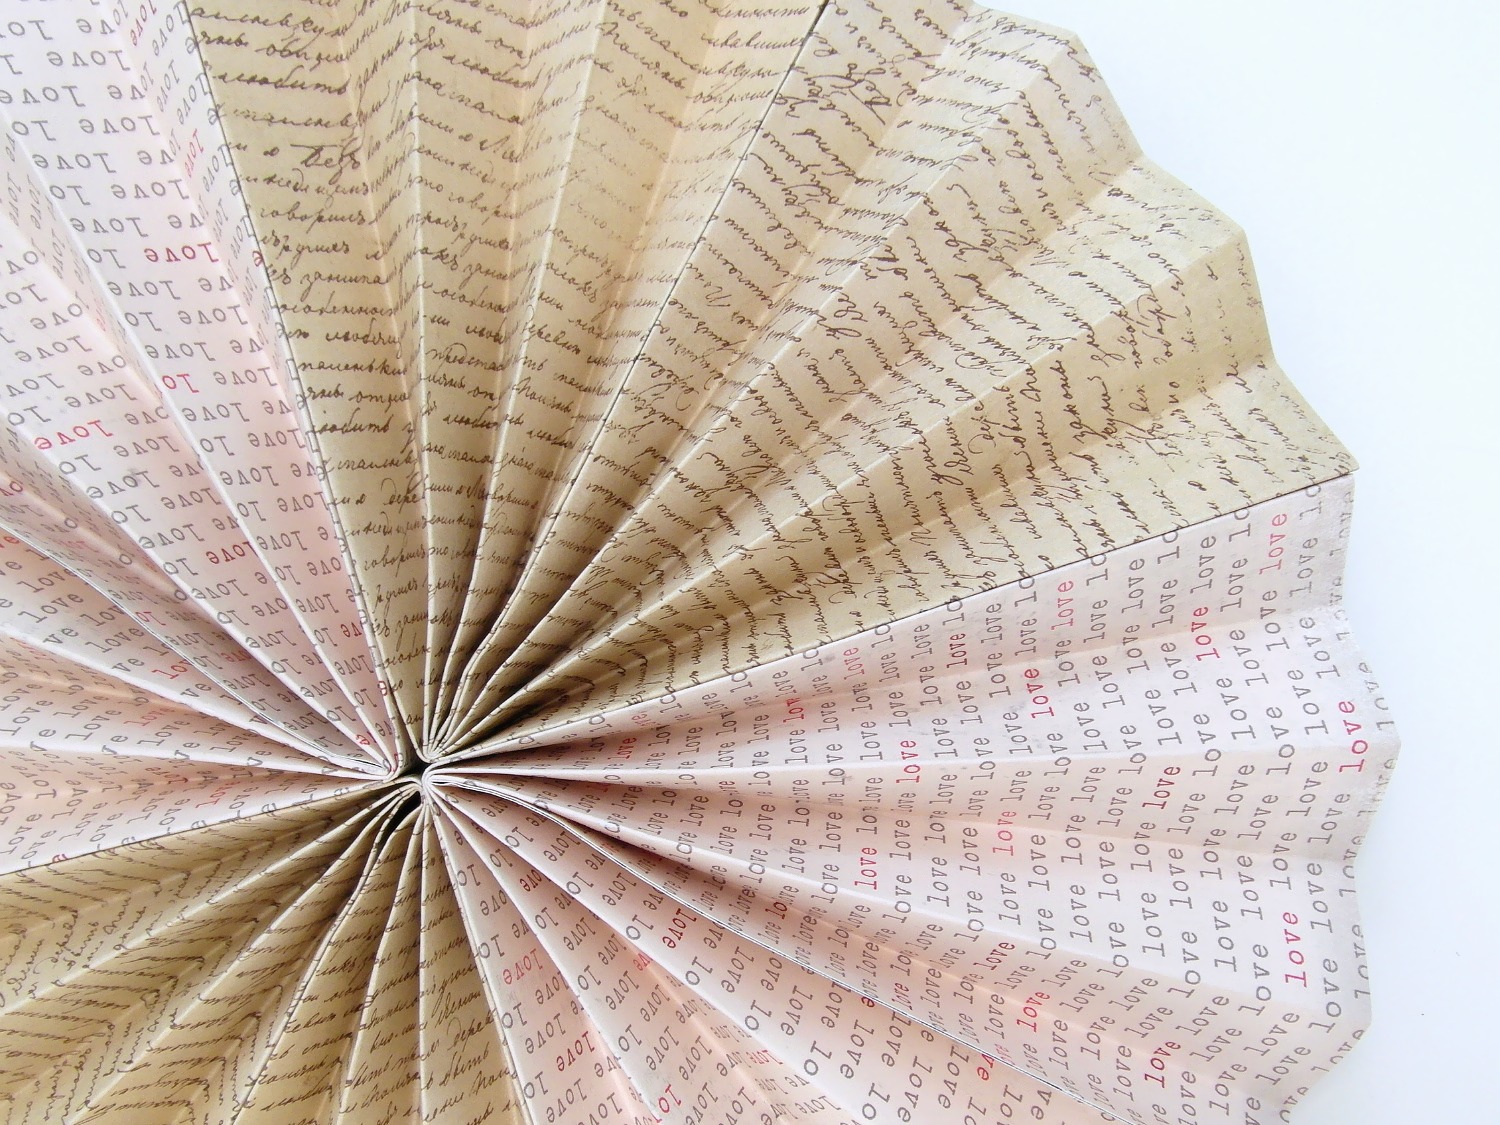
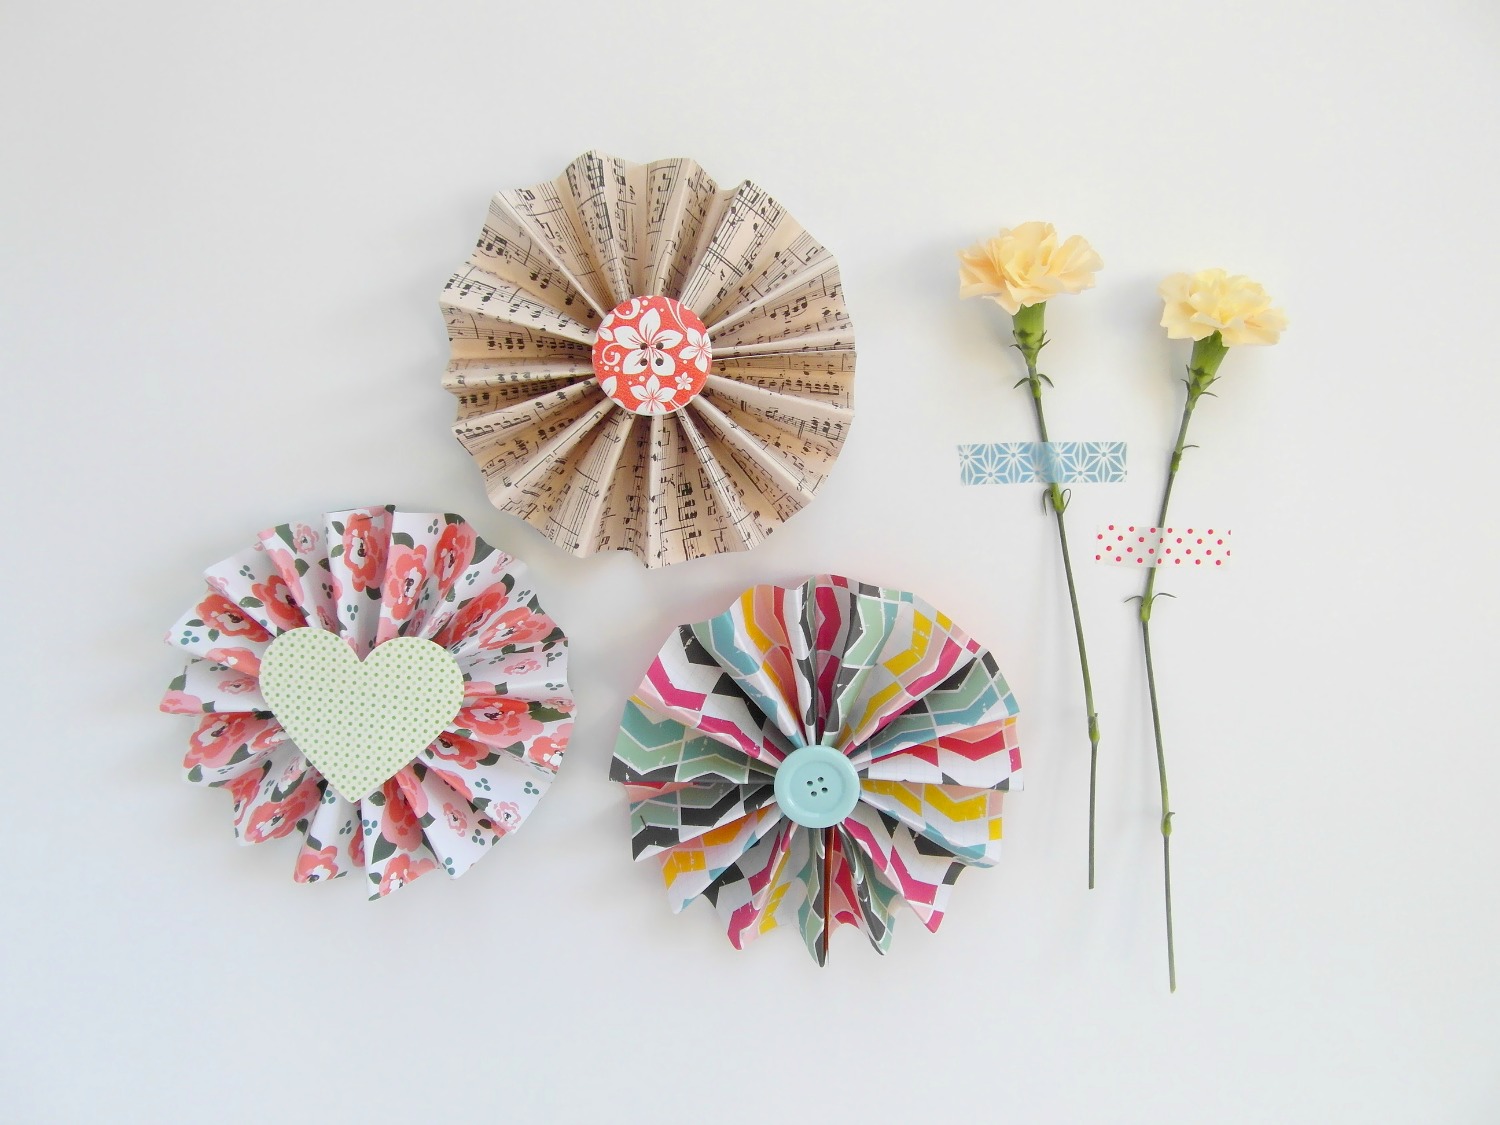
4. Finish off by adding embellishments to the centre, and then hang up or attach to the wall. If you want to use this method for a smaller fanwheel, simply cut the 12” scrapbook paper in half first, and use three of the strips rather than four. Variations There are a million different ways to make this craft your own; vary the colours and patterns of the paper, or try using several different prints in one fanwheel, and experiment with using double-sided paper to make your wheels look as good from the back as they do from the front.
If using the second method, experiment with ways of cutting the paper to create different effects; snipping out small triangles and rectangle shapes when the strips of paper are folded will make a doily-style design when opened up, while cutting the tips at an angle leaves you with a fanwheel that almost resembles a star.
When adding embellishments to the middle, try to think of quirky things to add; for weddings, heart-shaped card cutouts covered with washi tape, or even silk flowers tied on with jewellery wire look really effective. Mini collages, buttons, collections of beads, shells and card shapes all also add an individual touch to a popular and well-loved craft.
The papers used in this blog post are:
|


  Email: info (at) stickytiger.co.uk Phone: 0115 8800 700 |