Five Minute Garlands2 July 2015 | Nicola |
Here at StickyTiger, we love a good garland; from simple triangular bunting to classic paper chains and contemporary geometric shapes, we think anything goes. Particularly good for weddings, they can be strung along walls, across ceilings and even between trees – but if you’re making metres and metres of your own, you’re going to want them to be quick. Today we’ve got three super speedy tutorials for great garlands that you can easily put your own stamp on.
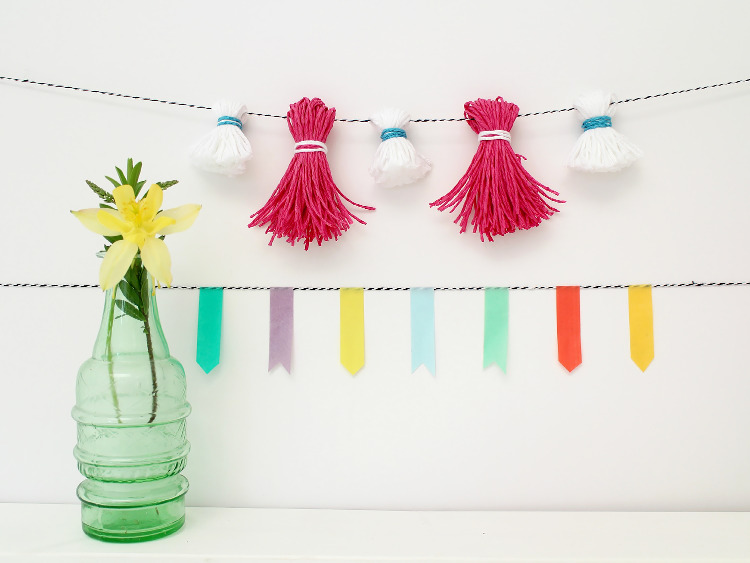
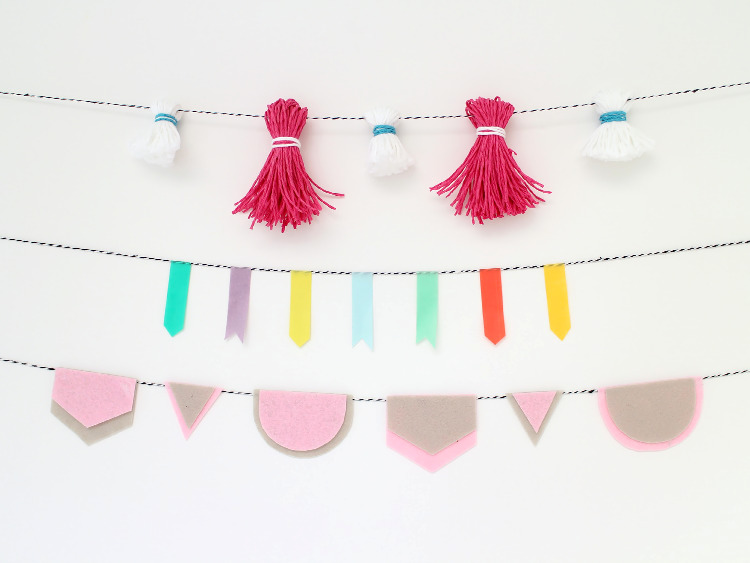
Tasselled Garland
The best thing about tassels is that you can easily vary the size and colour, and mix them all up on one giant garland.
You Will Need:
Cotton yarn
Sharp scissors
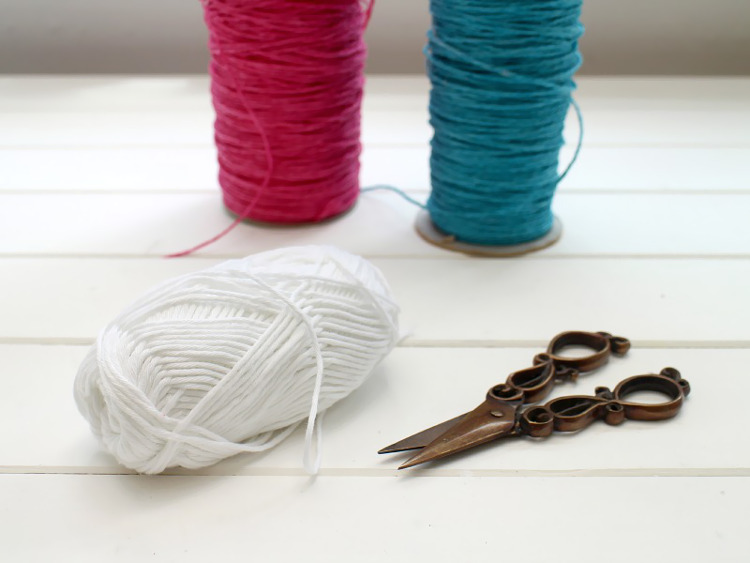
1. Take your cotton or paper yarn (we loved the effect you get with paper yarn – because it’s a stiffer material, it sticks out more), and begin to wrap it round three or fingers of one hand. We found that for the paper yarn, we needed to use four fingers as three just wasn’t big enough.
2. Continue to wrap until you have the desired thickness, then carefully remove the loop from your fingers. Hold firmly and cut through one end.
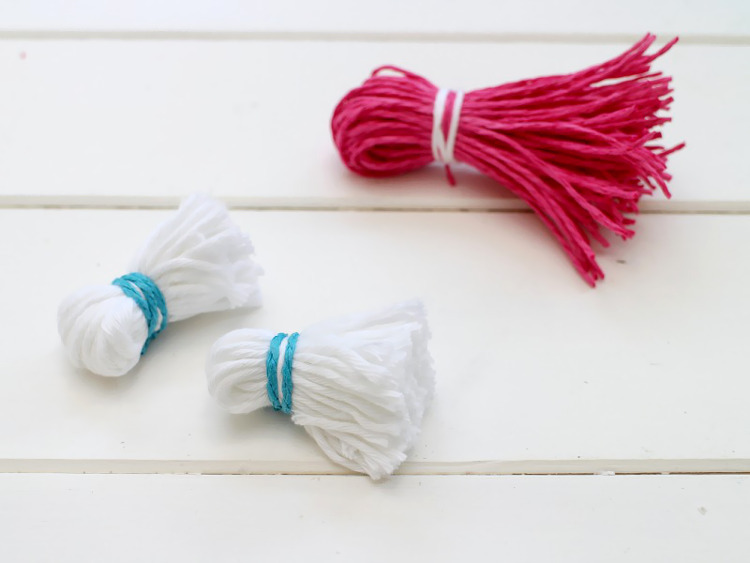
3. Smooth all of the lengths out, then fold them in half and tie another piece of yarn roughly 2cm from the top – this will form your tassel. Trim any long ends, so everything is the same length.
4. Tie a contrasting length of yarn around the top, then string onto a length of bakers twine. Repeat until you have enough tassels to create a super-long garland, then string up and admire!
Washi Tape Garland
Not just for sticking on walls or decorating pots with, washi tape is great for garlands as well – and the only skill you need for this one is to be able to fold things in half!
You Will Need:
Washi tape in various colours
Sharp scissors
A ruler or tape measure
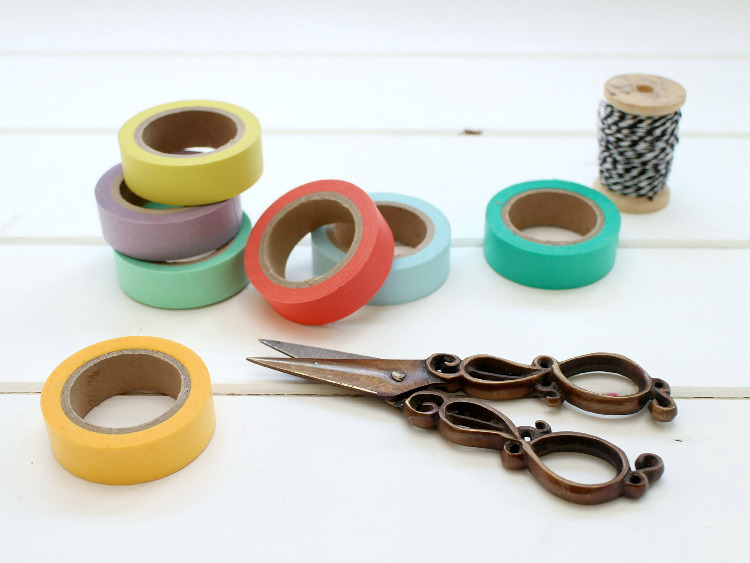
1. Start by arranging your colour sequence – doing this makes it quicker and easier to assemble your garland later.
2. Cut a length of bakers twine the same size as you want your garland to be, then cut a length of washi tape and fold it in half over the twine, sticking the two sides together.
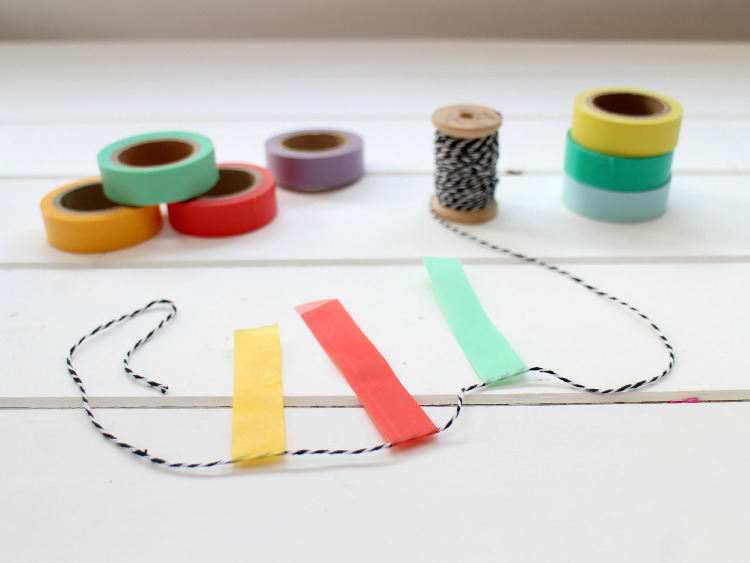
3. Repeat for every colour until you’ve filled your length of twine.
4. Using your ruler, make sure each piece of tape is the same length, then trim the corners to create pointed and inverted ends.
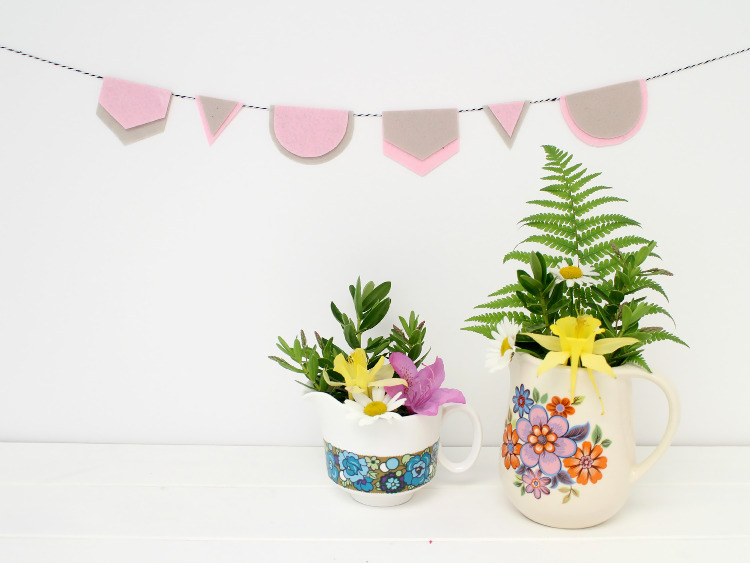
Geometric Felt Garland
Felt is great for projects like garlands and soft toys, simply because the edges don’t fray and you don’t need to sew any seams – great if you’re not into dressmaking!
You Will Need:
Coloured felt
White card
A sharp pencil
Sharp scissors
Strong gel-based glue – a glue that is too liquid won’t work, as it just sinks in to the felt. We used a leather adhesive, which worked a treat!
1. Decide what shapes you want to work with – the good thing about felt is that because you don’t need to worry about seams, you can go for complex shapes that you might have avoided otherwise. We opted for a semi-circle, a hexagon and a triangle.
2. Cut out some cardboard templates – you’ll need to make sure you’ve got two of each shape, one slightly bigger than the other.
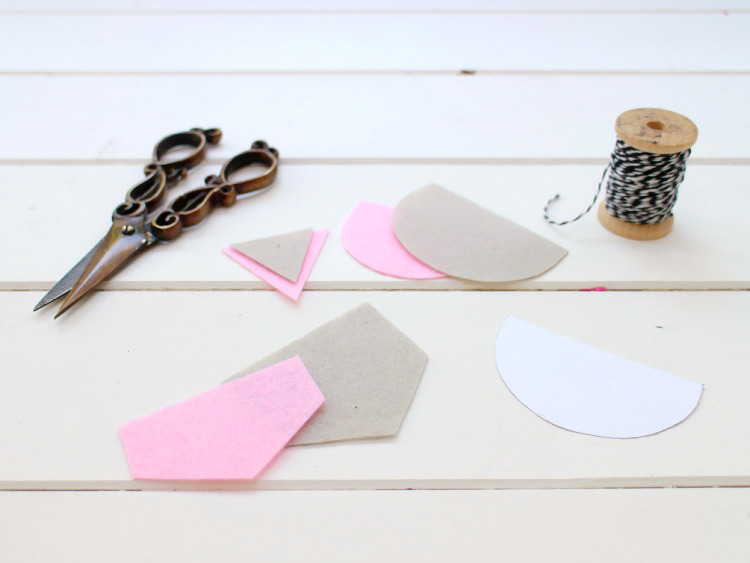
3. Place your templates onto some sheets of felt, then draw round them and cut them out.
4. Using the glue, stick the smaller shapes on top of the larger shapes – we alternated colours, but you could keep them all the same, or use more than two different shades for a more colourful effect.
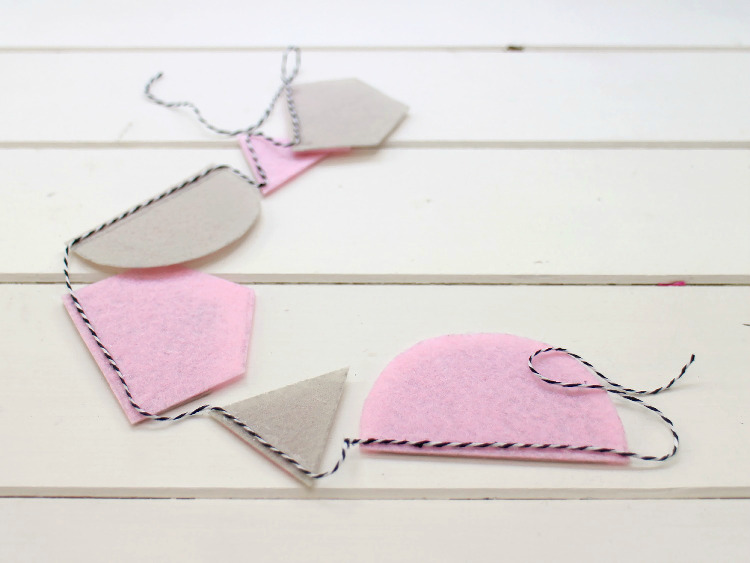
5. When they’re dry, turn your shapes so they’re face down, and use the glue to attach them to the length of bakers twine. Leave to dry overnight, then hang up and admire!
| Read more... |