|
Top Tips for Stamping onto Paper In the second of our series on stamping onto different surfaces, we’re listing our best tips for working with ink and paper; from handmade cards and place settings to bunting, wrapping paper and even wallpaper, the opportunities to create something wonderful with an ink pad and a flat surface are pretty much endless.
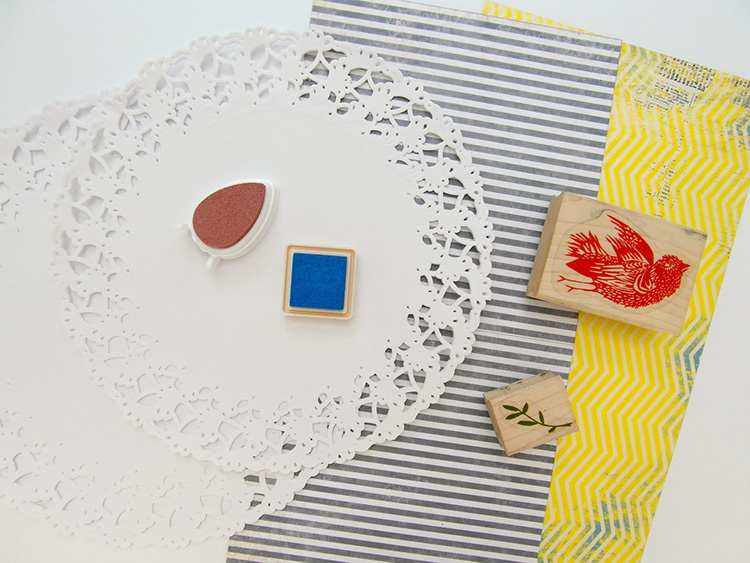
Five Top Tips for Stamping onto Paper or Card 1. Consider the type of paper you’re stamping on to; paper comes in all shapes and sizes, and you can stamp onto any of the following: Handmade paper: Often embedded with flowers, leaves or foliage, handmade paper is beautiful to look at, but pretty difficult to stamp on. If you’re looking for perfection, you’re probably going to want to try stamping onto flat, even papers, because the rough surface of handmade paper can make the finished print look uneven or cause it to smudge. If you’re going for the shabby chic or rustic look, handmade paper could be the ideal choice. Try it out before you decide! Vellum: Vellum is a really thin, translucent paper which is good for tracing and creating a stained-glass window effect. Being non-porous, the ink doesn’t sink in as quickly as it would on other papers, which is why you need to leave a longer timeframe for it to dry thoroughly. Matte-finish card and paper: The usual choice for anybody who wants crisp, clear images is simply standard card or paper, also known as cardstock. Available in a range of colours and thicknesses, you can use pretty much all combinations of stamps and inks to create lovely handmade cards or wedding stationary – the key to success is being clued up on weights when shopping for supplies. Paper is measured in a unit called GSM, which actually stands for ‘grams per square metre’, and the basic rule of thumb is that the higher the GSM, the thicker the card or paper. For example, most newspapers are anywhere between 35 and 55 GSM, a magazine cover is usually around 180 to 250 GSM, and good quality card is roughly 350 GSM. Glossy-finish card and paper: A good example of glossy paper is the photo paper you can buy from craft shops to print photographs at home. It has a shiny surface, which means that like vellum, the ink won’t be absorbed and will need much longer to dry completely – not only that, but the slippery finish can cause stamps to slide and the finished image to become smeared. On the plus side, printing onto glossy paper can produce great results after a little practise – the fact that the paper is non-absorbent means that the ink doesn’t spread like it would otherwise. 2. Choose your ink carefully; there are different types to match the surface you’re printing onto. Dye inks: Dye inks are fairly thin in consistency and the colour they appear to be in the ink pad is often completely different to how they turn out on paper. Water based, dye inks are fast drying and perfect for using with standard cardstock card, but they’re absolutely no good for using with glossy surfaces. Pigment inks: Thicker and more opaque than dye inks, pigment ink pads are great for using on glossy surfaces, although they do require quite a while to dry thoroughly. They’re also suitable for using in embossing projects, and can be heat sealed to speed up the drying time. 3. Ink the stamp in the correct way; rather than pressing the stamp onto the ink pad, lay the stamp with the surface facing upwards and then dab the ink pad down onto it – this will mean that there’s less chance of any ink creeping onto the surrounding areas, and you won’t end up with a ‘halo’ effect when you stamp onto the paper or card. 4. Avoid fibrous papers as the ink will bleed; papers such as watercolour, pastel paper or anything in that area cause the ink to spread once you’ve stamped onto it, and your final image will be uneven and blurry. 5. Always stamp onto a firm surface, such as a table or desk; attempting a stamped project on a surface that is wobbly, or bends under pressure will make it virtually impossible to achieve an even image. Late Summer Bunting With their matte finish and decorative edges, doilies are the ideal surface to practice stamping on – and they’re wonderfully cheap as well, so any mistakes won’t break the bank. Practice your new found techniques with our quick and easy late summer bunting tutorial – the perfect accessory to any balmy afternoon tea! You will need: Doilies in various sizes – how many you need will depend on how long you want your bunting to be Your chosen stamps – we used the Yellow Owl Workshop Dove and Branch set Your chosen ink pads – we used Versacraft in Cool Grey Scissors 1. Begin by making a triangle template – it needs to be the same length as the doily. 2. Place the template on top of your doily and draw around it, then cut out. 3. Cut off the point of the triangle, so you have a straight edge at the top, and the curved lacy edge at the bottom.
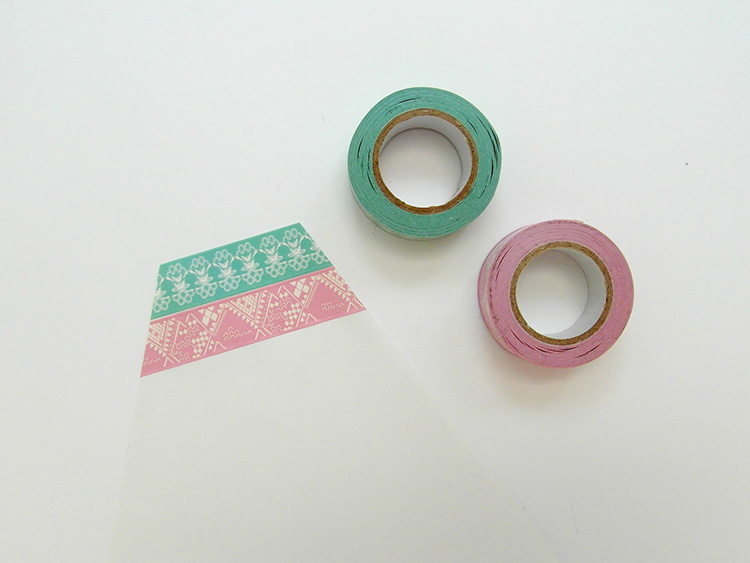
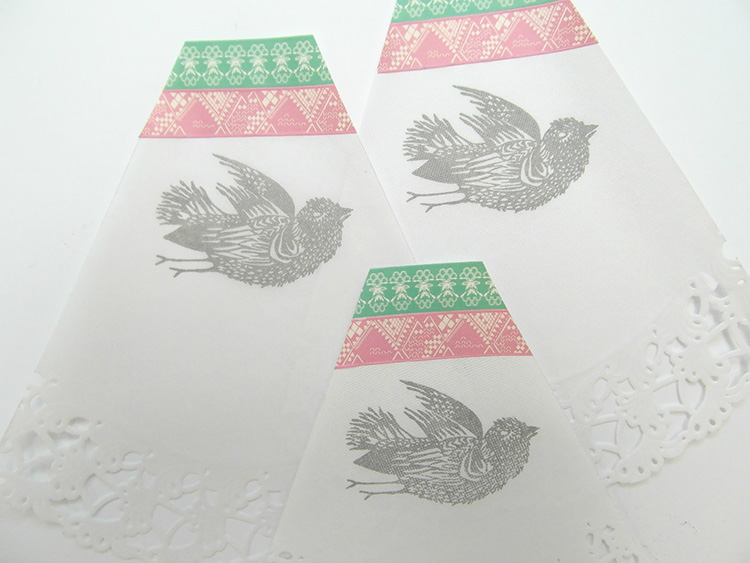
4. Add strips of your chosen washi tape along the top edge, and trim the sides so it fits neatly. 5. Stamp your chosen image onto the centre of your doily, and leave to dry thoroughly.
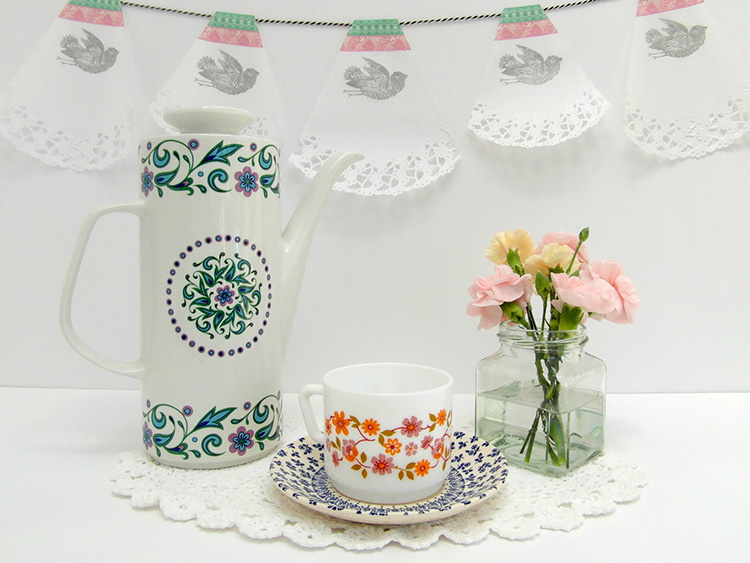
6. Repeat the process for the remaining doilies. 7. Attach each doily to the bakers twine, hang up and enjoy!
|
  Email: info (at) stickytiger.co.uk Phone: 0115 8800 700 |