 | Colourful DIY Pop-Up Easter Cards27 March 2015 | Nicola |
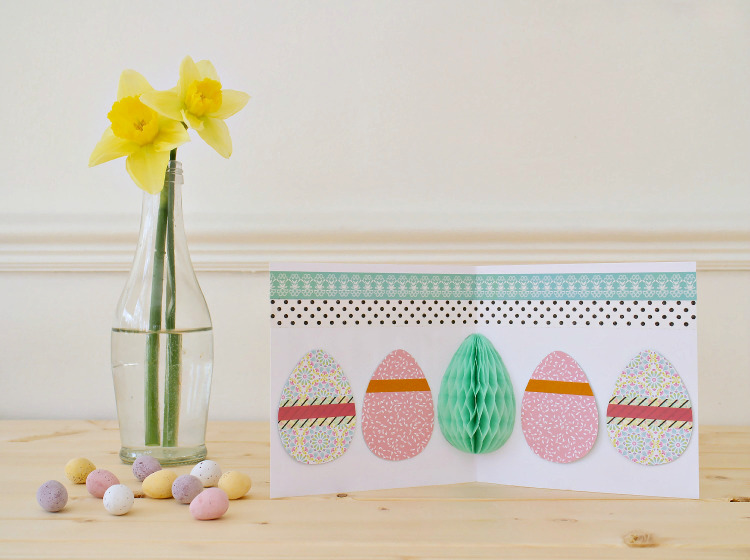
It wouldn’t be Easter without some crafting to accompany the piles of chocolate and hot-cross buns, so this week we’ve got an egg-sellent (sorry!) tutorial on how to make the easiest 3D greetings card ever.
You Will Need:
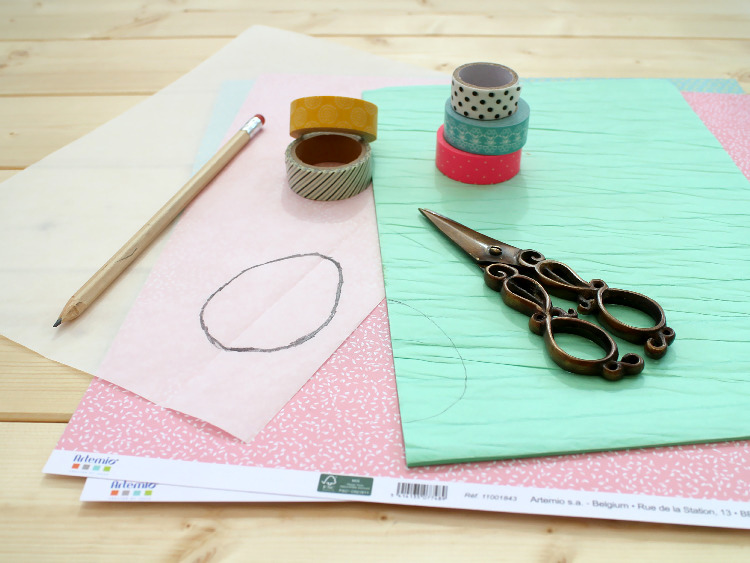
Printed scrapbook card
Honeycomb paper
A card blank
Various washi tapes
Sharp scissors
A craft knife and a cutting mat
Strong glue
Sticky pads
1. Start by deciding how big you want your egg shapes to be, then trace or print a template.
2. Fold your template in half, then place the crease along the edge of the honeycomb paper. Draw around it, and cut it out – you should have what looks like half an egg.
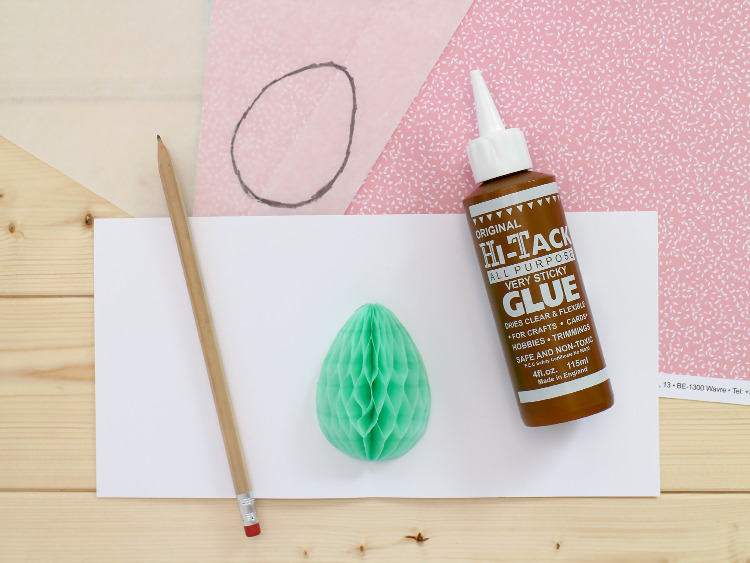
3. Slowly pull the layers apart and open the honeycomb egg up. Apply a little glue to one side and place in the centre of the opened card blank, then press down firmly. Repeat for the other edge – your 3D part is done!
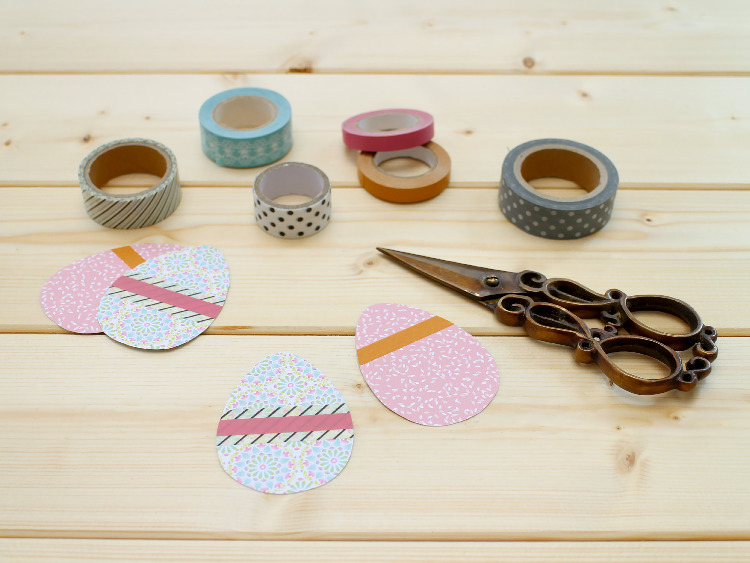
3. Cut out four egg shapes from your scrapbook paper, and then decorate with layers of washi tape. Apply a sticky pad to the reverse and then stick them into place.
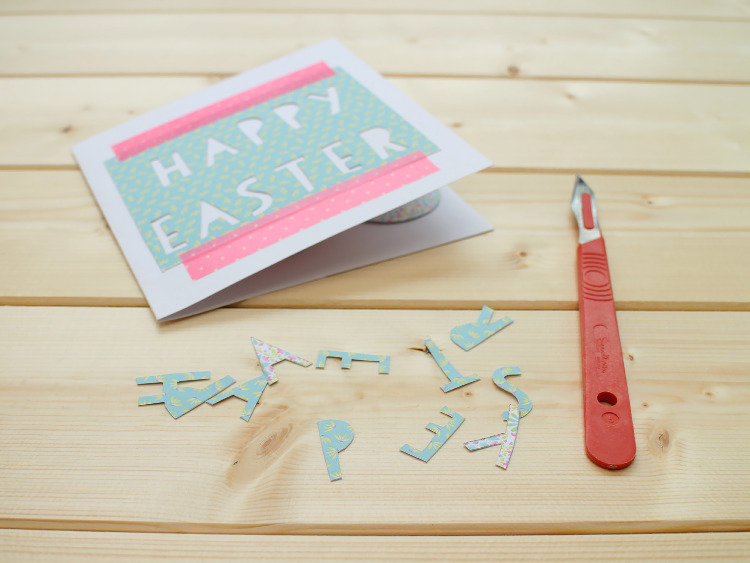
4. Decorate the front of your card – we cut some letters out of a square of scrapbook paper and then discarded them to create a stencil-effect, and stuck it on using washi tape.
5. Eat chocolate and admire!

