|
This time of year, the internet is drowning in DIY Christmas stocking tutorials; personalised stockings, giant stockings, stocking garlands, stockings with lace, stocking with trimmings….loads of lovely ideas that all have one thing in common – loads of sewing. So for those who aren’t that handy with a needle and thread, or anyone who just doesn’t have the time, we’ve got a quick and easy tutorial for a felt stocking which needs almost no sewing. More time for drinking mulled wine, then – win!
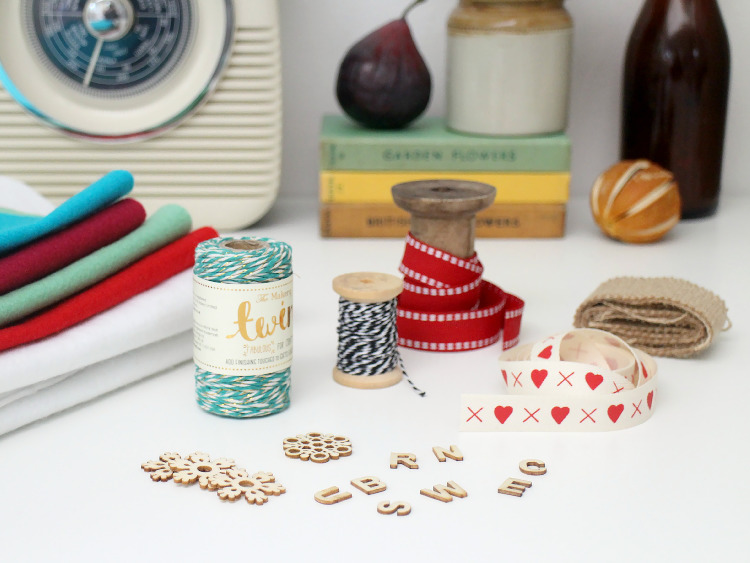
You will need: Felt in various colours Coloured twine and wooden letters (optional) White card for templates Sharp scissors A glue gun and glue sticks A needle and thread, or sewing machine
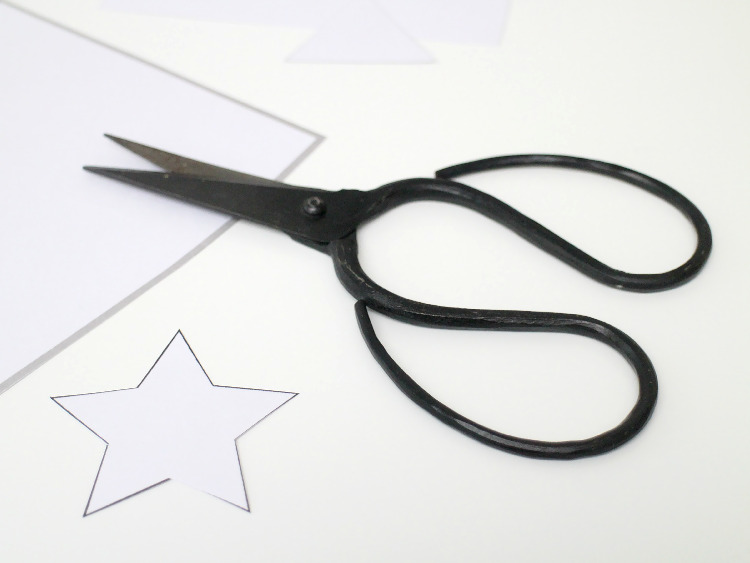
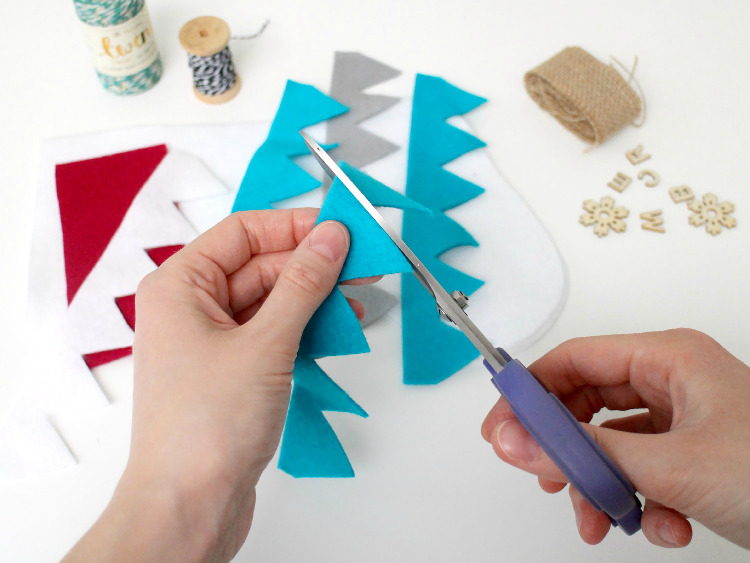
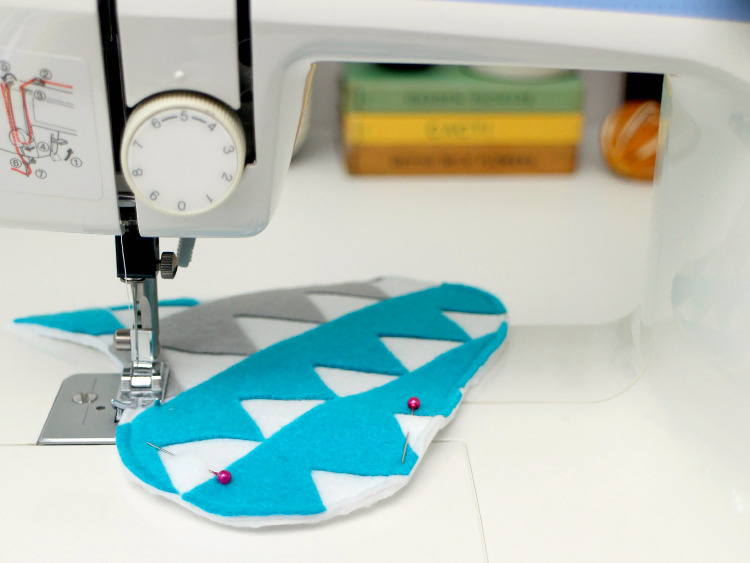
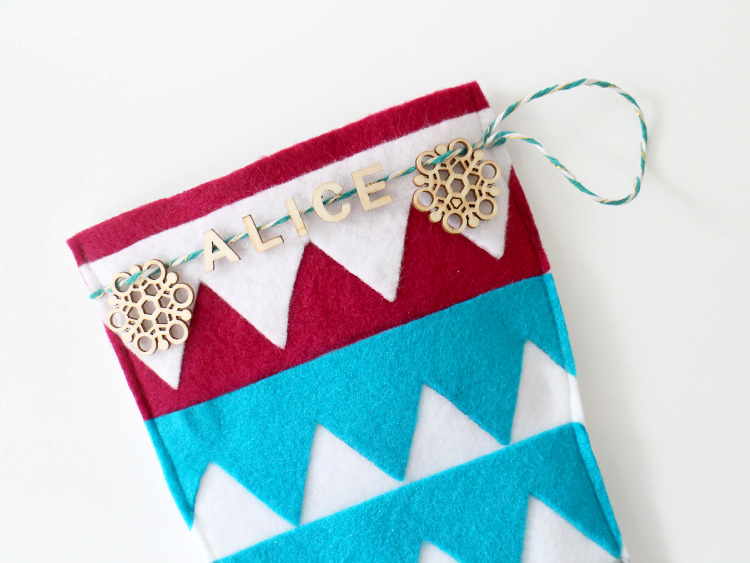
1. Start by printing or drawing out your stocking template – we did ours slightly larger than a sheet of A4. Big enough for some lovely little treats! 2. Place your template onto the felt that’s going to be the main colour of your stocking, then draw round it and cut it out twice. 3. Decide what pattern you want to put on your stocking, then create a template from white card. We went with simple strips of triangles, but you could do anything from squares to polka dots, stars to a full on Fairisle pattern. The joy of felt is that it doesn’t fray, so you can be as complicated as you like!
4. Draw round your templates onto your chosen felt colours, then cut them out and arrange them onto your stocking shape. 5. Apply the heat ‘n’ bond to the reverse of your felt shapes, then place them onto your stocking and press down gently with an iron until they’re fixed in place.
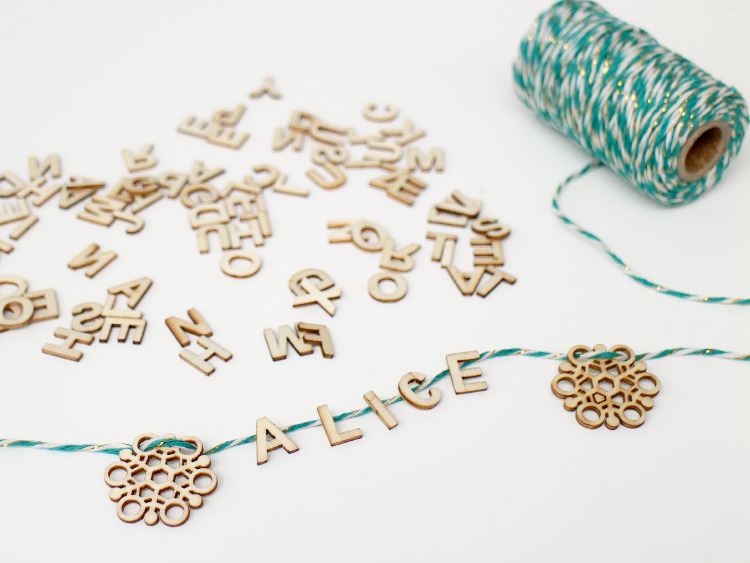
6. To create the personalised part of the stocking, take a piece of twine slightly wider than the top of your stocking and then arrange the wooden letters in place. Fix them down using the glue gun.
6. Once you’ve applied all your shapes, place the top part of the stocking on top of the bottom part, sandwiching the twine in place. Pin around the edge so nothing moves, and stitch everything together. 7. Hang up on the fireplace, and wait for Santa to pay you a visit!
|


  Email: info (at) stickytiger.co.uk Phone: 0115 8800 700 |