 | DIY Pressed Flower Plant Pot17 March 2016 | Nicola |
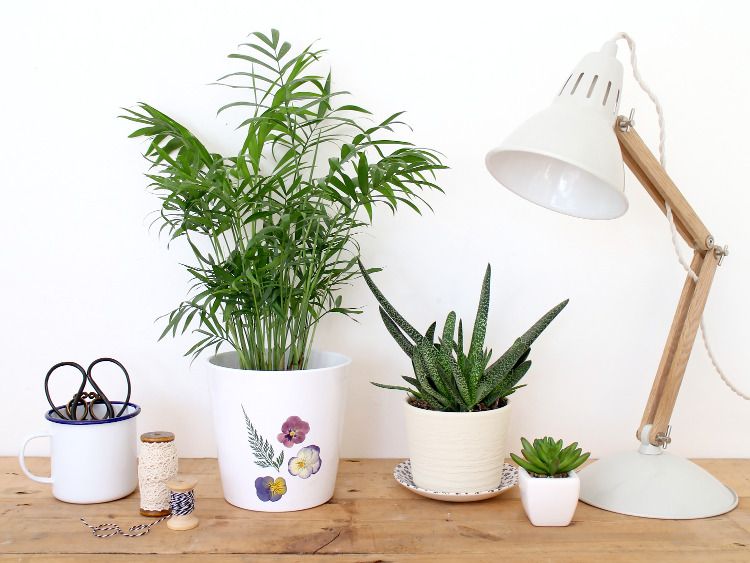
Now it’s March, we can say it’s officially spring – and that means we can finally start talking about spring crafts! Flowers, pastels, bright colours, Easter, warm days and longer evenings – all the best things start to happen in spring. This week, we’ve been playing with the new flower presses here at StickyTiger; there are so many things to make with preserved flowers and leaves, from cards and garlands to jewellery and artwork. Today, we’re going to show you how to make a super-easy DIY pressed flower plant pot.
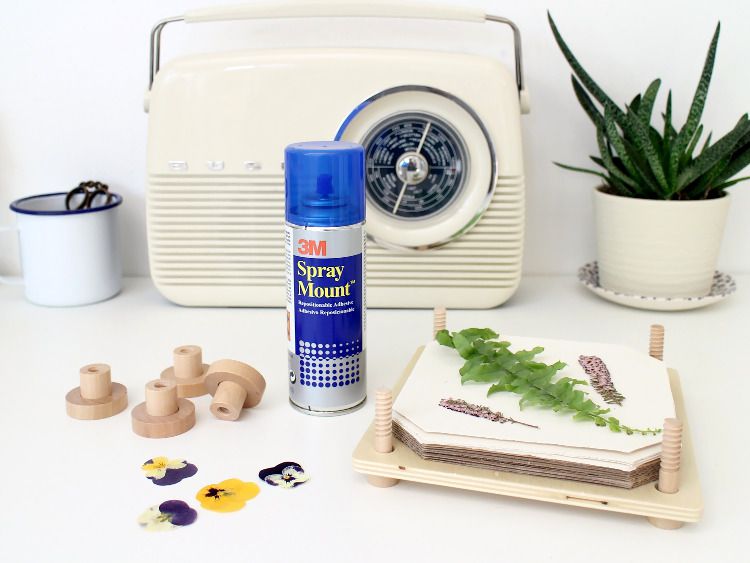
You will need:
One plain white plant pot
Some fresh flowers and leaves – anything flat works particularly well
A flower press
Spray mount
Clear matte spray varnish
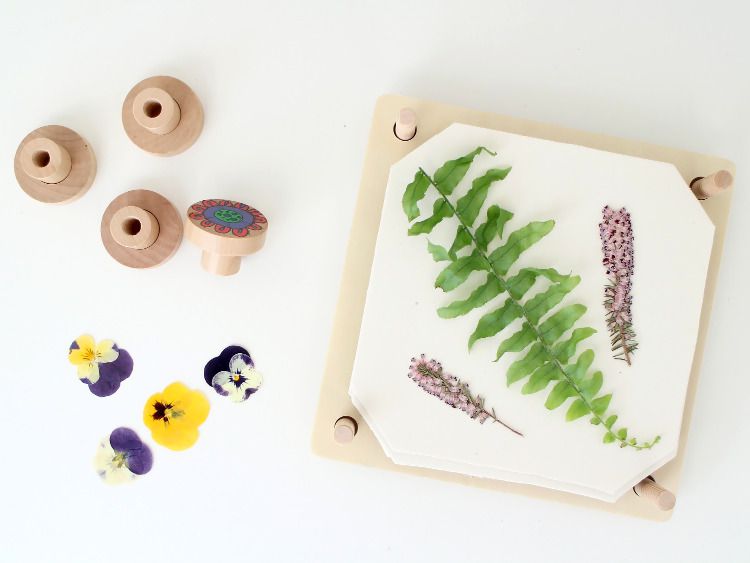
1. Begin by choosing your flowers and leaves – go for anything that sits flat, such as pansies, ferns and violets.
2. Take the flower press apart, removing the cardboard and paper layers.
3. Place a piece of cardboard into the press, followed by a sheet of paper, and then arrange some of your flowers.
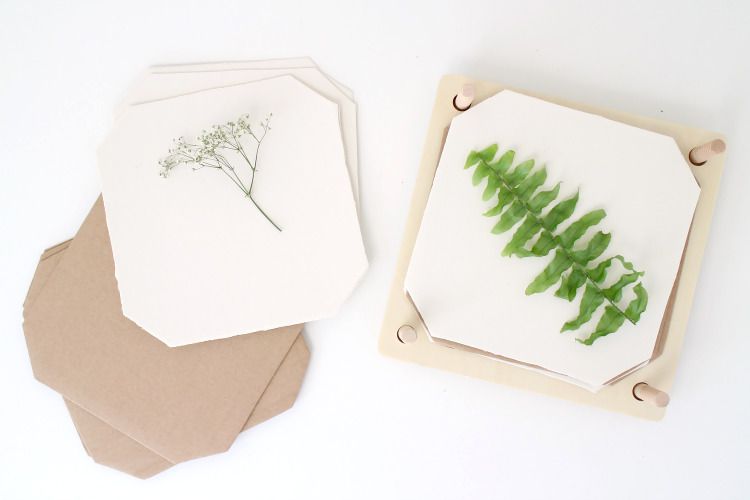
4. Top the flowers with another sheet of paper, and then card.
5. Repeat the process until all of your leaves and flowers are in the press.
6. Screw the lid in place tightly, then leave to preserve for 2-4 weeks.
7. After the time is up, remove your flowers and leaves from the press and set aside. Wash and thoroughly dry your plant pot.
8. Once you’ve stuck the flowers down, there’s no chance you’ll be able to move them again, so take the time to mess around and draft a design first.
9. When you’re happy with the placement, spray the reverse of the flowers and leaves with spray mount, and press them gently onto the plant pot.
10. Once everything is in place, spray the whole thing with spray varnish to protect it. Leave to dry, then add your favourite plant, and admire!

