 | DIY Customised School Supplies26 August 2014 | Nicola |
Although it seems like the summer holidays only just began, students and teachers everywhere are bracing themselves for the new term which is just around the corner. One of the best things about a new school year is the chance to buy a new bag, stationary and accessories, but there’s nothing worse than turning up on the first day and finding out you’ve got the same pencil case as everyone else in your class. To stand out from the crowd, forget your local stationary shop and buy blank accessories instead, then grab a handful of craft supplies to customise it in your own unique way.
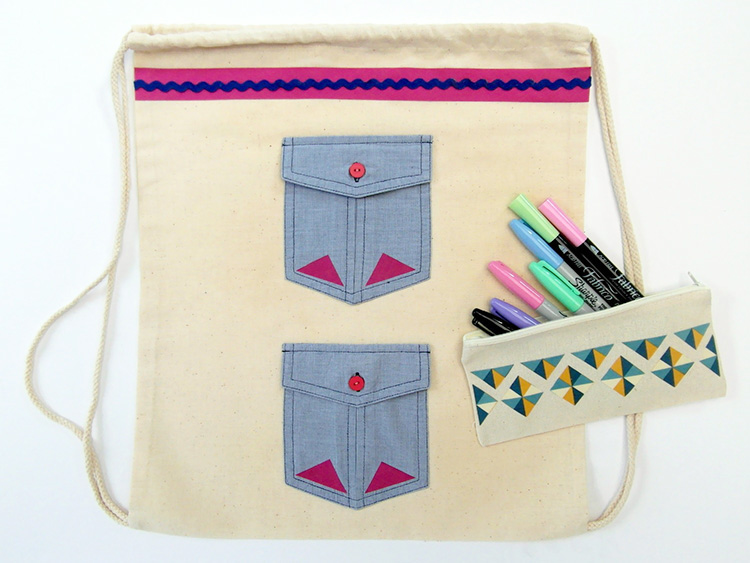
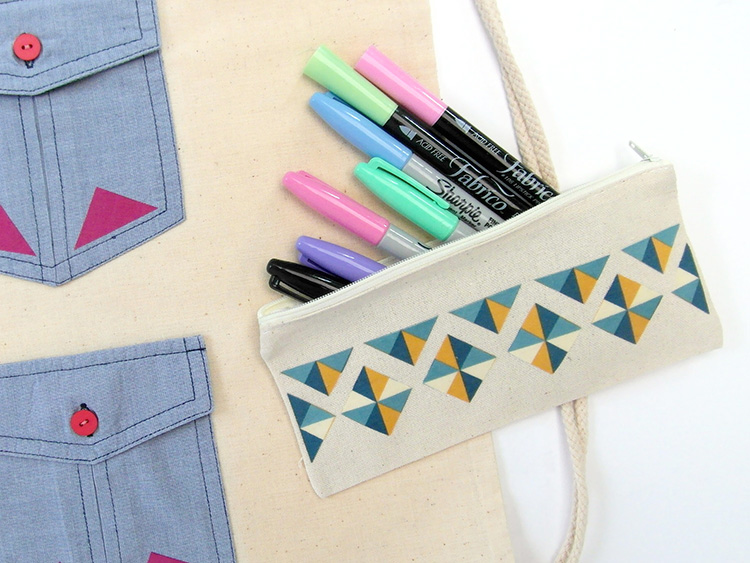
Drawstring PE Bag
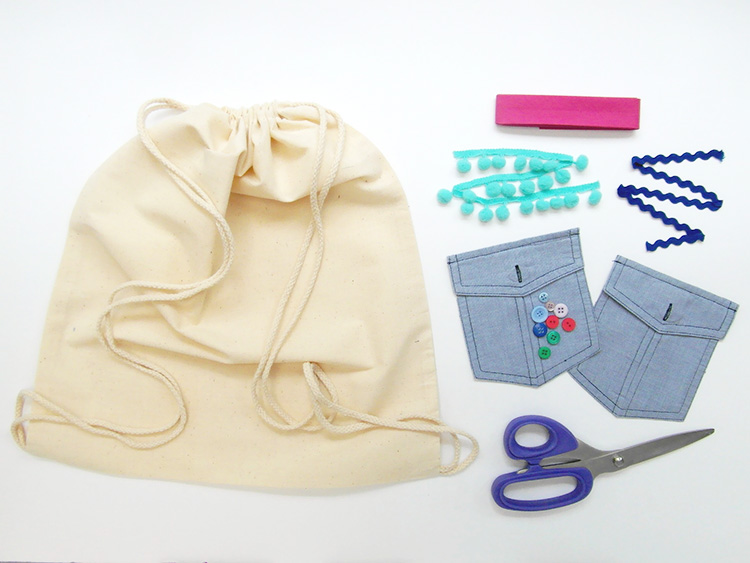
You Will Need:
One blank drawstring bag
A man’s shirt with buttoned pockets – we used denim, but you can use any fabric really
Bias binding or ribbon
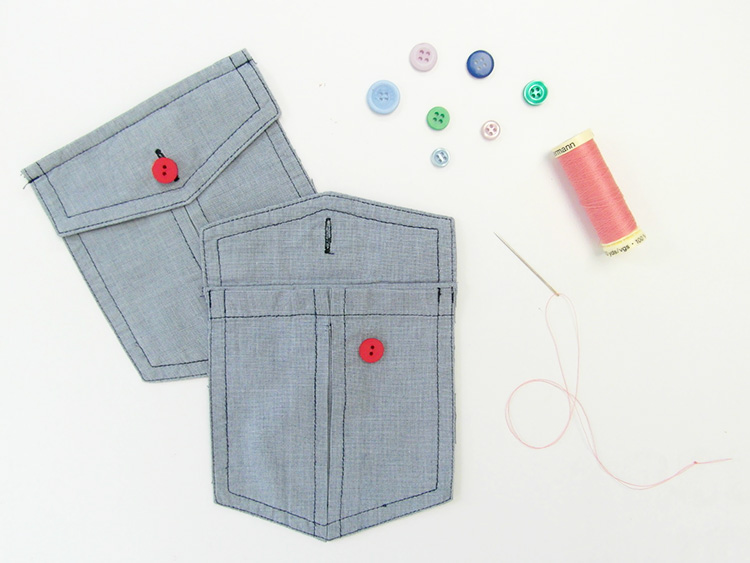
Buttons
Decorative trim
Bondaweb
1. Start by cutting the pockets off of the shirt, and replace the buttons with something a little more colourful, then position them onto the front of the bag.
2. Choose your trims and ribbons, and arrange them around the pockets.
3. Place the pockets face down on an ironing board covered with a cloth, and put a sheet of Bondaweb over the top. Iron gently and wait until cool before cutting out.
4. Peel the backing off of the Bondaweb, and place both pockets onto the bag where you want to fix them. Iron over the top until they’re both firmly stuck.
5. Repeat the process with the ribbons or binding, and then wait until everything is thoroughly cool.
6. To make sure everything stays in place, stitch around the edges either on a sewing machine or by hand.
Geometric Pencil Case
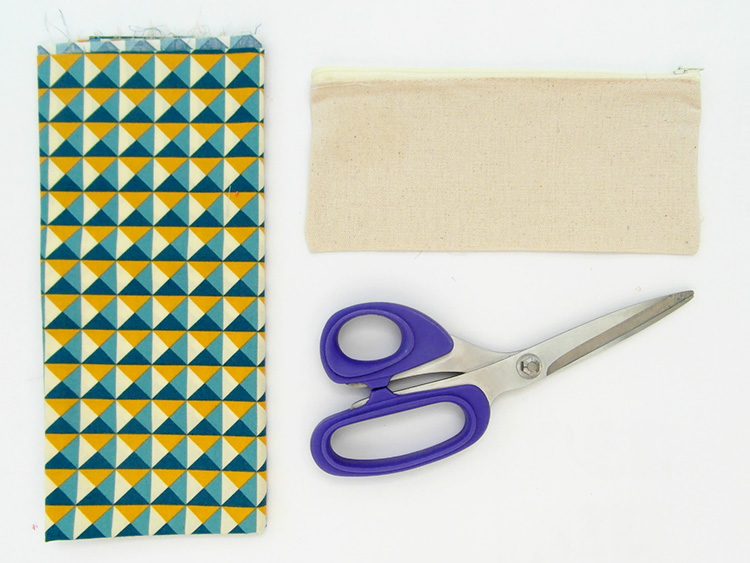
You Will Need:
A blank pencil case
Scraps of fabric
Bondaweb
1. Our fabric was printed with a geometric pattern but if yours is plain, simply cut some shape templates out of card, and then cut the shapes out of your chosen fabric.
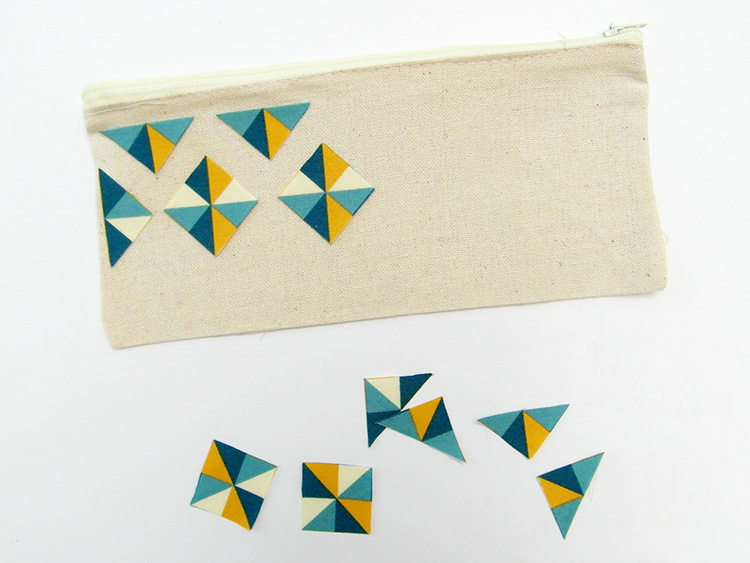
2. Arrange the shapes into a pattern, and make a note of your final design by taking a picture.
3. Place your shapes face down onto an ironing board covered with a cloth, and put a sheet of Bondaweb over the top. Iron gently and wait until cool before cutting out.
4. Peel the backing off of the shapes, then place onto the pencil case and iron in place.
Other Ideas:
1. Grab some cold-water dye and dip dye your pencil case or drawstring bag to create a great ombre effect.
2. Using dissolvable aida, cross stitch a pattern or phrase onto your bag – think flowers, geometrics and quirky quotes.
3. Either buy some stamps, or make your own using magic stamp foam or special stamp kit, and create a unique print for your bag or pencil case.
4. Go mad with haberdashery, and add beads, buttons, fringing and pom-pom edging to create a bag that really stands out from the crowd.

