|
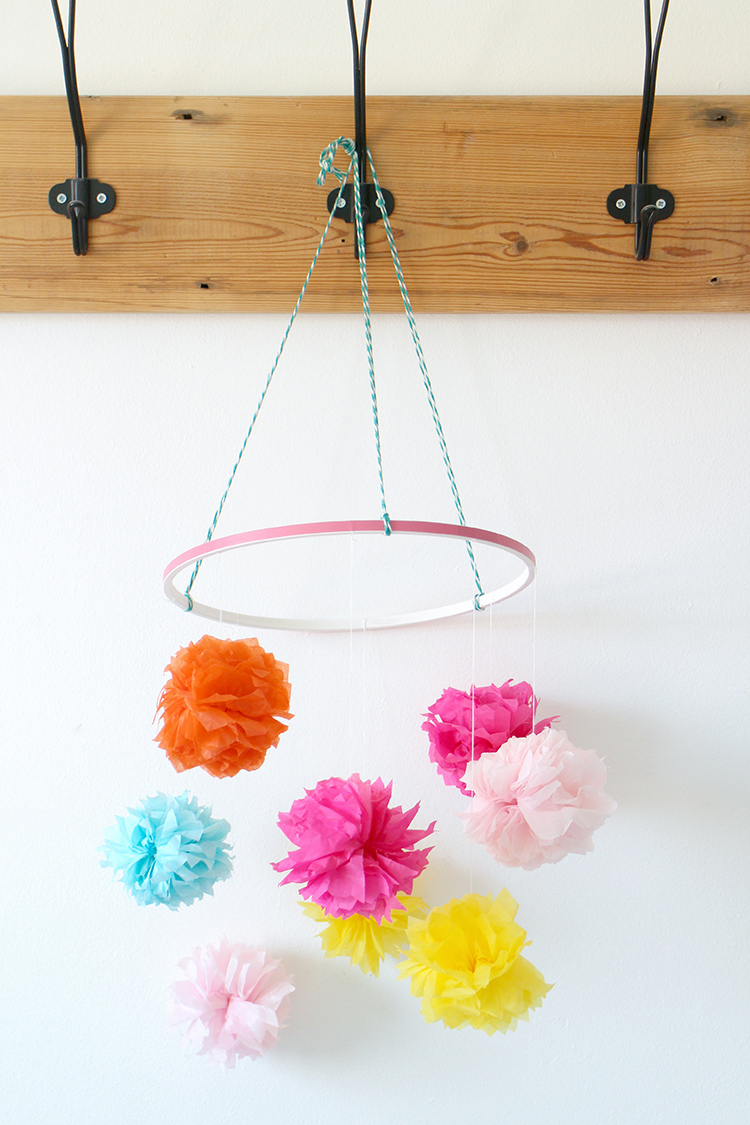
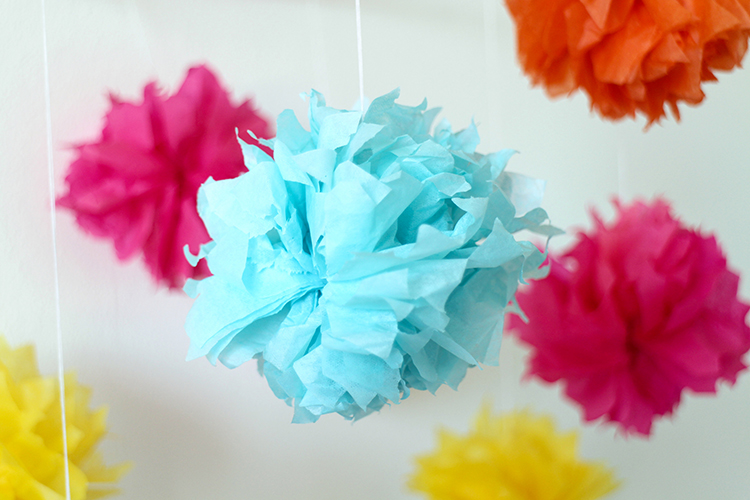
September has rolled around again; the summer parties are over, children are back at school and everyone is looking forward to the new season - but if you've found yourself with loads of summer craft leftovers, don't head straight for the rubbish bin; we've come up with a quick and easy five minute tutorial to use up those pastel colours and utilise the floaty tissue paper. You will need: Tissue paper in bright colours An embroidery hoop White acrylic paint Narrow washi tape Bakers twine White thread A sharp needle 1. Start by making your paper pom poms - if you've not done this before, we've got a brilliant tutorial here. For the mobile, they need to be small, so your tissue paper will need to be cut to roughly 10x17cm. 2. Once you've finished making your pom poms, paint your embroidery hoop white and leave to dry thoroughly. 3. In the meantime, thread a length of cotton through the centre of your paper pom poms using a sharp needle - once the painted hoop is dry, you can space them evenly around it and then fix them in place by wrapping a length of washi tape around the outside of the hoop. 4. To hang your mobile, you're going to need to attach three identical lengths of bakers twine at regular intervals around the hoop. Gather them together at the top, secure with a knot and then hang up - perfect for combatting the grey Autumn weather! (These are also great for babies and children's bedrooms, and if you switch the tissue paper to more seasonal colours, they make brilliant Christmas decorations too.)
|
  Email: info (at) stickytiger.co.uk Phone: 0115 8800 700 |