|
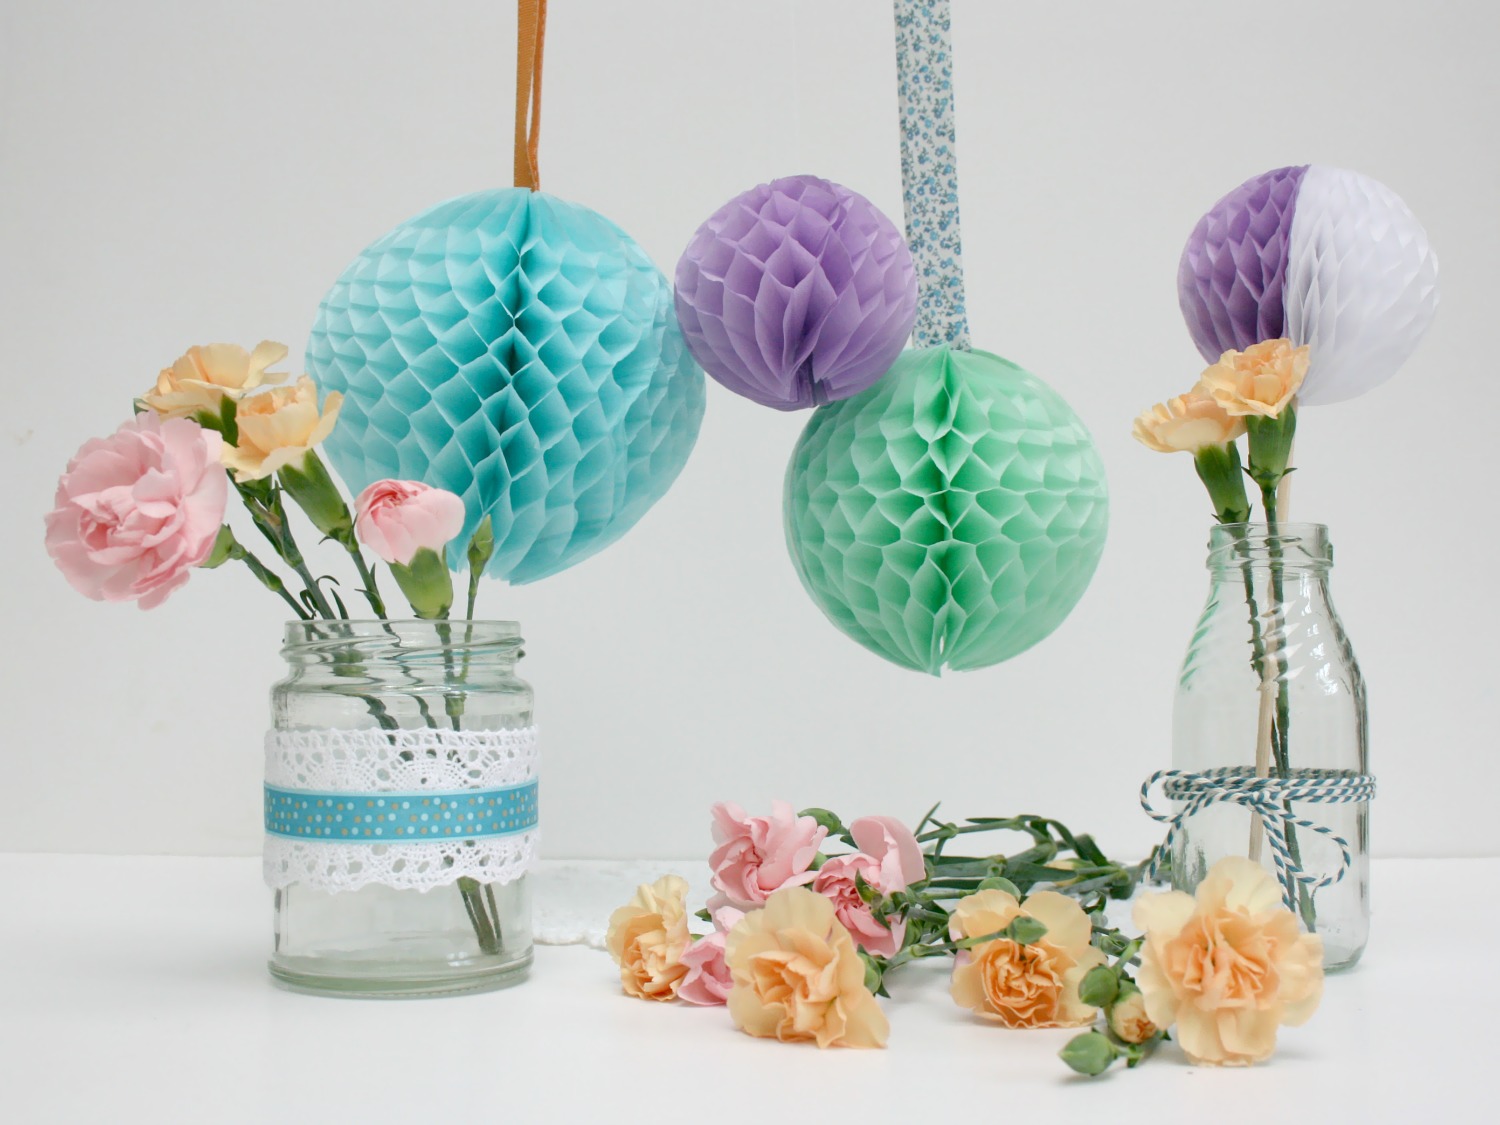
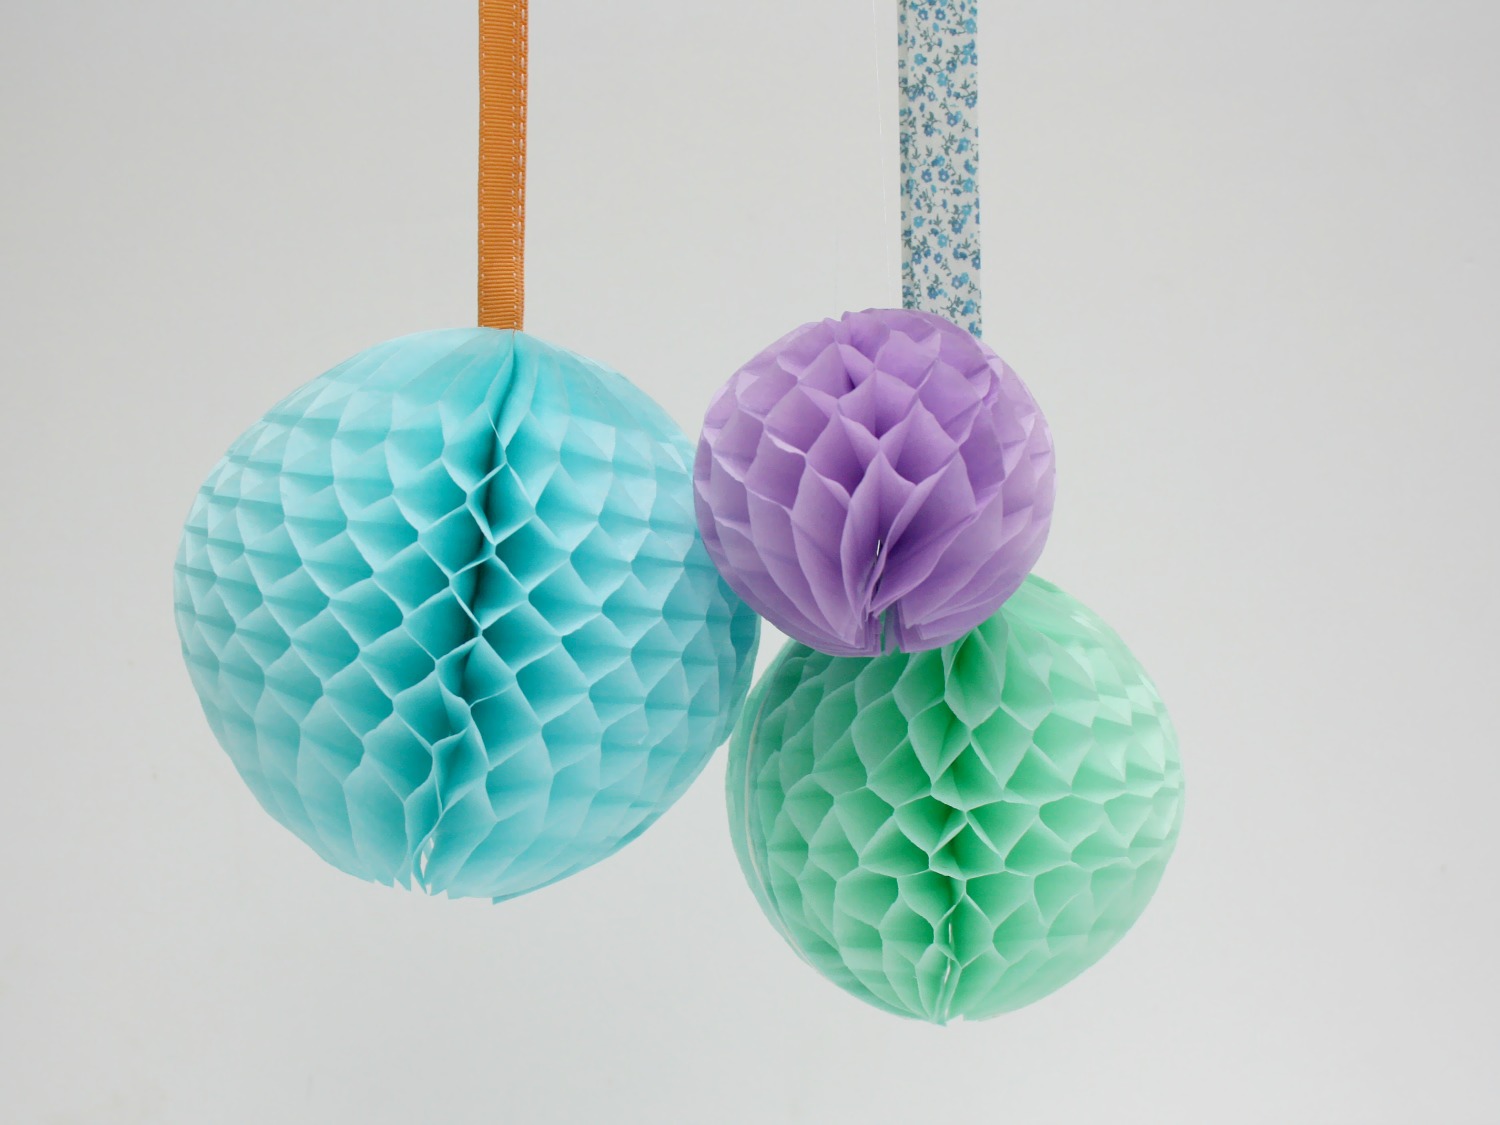
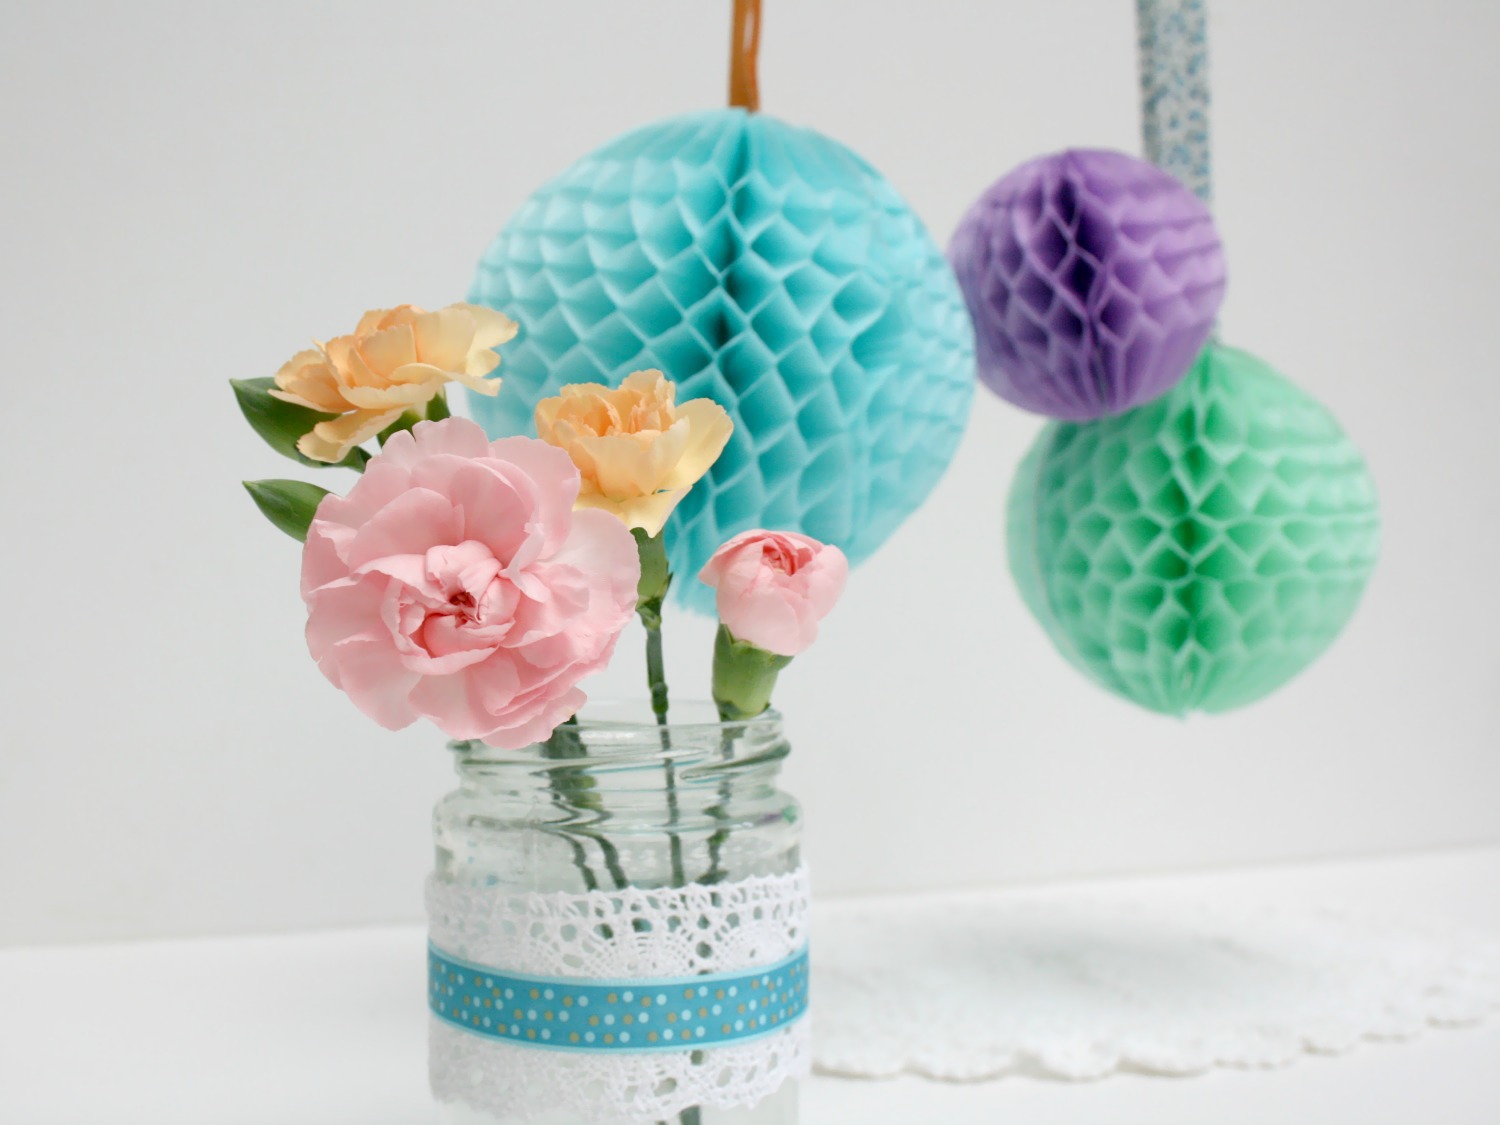
In the second edition of our Summer Decor series, we’re following on from light and fluffy paper pom poms with a tutorial for easy peasy honeycomb decorations. Great for anything from adorning churches and reception venues for weddings, to stringing up from trees and fences for a summer garden party, these versatile little paper accessories are both simple to make and incredibly addictive.
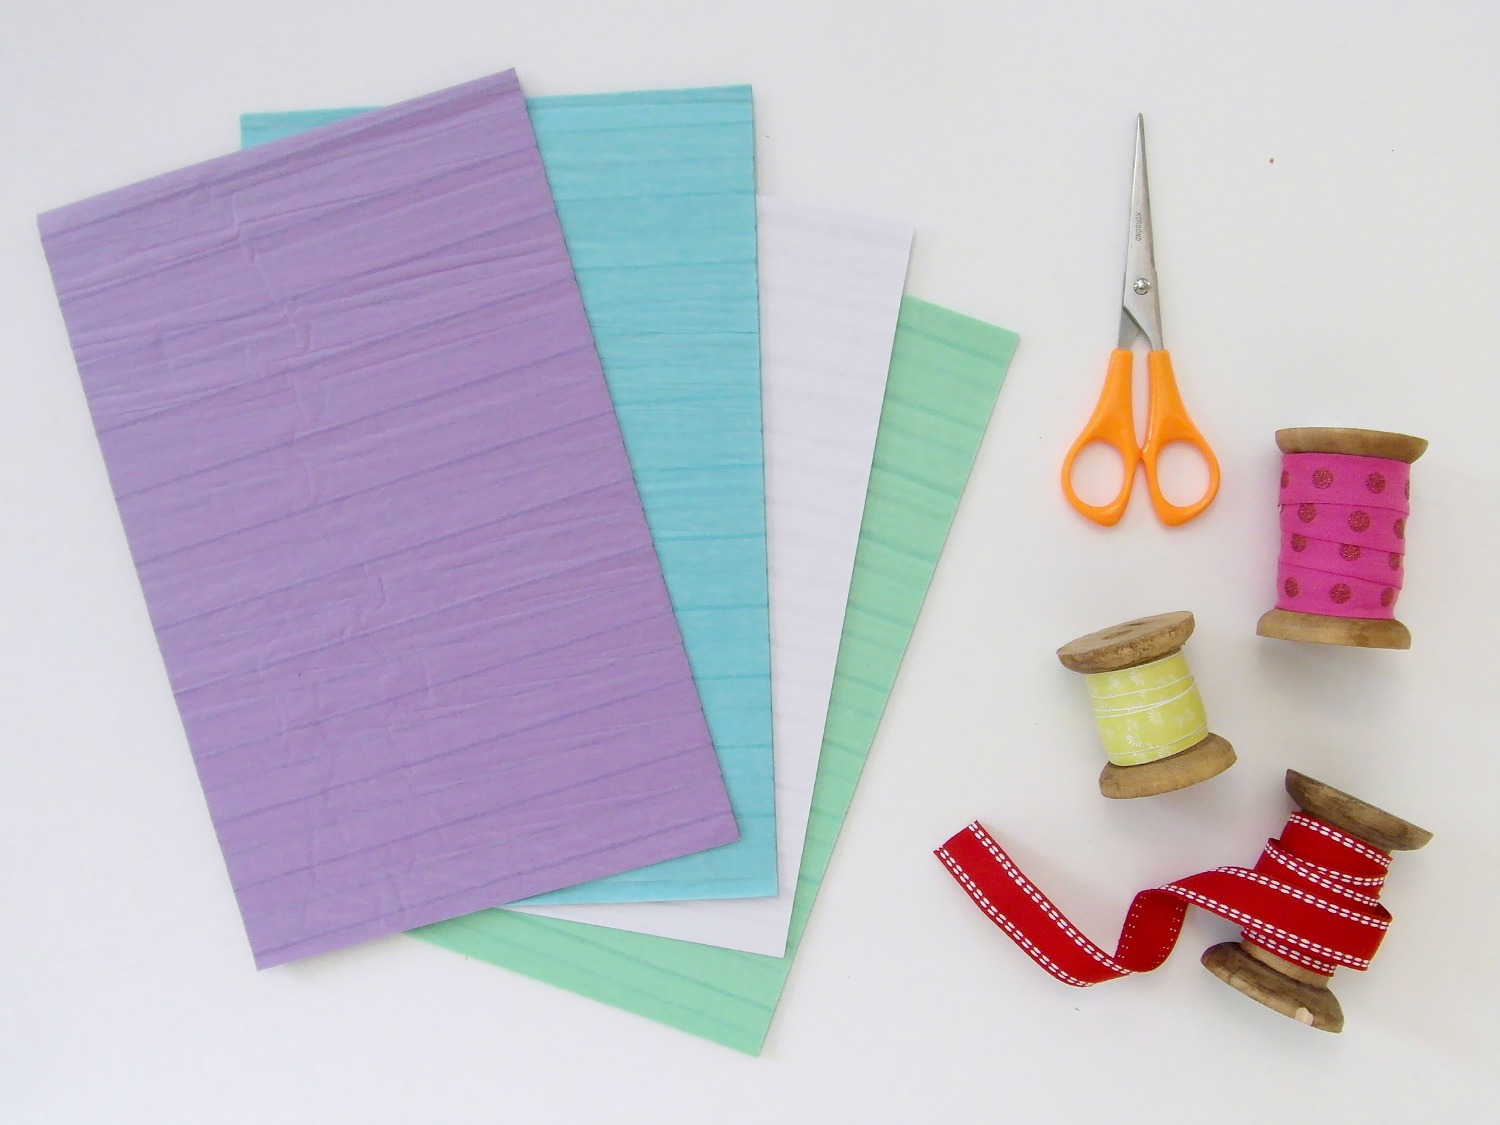
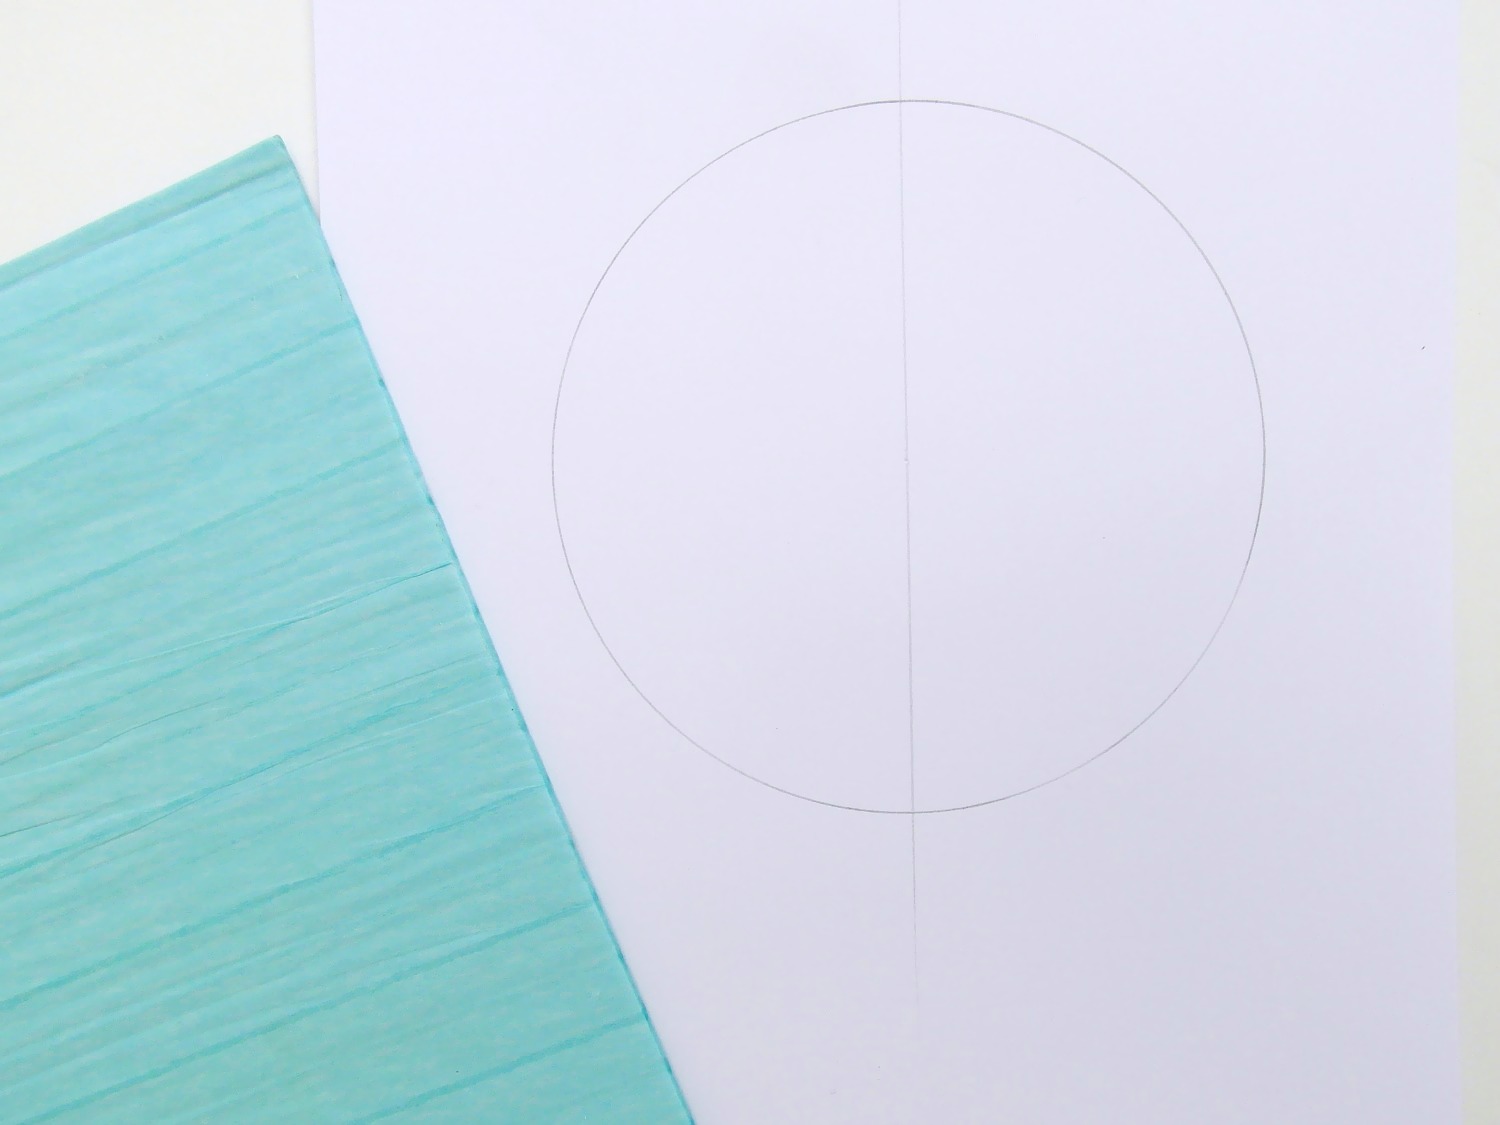
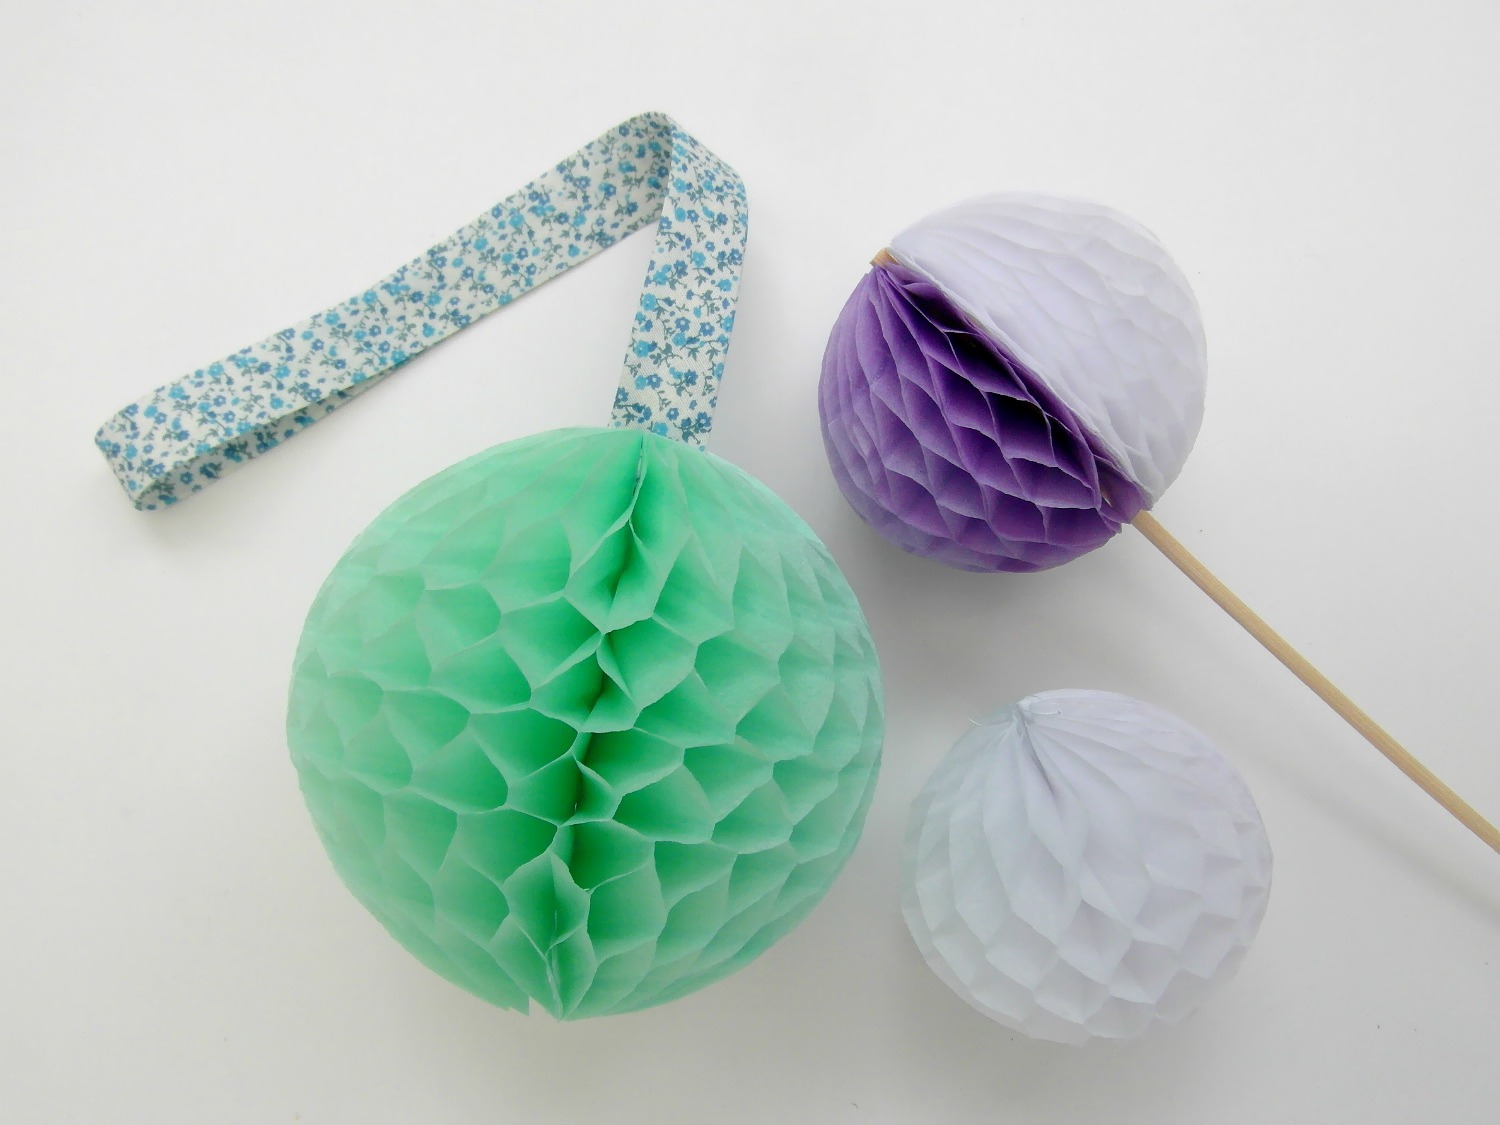
You will need: Concertina paper in a variety of colours Cardboard Strong glue or double sided tape Ribbon or thread for hanging Wood sticks (optional) Sharp scissors A pencil 1. Begin by drawing a circle template onto a piece of card, and cutting it out. Cut it in half so you’re left with two identical semi-circles. 2. Lay your concertina paper on a flat surface, and make sure the lines are lying horizontally.
3. Find the glued edge of the concertina paper, place your template against it, and then draw round it. Do this twice, and then cut out your shapes – you’ll find you have two pieces of concertina paper in semi-circle shapes. 4. Before the next stage, you’re going to need to gently pull the paper apart so you can create the ball shape. Make sure you pull slowly, and ease any bits that don’t separate – otherwise you’ll end up with torn tissue paper, and you’ll have to start again.
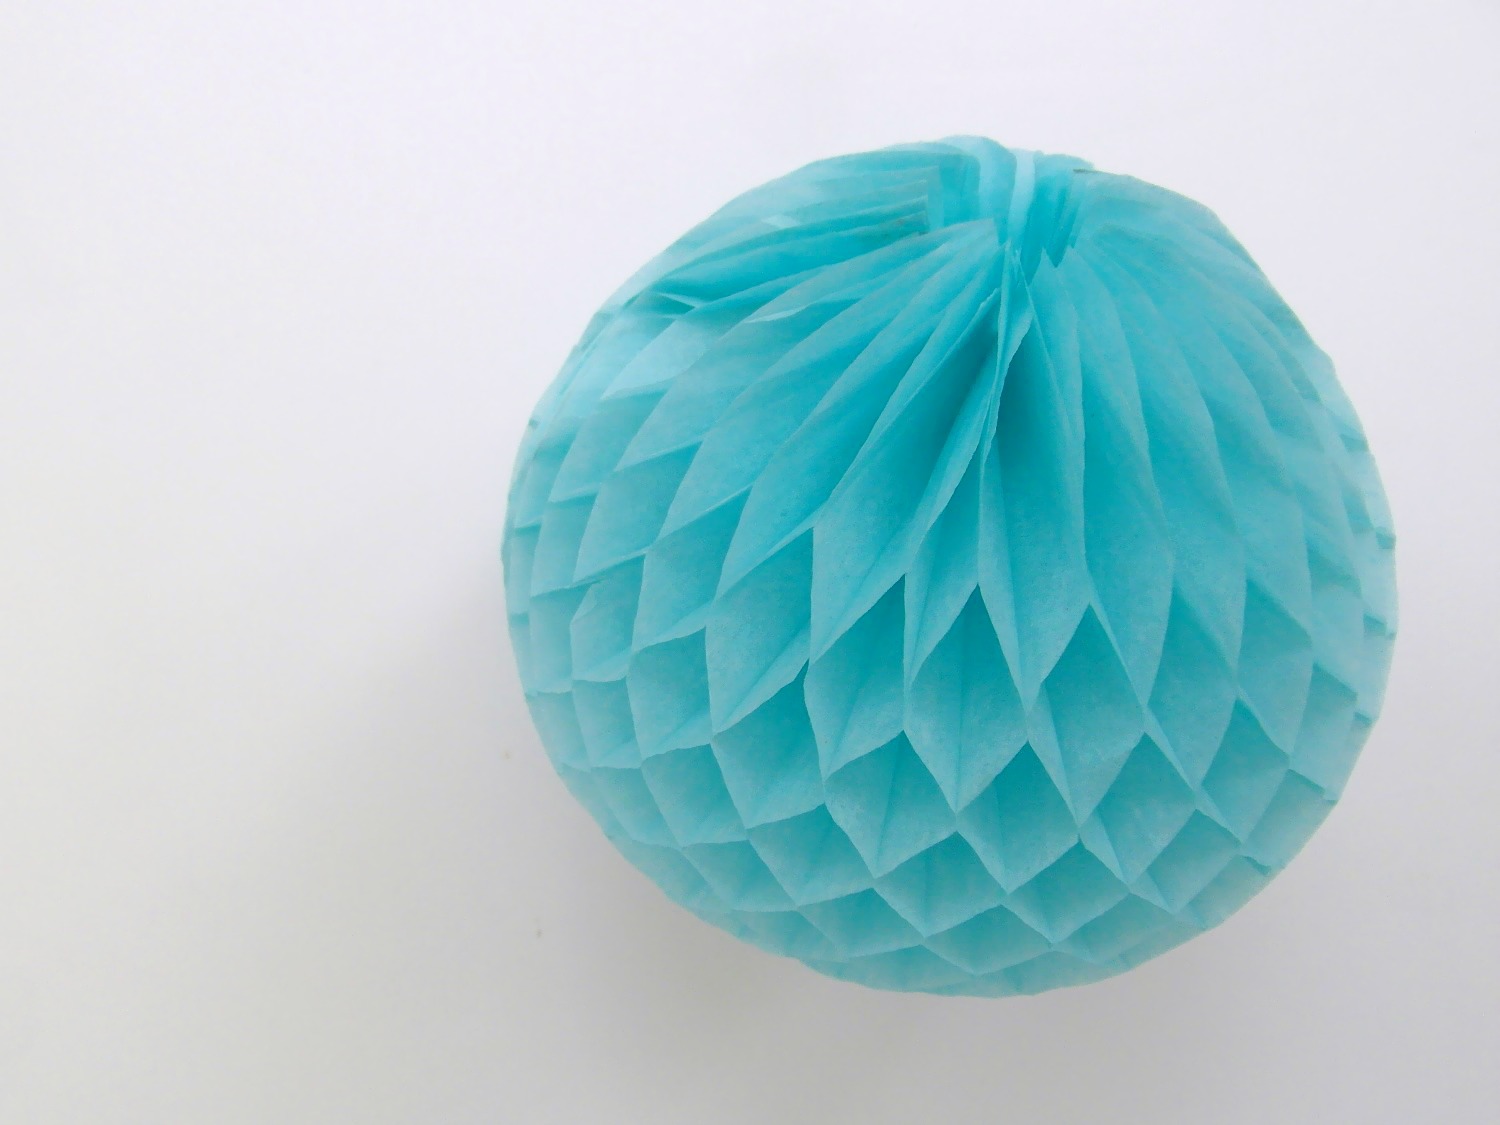
5. Spread a thin layer of glue over the edge of one of your semi-circles, and then press the other semi-circle against it. Leave it to dry thoroughly, then open out each section, and glue the opposite ends together – you’ll find that it automatically forms a ball shape, and is now ready to hang up with pretty ribbon or fine cotton thread.
Top Tips
|
  Email: info (at) stickytiger.co.uk Phone: 0115 8800 700 |