|
The month of May is a great time to get involved in craft projects; spring and summer weddings, outdoor birthday parties and other happy events are all great sources of inspiration for makers everywhere, and here at StickyTiger, we’ve got all the materials you could possibly need to craft everything from handmade invitations to table centrepieces, wall hangings and plenty of decorations. The warmer weather and beautiful sunshine make crafting outside a pleasure, and we’ve come up with a series of tutorials designed especially to make your summer celebration go with a bang; so spread out a blanket, pop on some sunglasses and get making! DIY Paper Pom Poms
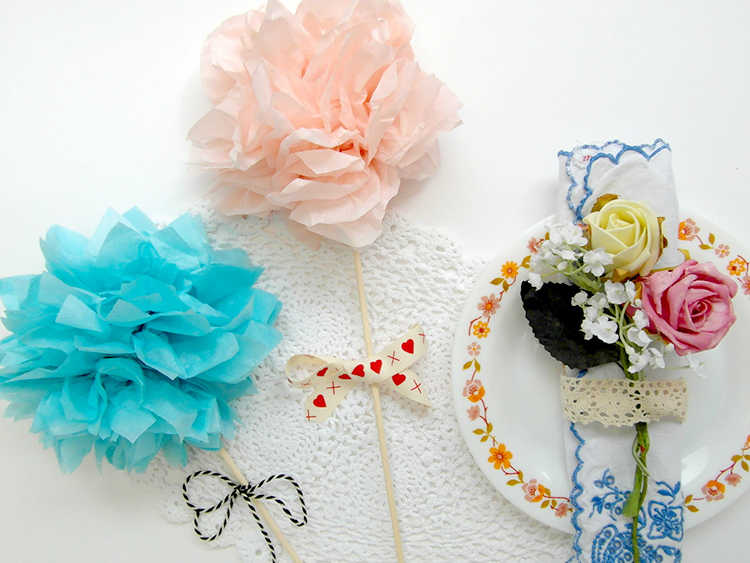
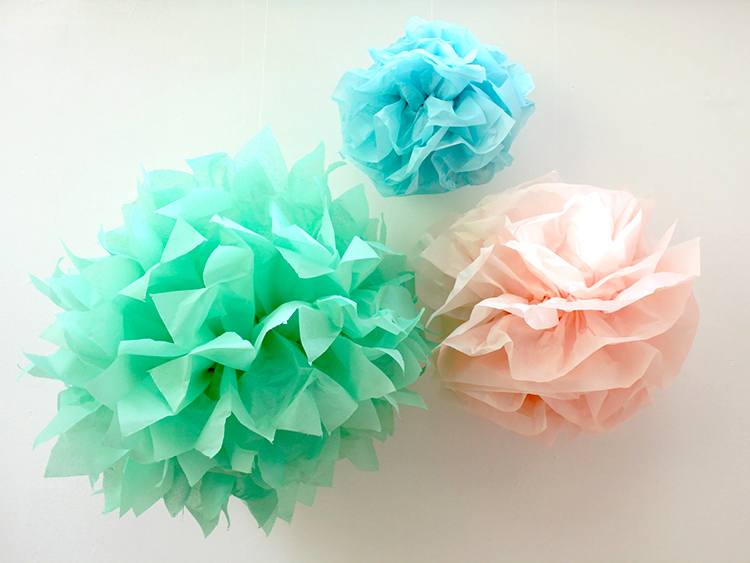
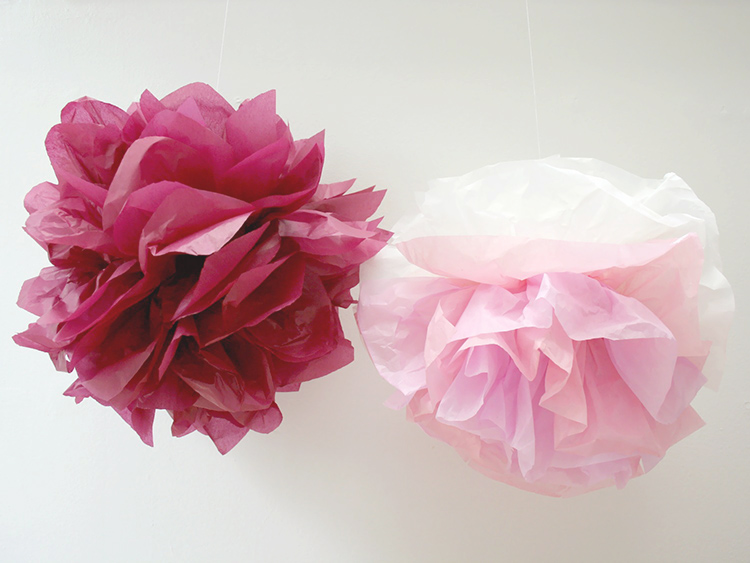
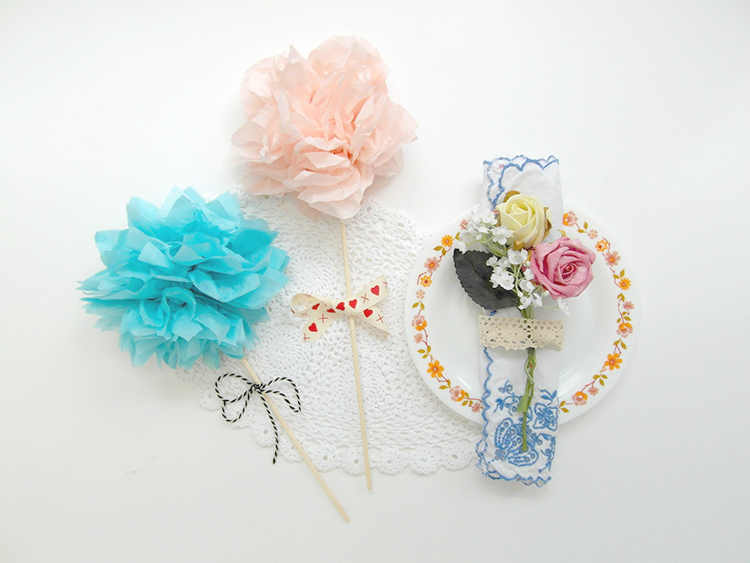
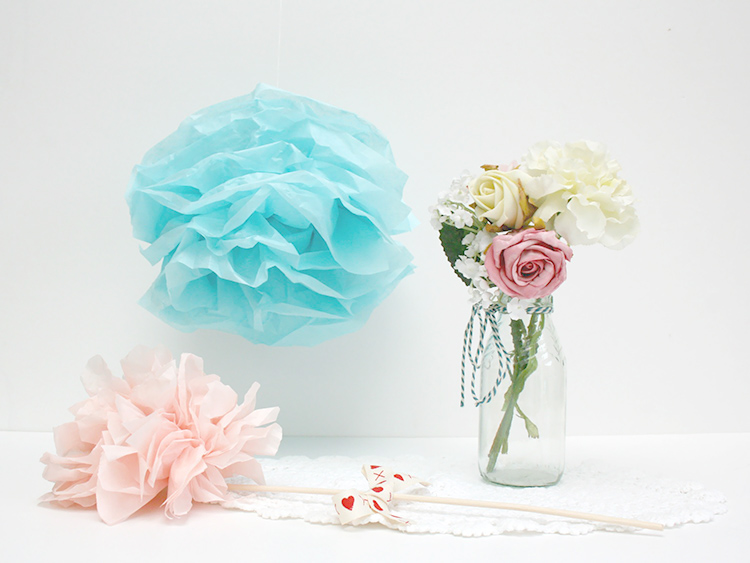
Puffy, floaty and slightly ethereal, we love a good paper pom pom here at StickyTiger, and we also love how many different ways there are to use them. One of the most versatile craft projects around, you can vary everything from the size and shape to the colour and pattern, and then use them in a hundred different ways; think placed in a circle around a collection of candles as a table centrepiece, as an alternative to a bridal bouquet or to simply decorate a plain wall.
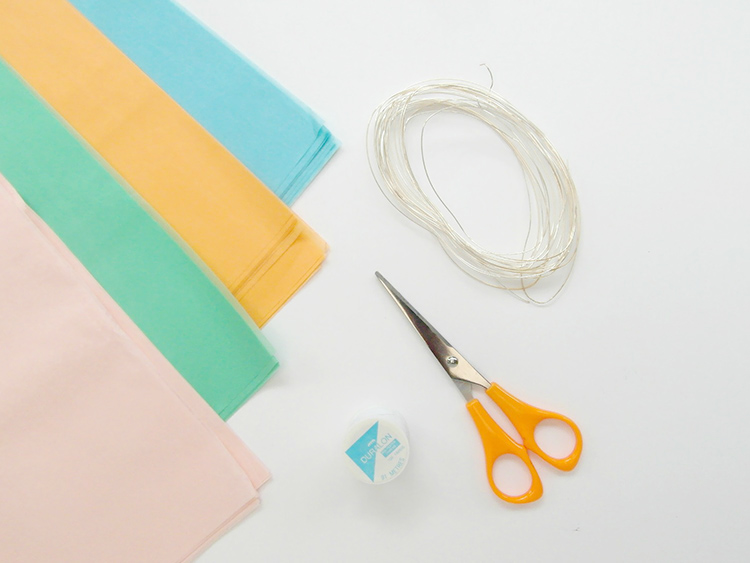
You will need: Tissue paper in your chosen colours (each pom pom uses between eight and ten sheets) Very sharp scissors Ribbon, thread or invisible thread for hanging
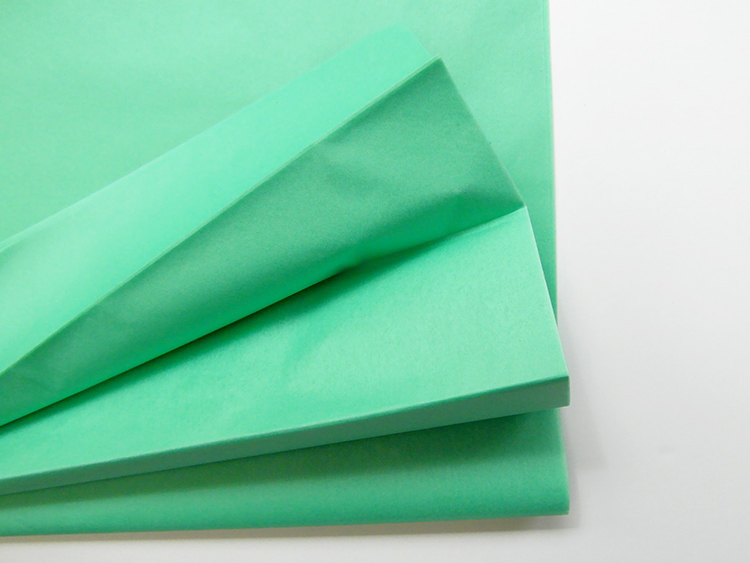
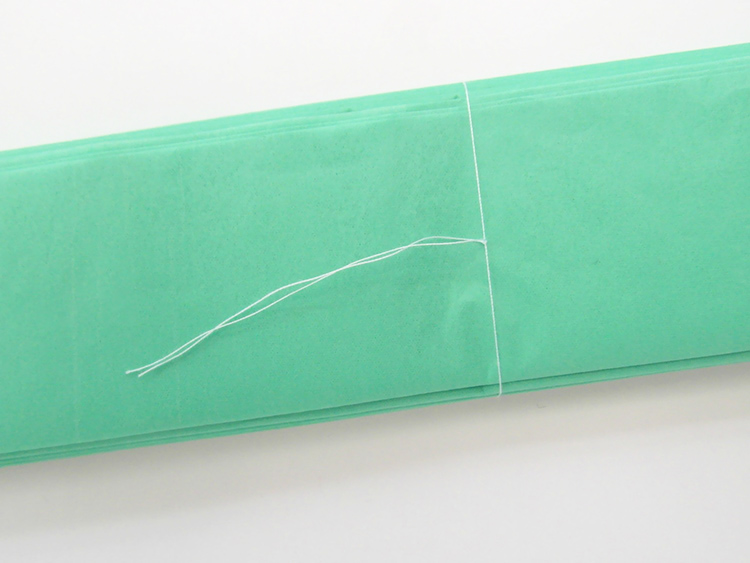
1. Take eight sheets of tissue paper, and lay them on top of each other. Hold the top edge firmly, fold over roughly 5cm and then begin to concertina fold along the length of the paper (the same way you do when making a paper fan).
2. Once you’ve folded the entire length, fasten around the middle with either the wire or the thread – don’t tie it too tightly, or it’ll make things tricky later on. The idea is to just hold the sheets together.
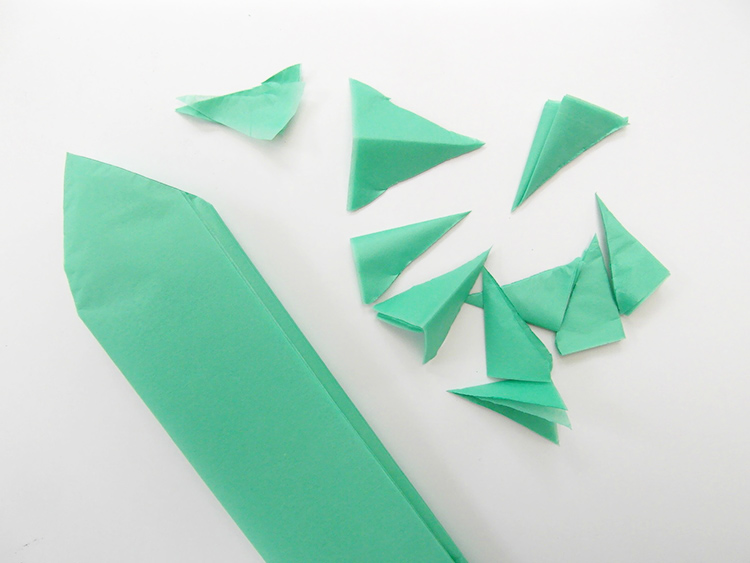
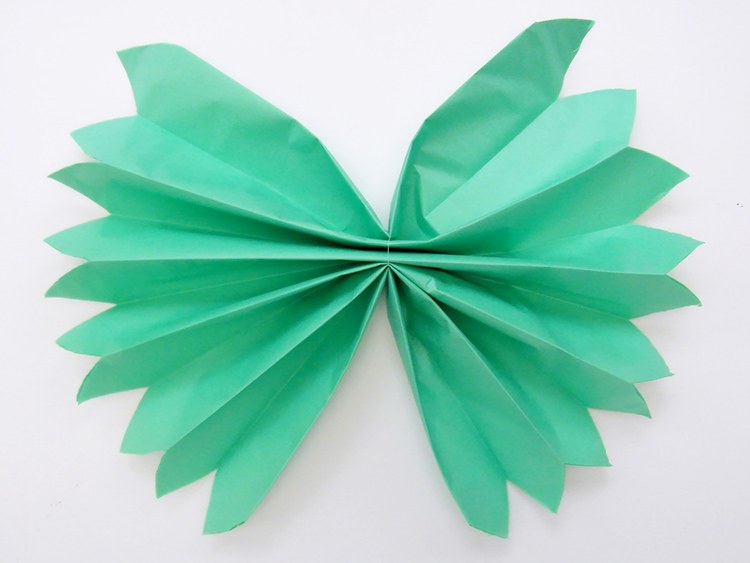
3. The next step is to snip either end of the paper into a petal or half-petal shape. 4. Fan either side of the paper out – you should end up with something that looks a bit like this:
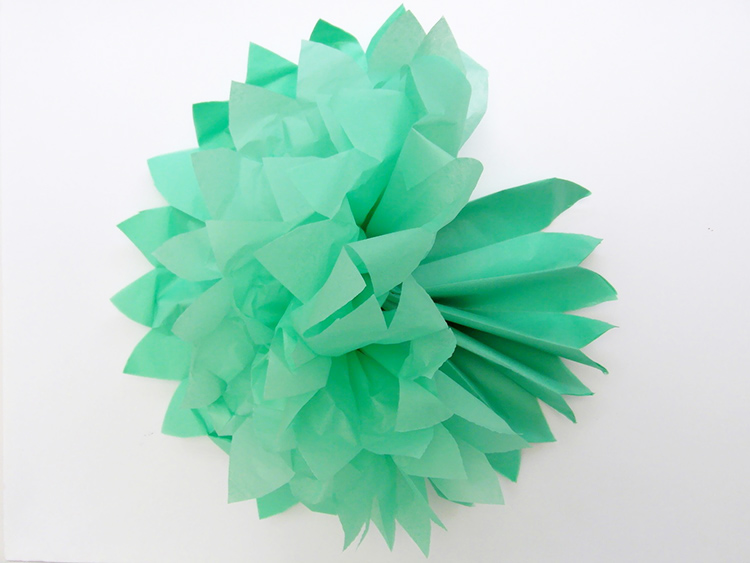
5. Begin to separate the layers of tissue paper by gently pulling them towards you – the paper will stand up on its own, and after a few sheets you’ll begin to see how your pom pom is going to look. After you’ve worked through half of the sheets, repeat the process on the other side and then turn the pom pom over to do the same on the back, until you’ve finished. 6. Attach the thread or ribbon to the thread in the middle, then make a whole load more and hang display together in groups of various sizes and colours. Variations You can change several things about this tutorial: Cutting the ends of the concertina’d paper: There’s a good amount of room for variation here by changing the shape you cut in; a petal shape will give a more pointed effect, while just snipping from one side to the other in a curve will create soft waves. You could try anything from not cutting it at all, to testing out different shapes and even using scissors with a serrated edge.
Size and shape Smaller sheets of tissue paper will obviously give small pom poms, which can be used to decorate tables or as bouquets, while the larger versions look great swaying gently in the breeze at a wedding reception or summer birthday party. If you want them to sit flat on a table, plate or wall, simply separate all the sheets in one direction, rather than turning it over so it remains flat on one side.
Colour As well as making gentle pastel and eye-popping bright versions, you can also vary the colours by alternating the layers of tissue paper to combine shades, make stripes and even produce an ombre effect.
|
  Email: info (at) stickytiger.co.uk Phone: 0115 8800 700 |