 | Three Great Ways to Jazz Up your Jam Jars20 May 2015 | Nicola |
With wedding season now fully underway, crafty brides-to-be everywhere will be brandishing their glue guns and tangling themselves up in metres of ribbon – if this is you, we’ve got a few tutorials coming up that will help you add a personal touch to your special day without it breaking the bank.
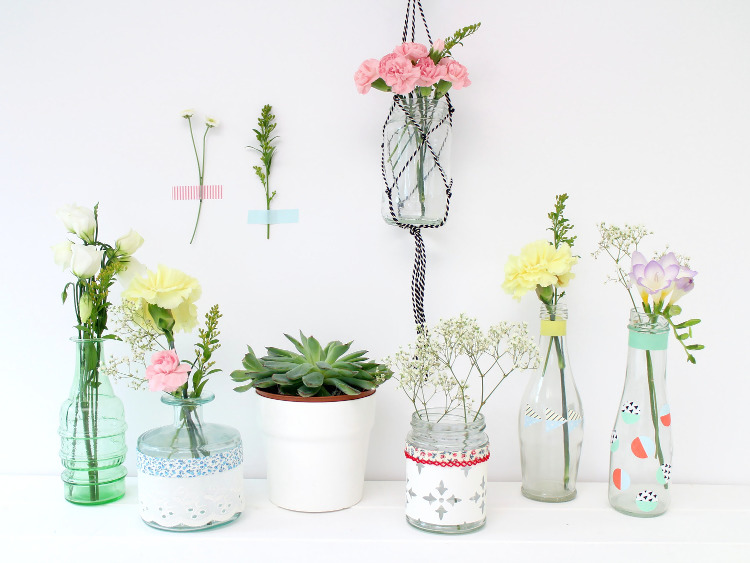
Jam jars are great for weddings; from holding flowers and centrepieces to keeping candles and tealights safe, and even acting as a place to store cutlery, straws and other sundries, they’re massively useful. Today we’ve got three easy ways to make them look extra special on your extra special day.
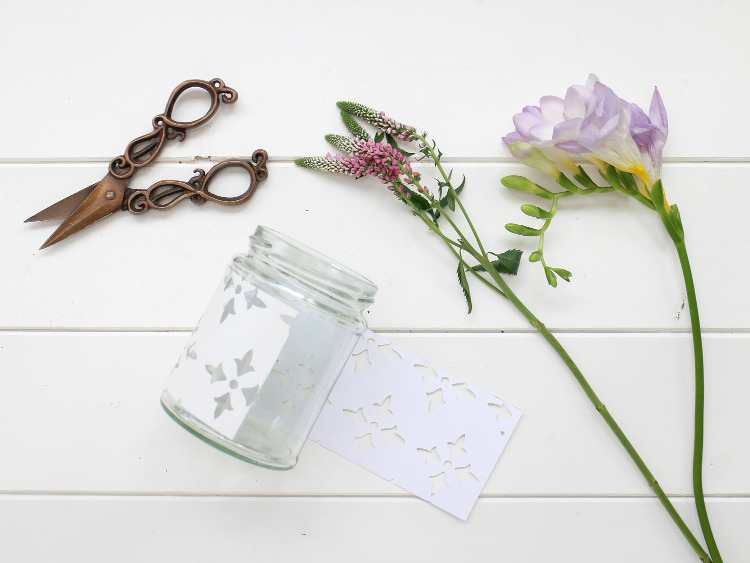
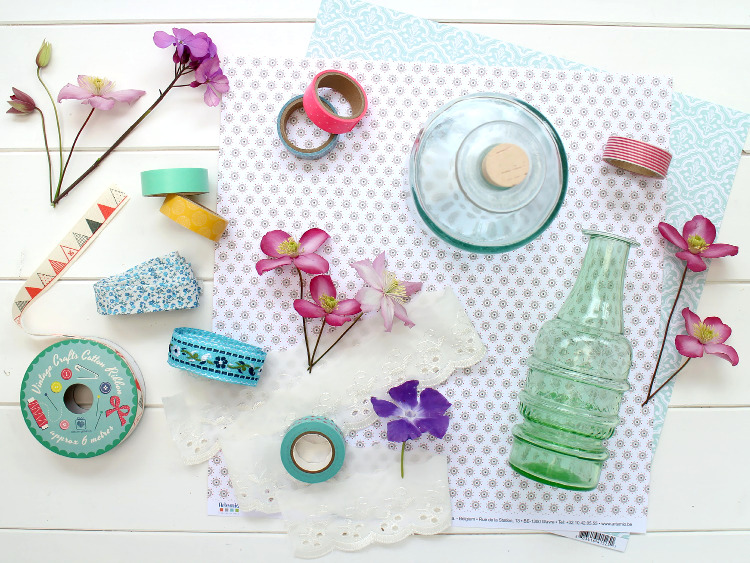
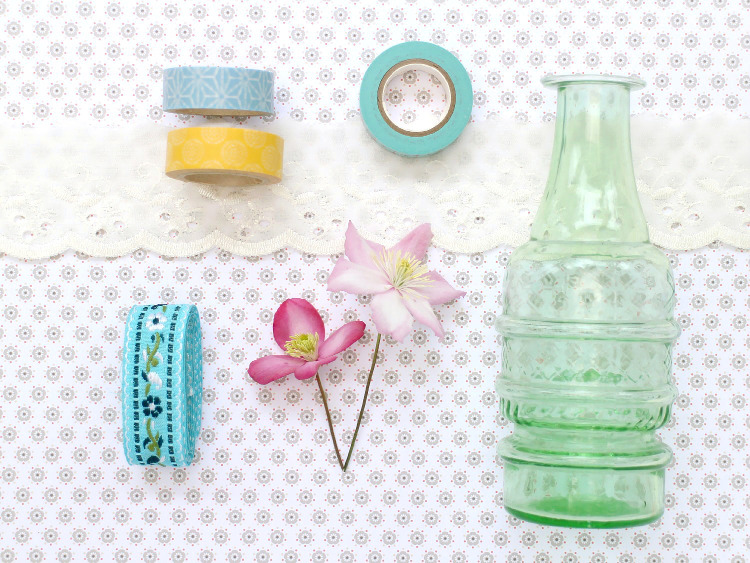
Fabric, Paper and Other Materials
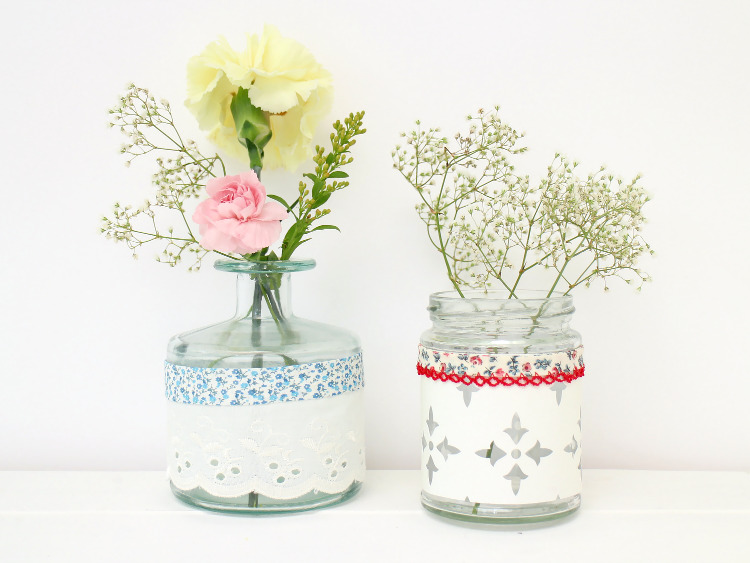
For ours, we simply wrapped them in scrapbook paper and ribbon, then finished them off with some pretty printed binding; ours would have been perfect as tealight holders, as the cutouts would have created a beautiful effect with a naked flame behind them. We also thought that covering our jars in any of the following might be rather nice:
- Mod Podge and special decoupage papers, or even printed paper napkins or wrapping paper.
- A selection of pressed wildflowers – ideal if you’re having a rustic or country-themed wedding.
- Old maps or letters – we thought this would look beautiful for celebrations with a vintage feel, and you could even use maps that have a personal meaning.
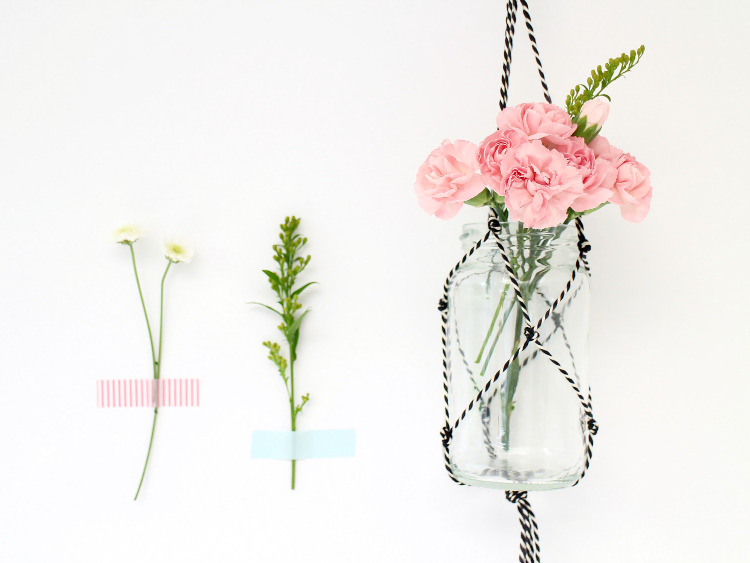
Macrame Style Hanger
We’ve been fans of macramé for ages, but if like us, the knots tend to baffle you a little bit – just do what we did and wing it!
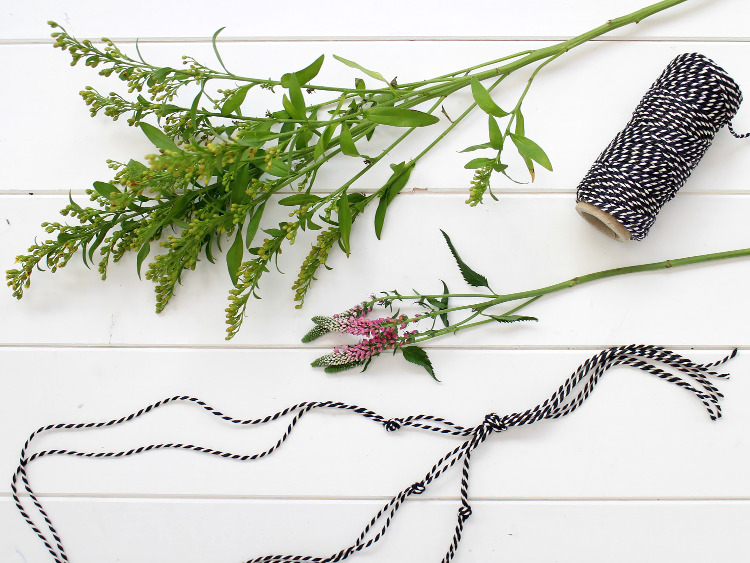
1. Cut six lengths of bakers twine the same length (roughly a metre), then tie them together in a knot while leaving enough at the bottom for a good tail.
2. Separate the six lengths into pairs, then tie them together a few centimetres from the bottom.
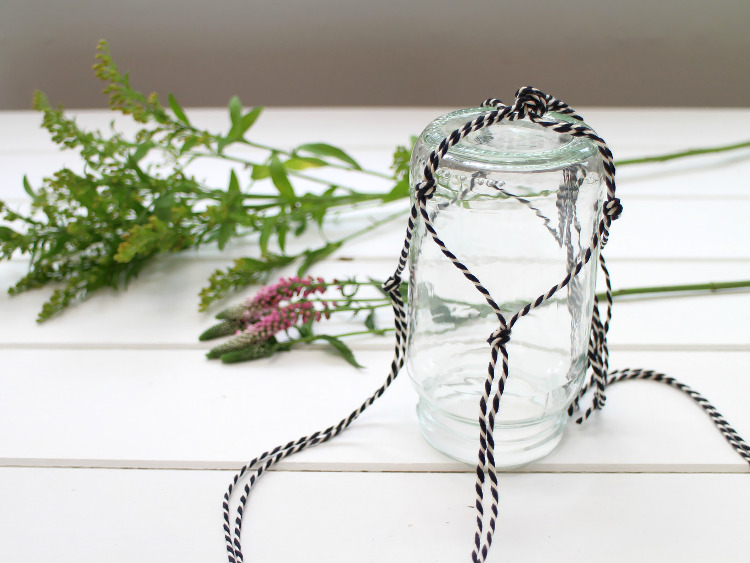
3. Turn your jar upside down, then place the twine on the bottom repeat the knotting process further up with new pairs until you reach the top of the jar.
4. Turn it the right way up, fasten at the top with a knot and you’ve got yourself a five-minute macramé-style hanger!
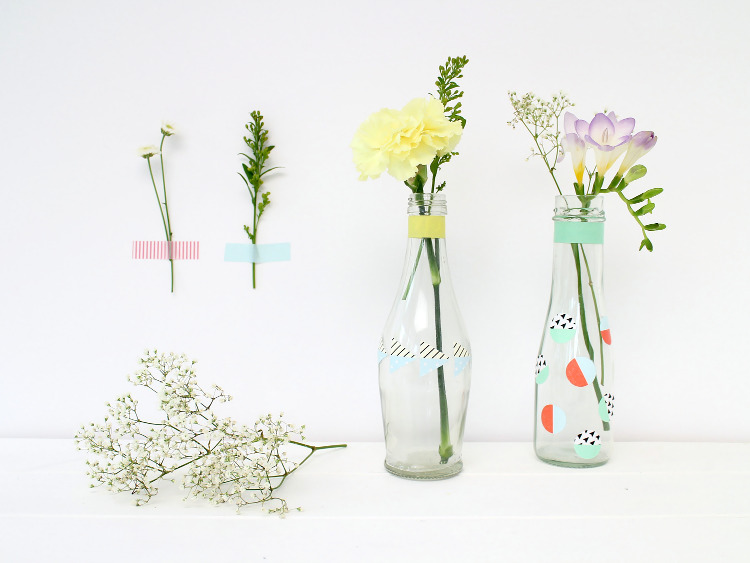
Washi Tape Stickers
Washi tape stickers are a really easy way to add an eclectic touch to your jars and bottle – mix and match colours, prints and patterns in different shapes to create eye-catching centrepieces and decorations.
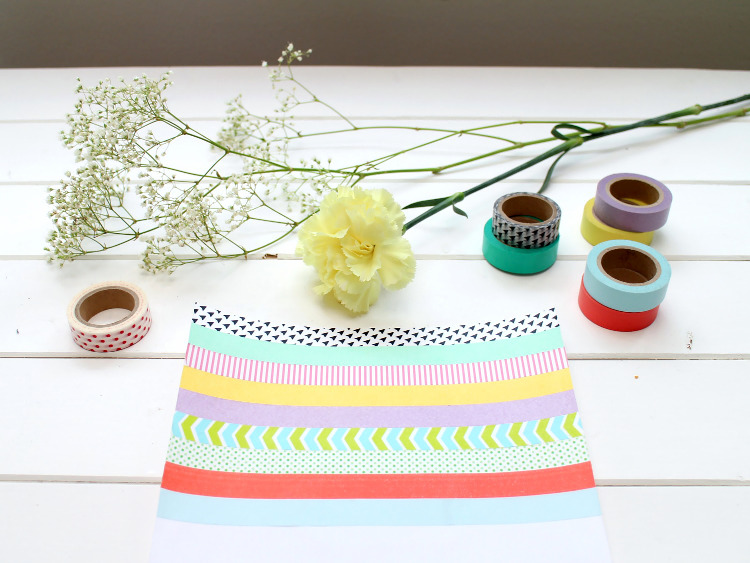
1. Stick lengths of washi tape to a piece of large sticker paper; experiment by mixing together different patterns, brights and pastels and monochromes.
2. If you’ve got large hole punches, use them to cut out different shapes from different areas of the paper – these are great because they come in so many different styles, from simple circles and triangles to flowers and garnishes.
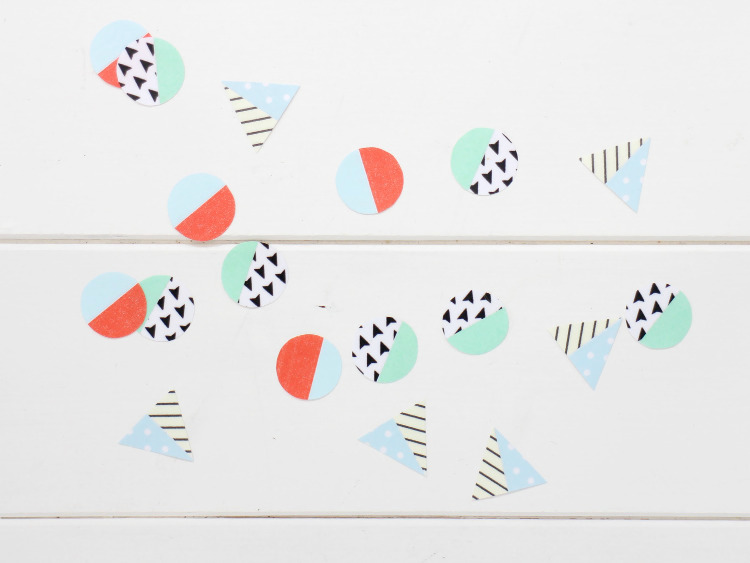
3. If you haven’t got a hole punch, simply make some templates and then draw round them on the reverse of the paper. Cut them out using a craft knife or sharp scissors, and you’ll get the same result.
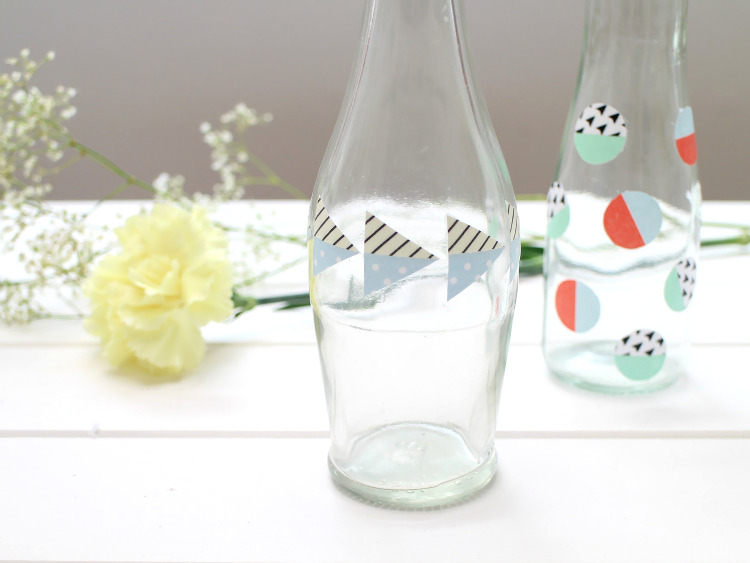
4. Peel the backing away from your sticker, and then place onto the surface of the glass jar or bottle – if you want to make them more robust, you can always add a layer of spray varnish. Ideal for those outdoor celebrations!

