 | Bright and Cheerful Chalkboard Tags21 December 2014 | Nicola |
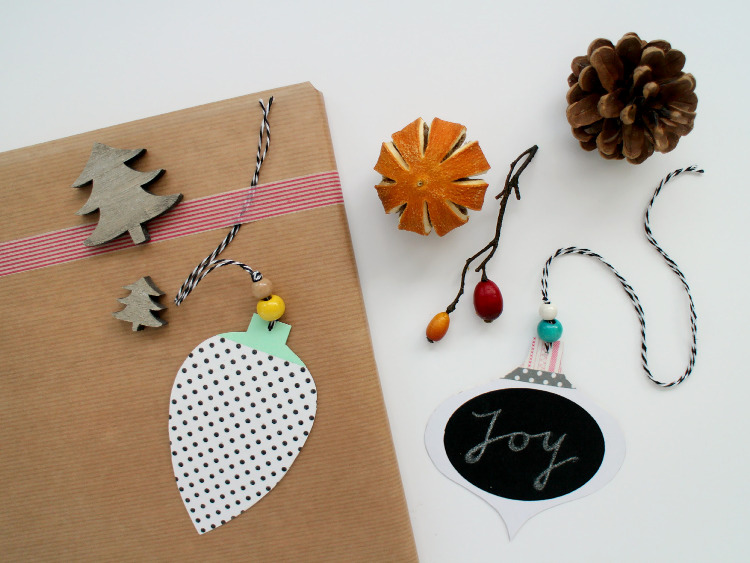
We’ve seen loads of great DIY gift tag tutorials floating about on the internet, but the ones we particularly liked were those that were re-usable. From patterned FIMO to beautiful fabric versions, the possibilities for forever-tags are almost endless; today we’ve got a really easy tutorial for some super simple chalkboard tags which can be used time and time again.
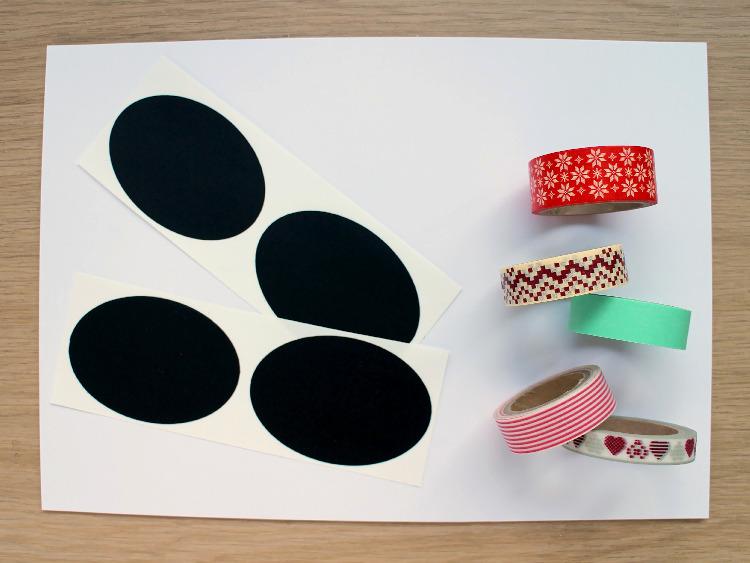
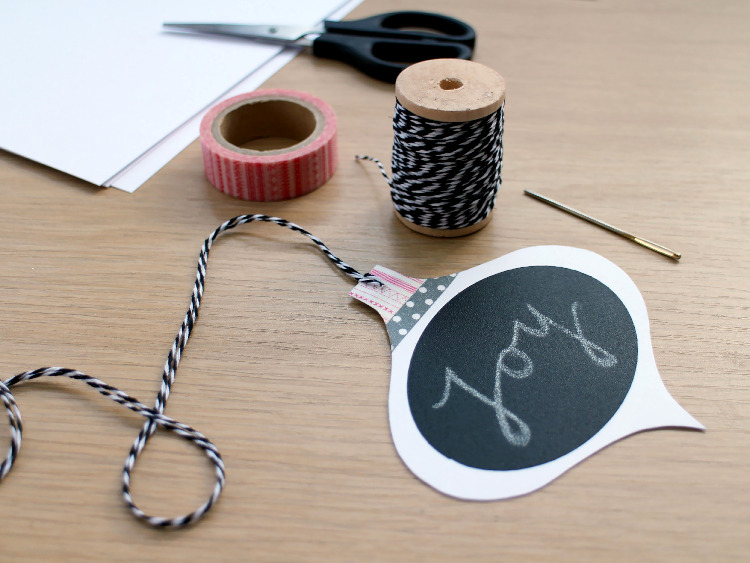
You Will Need:
White cardboard
Washi tape
Oval chalkboard stickers
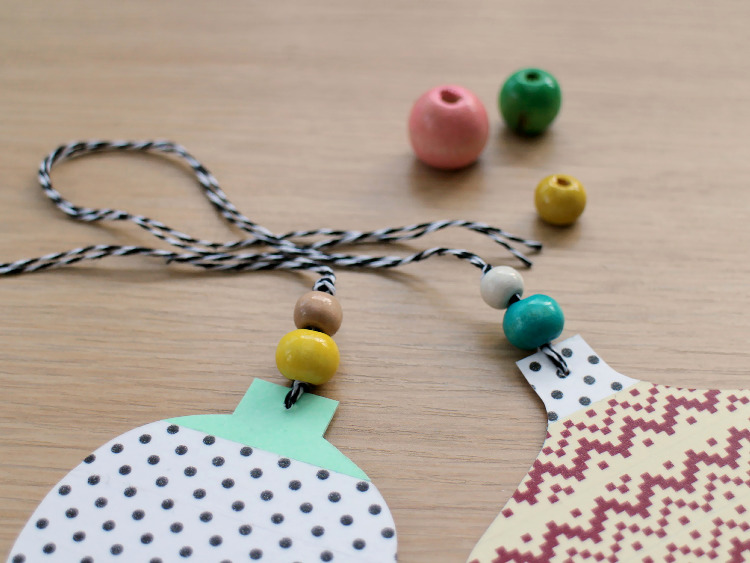
Bakers twine
Coloured beads
A chalkboard pen
Sharp scissors
A craft knife
A sharp needle or hairpin
A wool needle
1. First, create your bauble template and trace it onto the white card, then cut it out.
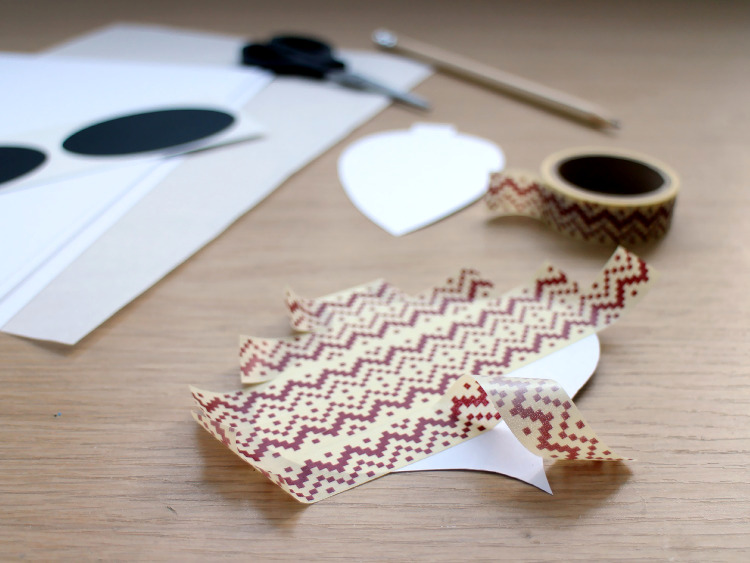
2. Cover the reverse of your bauble in strips of washi tape, in whatever design you like.
3. Turn the bauble over, and trim around the edges of the washi tape using the craft knife, so you end up with a neat finish.
4. Turn your bauble over again, so it’s lying face up, and stick a strip of washi tape along the top, then trim around the edges.
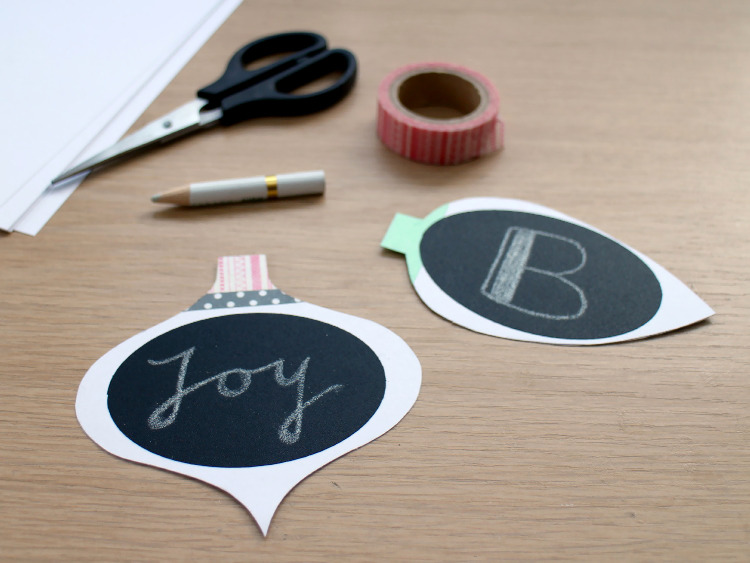
5. Stick your chalkboard sticker onto your tag, and then write your message and leave to dry.
6. Using a sharp needle or hairpin, punch a hole in the top of your tag, then thread the bakers twine through using the wool needle.
7. Thread a couple of beads onto the bakers twine, and then tie a knot to secure them in place. You’re done!

