 | DIY FIMO Plant Markers28 July 2015 | Nicola |
Following on from our round-up of great garden crafts last week, we’ve got a nifty little tutorial today showing you how to make some quirky plant markers. So ditch the plastic sticks and permanent markers, grab some FIMO and get rolling!
You Will Need:
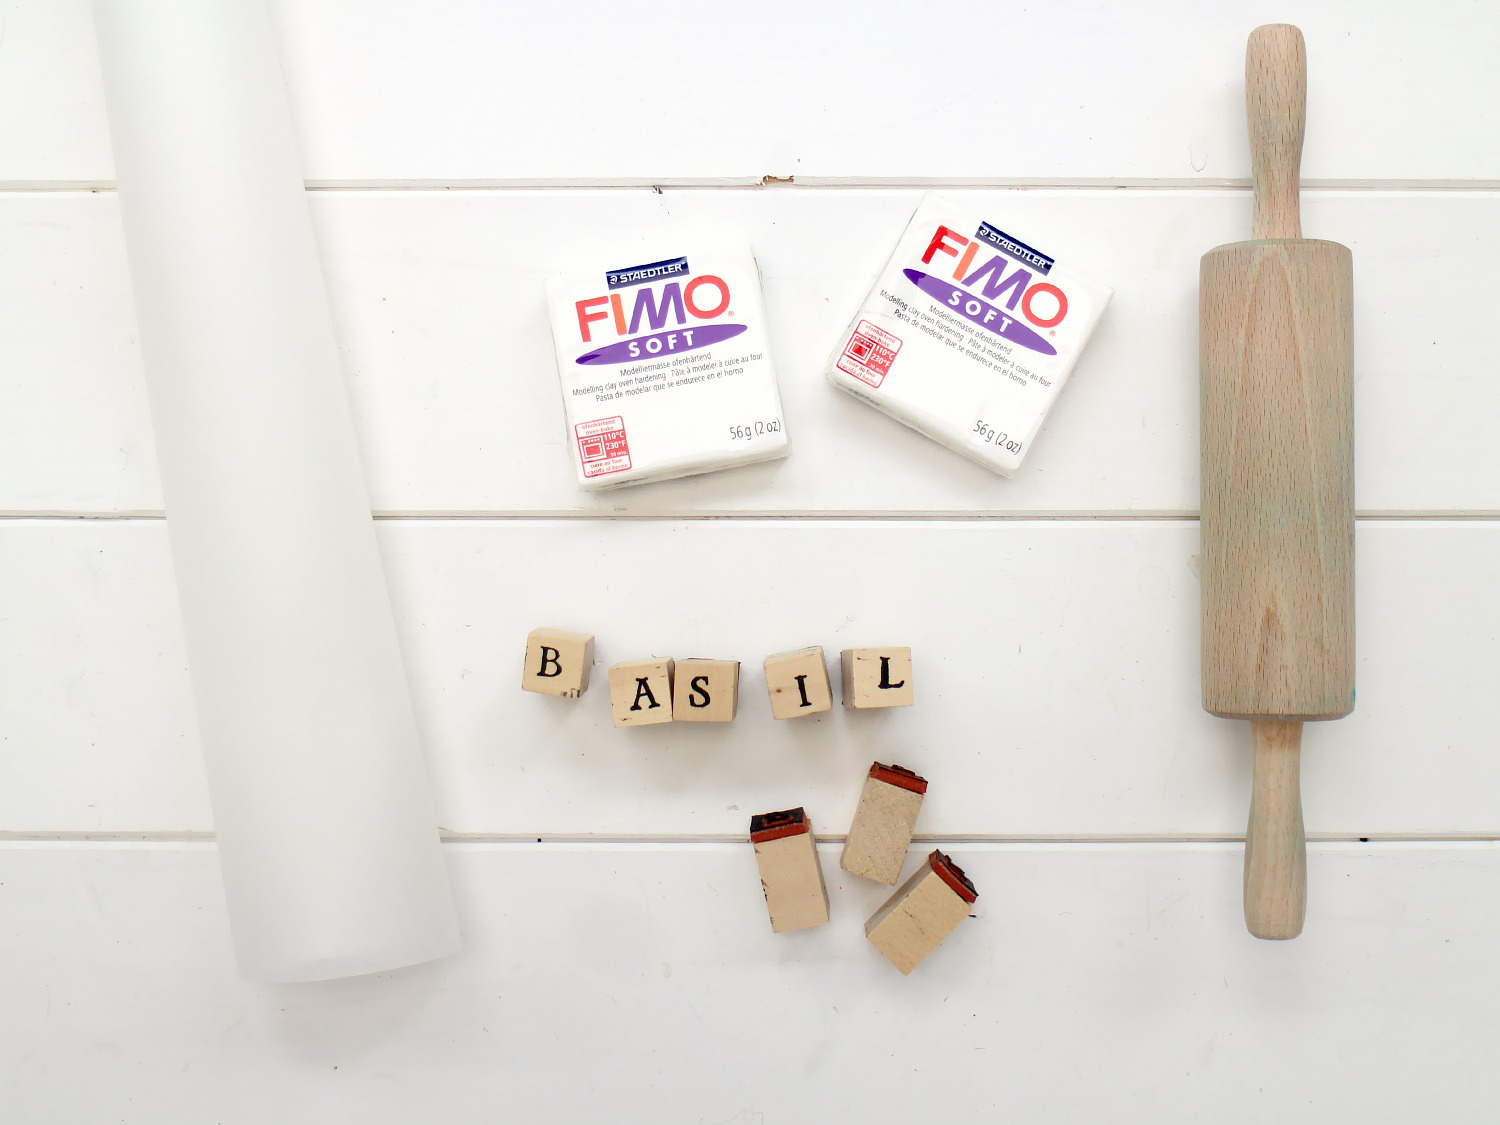
White or coloured FIMO (FIMO Soft is much easier to roll than the standard variety)
A rolling pin
Shaped cookie cutters – we used a star and a triangle, but you could use anything that takes your fancy
Letter stamps
A baking tray
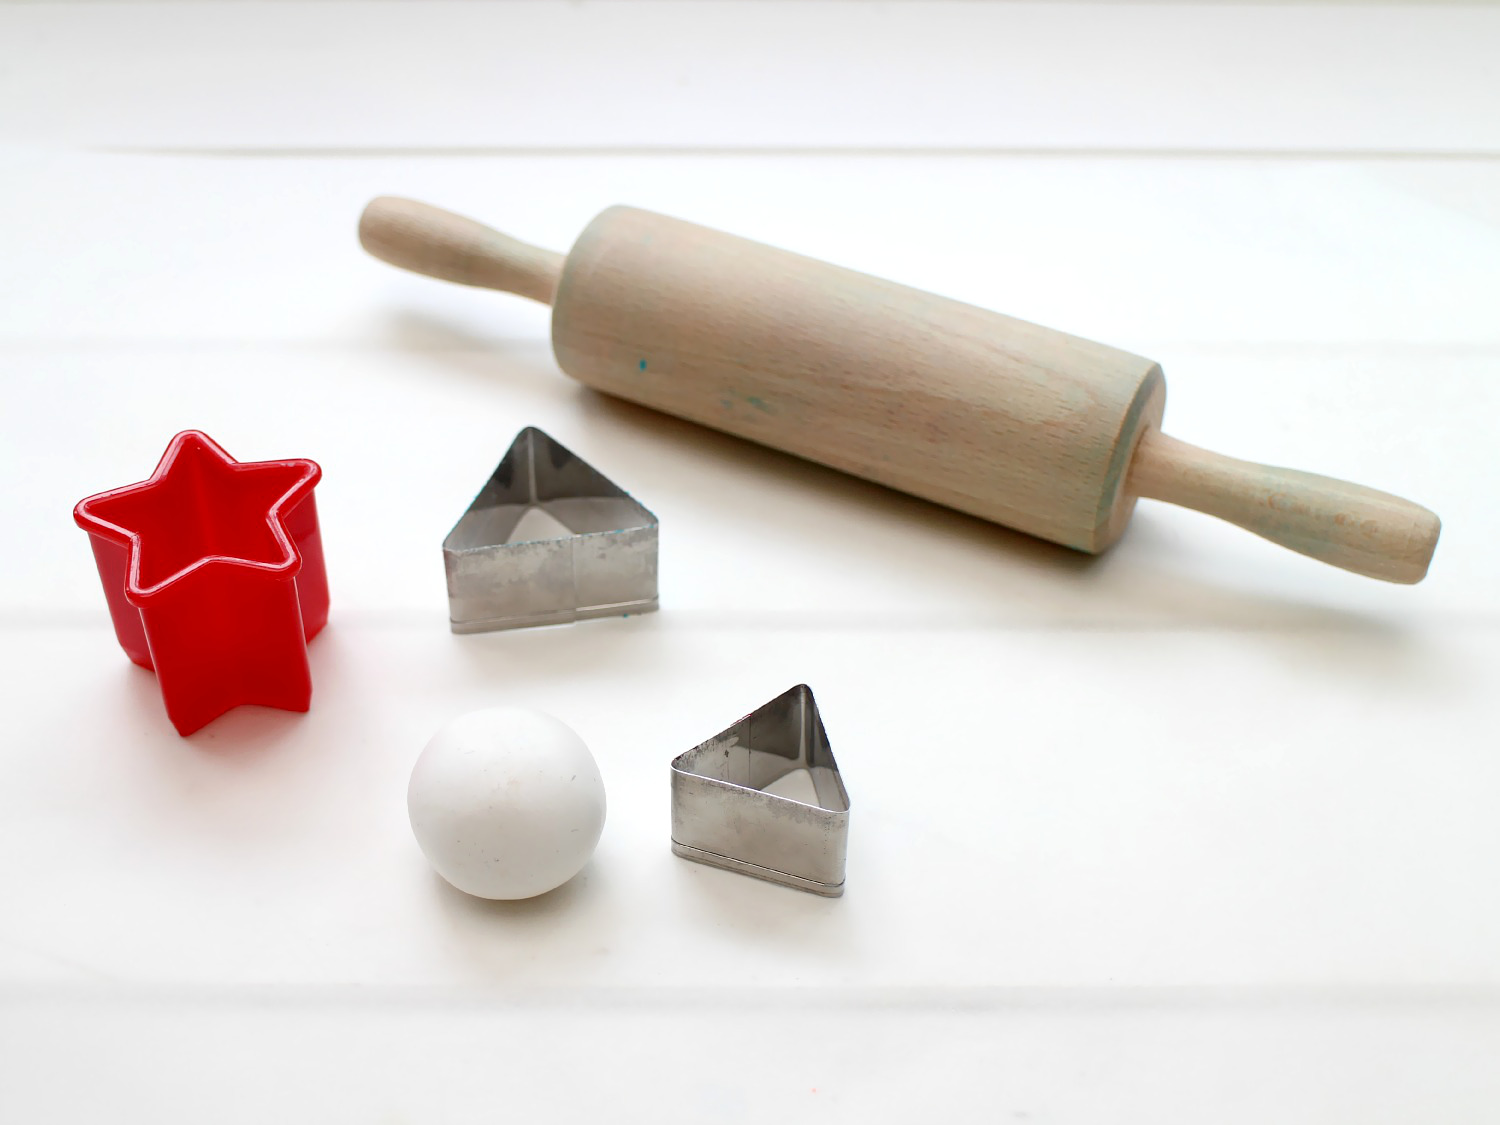
1. Start by rolling a small piece of FIMO into a ball, then placing it on a flat surface and rolling it into a sausage shape.
2. Using your rolling pin, roll along the top of the FIMO, so it becomes a long, flat rectangle shape.
3. Take another piece of FIMO, roll between your hands and then roll out onto a flat surface.
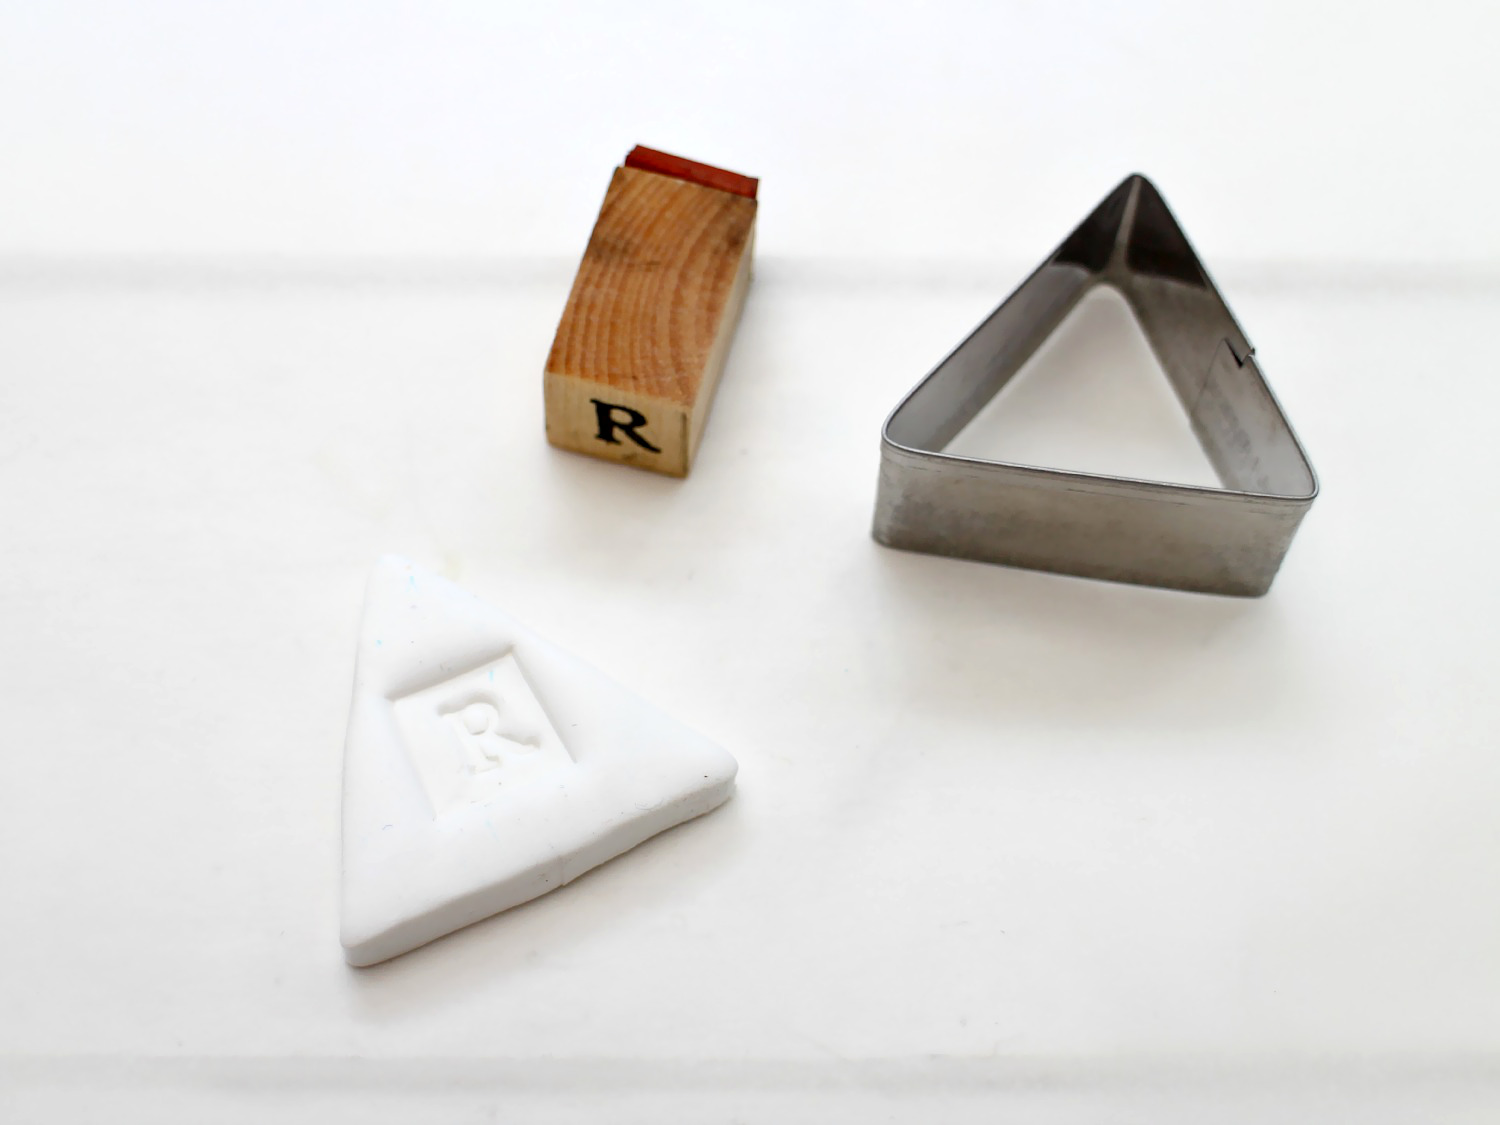
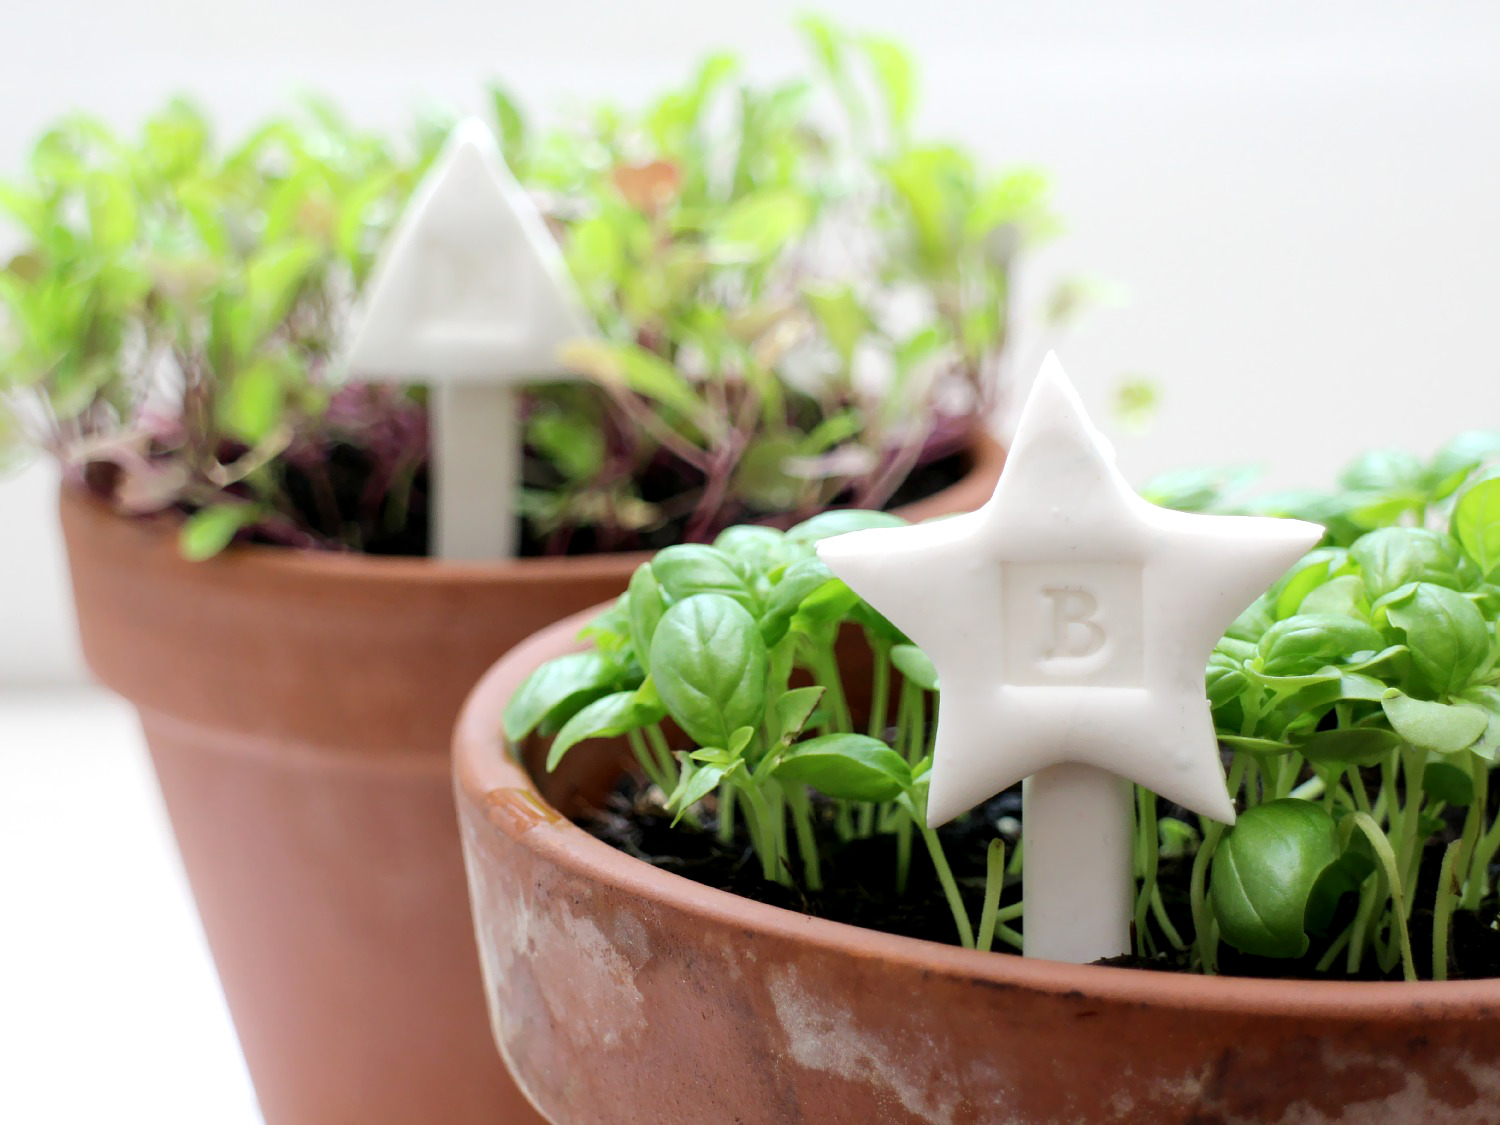
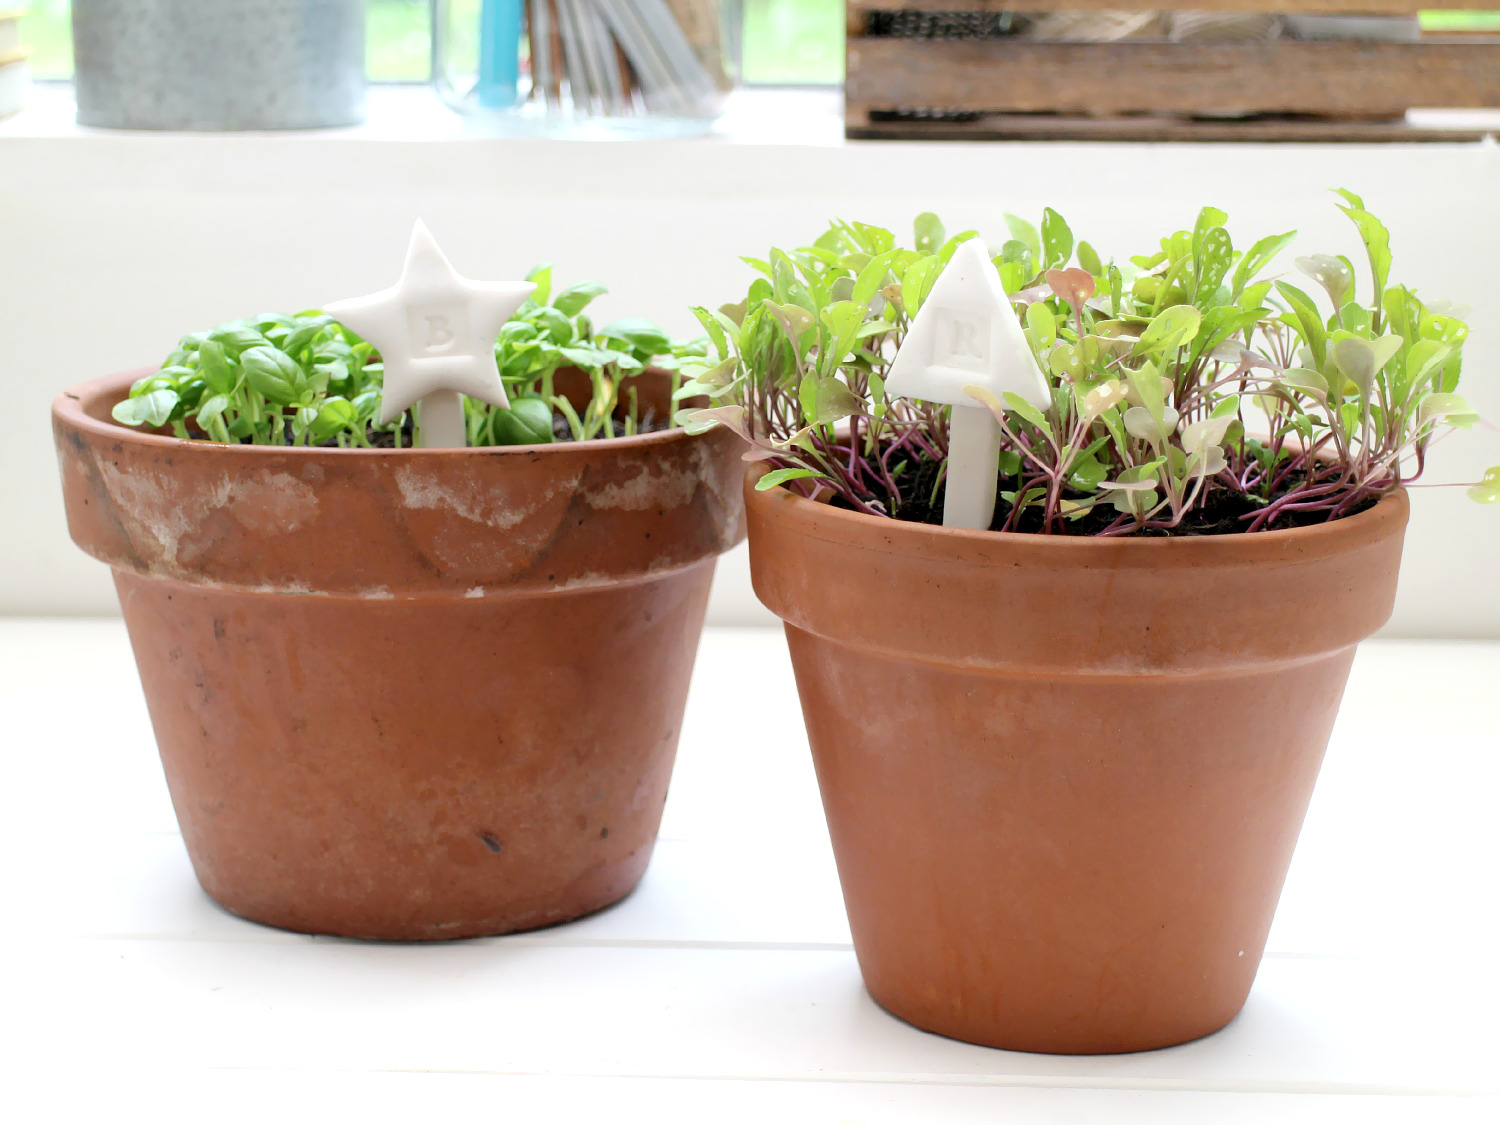
4. Cut out your chosen shapes, and then stamp your chosen letters onto the shapes. We used ‘R’ for rocket and ‘B’ for basil.
5. Place your long rectangle onto a baking tray, then gently press a shape onto one end. Once they go in the oven, they’ll bond together (and if they come apart, you can always re-attach them with a little strong glue.)
6. Bake in the oven for the suggested time, take out and leave to cool and then pop them into your plant pots.

