|
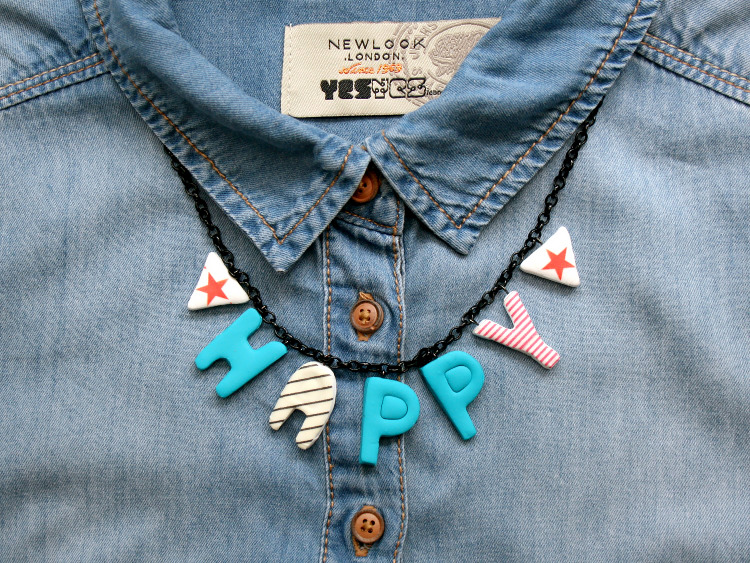
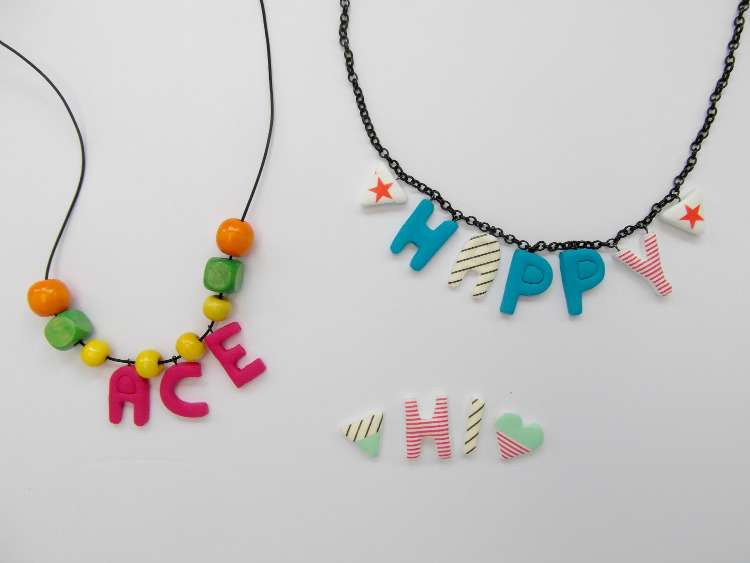
Handmade Christmas Gifts: DIY Letter Necklaces Now that Hallowe’en and Guy Fawkes Night are both over, everyone is starting to think about the festive season; pinning décor ideas on Pinterest, pondering over homemade food and making the all-important gift lists. It might only be mid November, but if you’re thinking about forgetting the shopping lists and giving handmade presents this year, it’s a good idea to get a head start. We’ve got some great Christmas posts coming up over the next few weeks here at Sticky Tiger, and we’re kicking things off with some simple handcrafted gift tutorials that anyone can have a go at. Alphabet necklaces are really fun accessories; from personalised names to quirky words and even short phrases, the options are pretty much endless. Today, we’re going to show you how to make and decorate your very own version, with not much more than some FIMO and good old washi tape – it’s the perfect stocking filler for everyone from your Mum to your best friend. Merry Christmas!
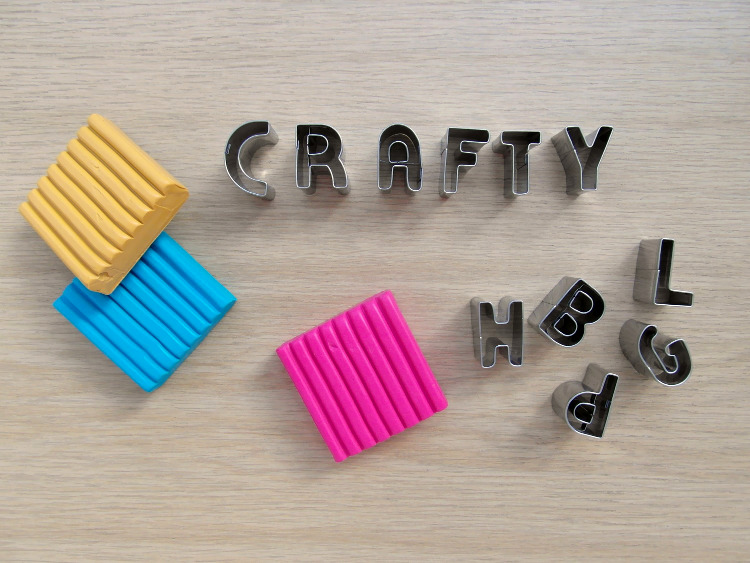
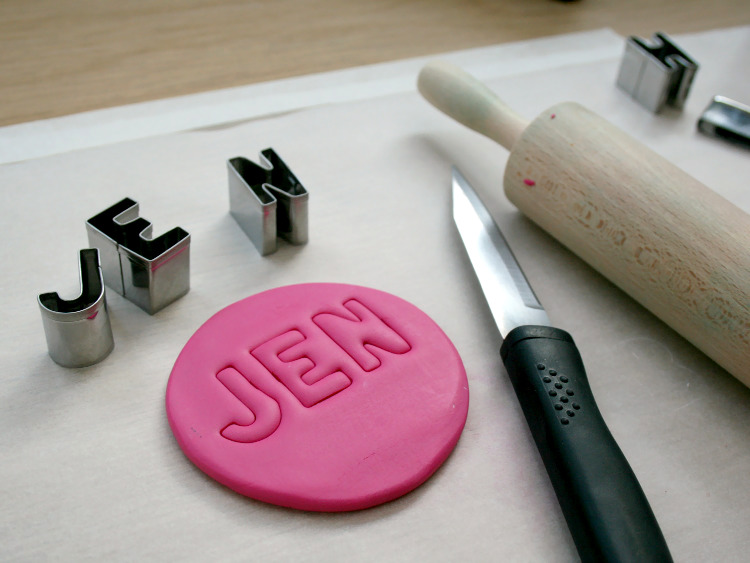
You Will Need: FIMO of various colours Spray varnish A length of chain with necklace fastening or jewellery cord or elastic Alphabet cookie cutters A small rolling pin A cutting mat A craft knife or very sharp kitchen knife (craft knives are better as the blades are thinner) A small needle Extra strong glue 1. Start by deciding whether you want your letters to be plain, bright colours or decorated with washi tape; if you’re going to decorate them, then it’s usually best to make them from white FIMO. 2. Choose your colour, then roll the FIMO between the palms of your hands until it’s soft, and then mould it into a smooth ball. (This can take a while, especially if it was cold when you started. 3. Place it onto a smooth, non-stick surface and then roll out gently to the desired thickness (we thought 5mm was about right). 4. Once you’ve decided what you want the necklace to spell, take your cookie cutters and press down onto the FIMO; you want to go almost all the way through but not quite – otherwise you’ll end up with the clay stuck in the cookie cutter.
5. Gently pull the cookie cutter up, and then trim around your letter using the craft knife. Discard the excess clay, and then place your letter on a baking tray. Repeat for the rest of the letters. 6. Once you’ve finished cutting out and all your letters are ready, you need to pierce the top so you can insert the eye pins once the letters have been baked in the oven. The easiest way to do this is with a very small needle – the needle needs to be smaller than the eye pin, so it fits snugly into the hole once the FIMO is hard. (You can trim your eye pin down to size, so the hole only needs to be around 5mm deep.) 7. Bake your letters in the oven according to the packet instructions. 8. Take out and leave to cool, and then plan the decoration for the letters; a good mix of brights, pastels and patterned washi tapes work well together and will make the necklace completely unique.
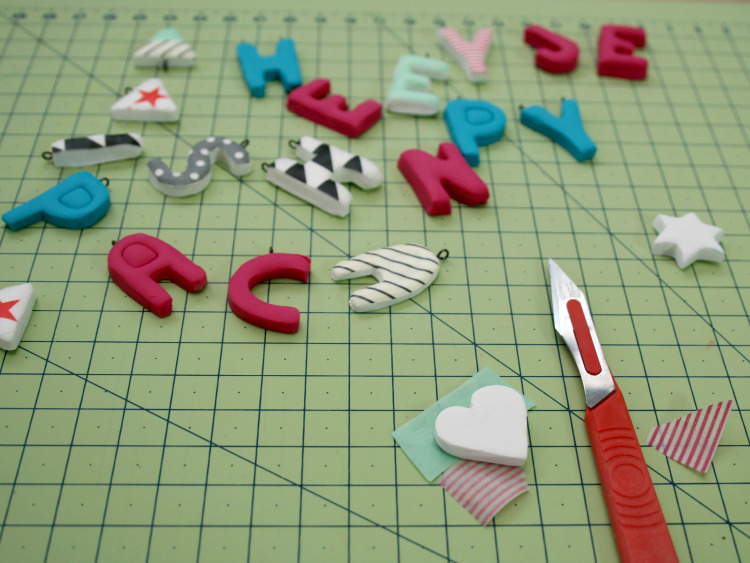
9. Cover your first letter in strips of tape, then turn face down onto a cutting mat and trim round the edges using your craft knife. Pull away the excess tape, and then smooth the edges down. Repeat the process for the rest of the letters. 10. Once you’ve covered all of your letters, you’re going to need to varnish them so the washi tape doesn’t peel off; regular brush on varnish is fine, but we like spray varnish, purely because it’s quicker, easier and there’s no gloopy drips to deal with!
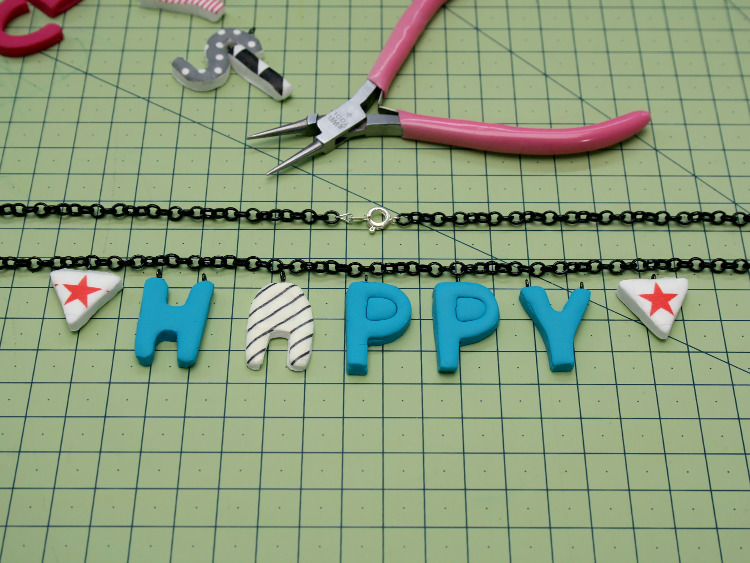
11. Leave the varnish to dry thoroughly, then insert your eye pins into the holes on the top of the letters – we found it was best to squeeze a little strong glue onto the end, so they were firmly attached. You don’t want letters dropping off as your recipient walks down the street! 12. If you’re attaching your letters onto a chain, open the loop of the eye pin, then close it again over the chain, and wiggle it into place. Repeat for the rest of the letters, and then add your necklace catch at the back. You’re done!
|
  Email: info (at) stickytiger.co.uk Phone: 0115 8800 700 |