|
Crafting with Kids: Nature It’s mid July, which means the school holidays are here; six long weeks of free time with no school runs and no homework equal plenty of time for other fun activities – like crafting! We think the summer break is the ideal time to enjoy getting stuck into making things; from favourite projects like painting and clay, to getting mucky and learning new techniques, there’s plenty of time to relax and let your children get creative. We’re kicking off a new series on the blog today, all about making things with your children. Over the coming weeks, we’re going to be posting some great ideas for simple, effective and budget-friendly crafts that will help keep the kids entertained on the inevitable rainy days. Today, it’s all about crafting with nature – we’re going to show you how to print with natural objects to create a bright and cheerful sign for their bedroom door.
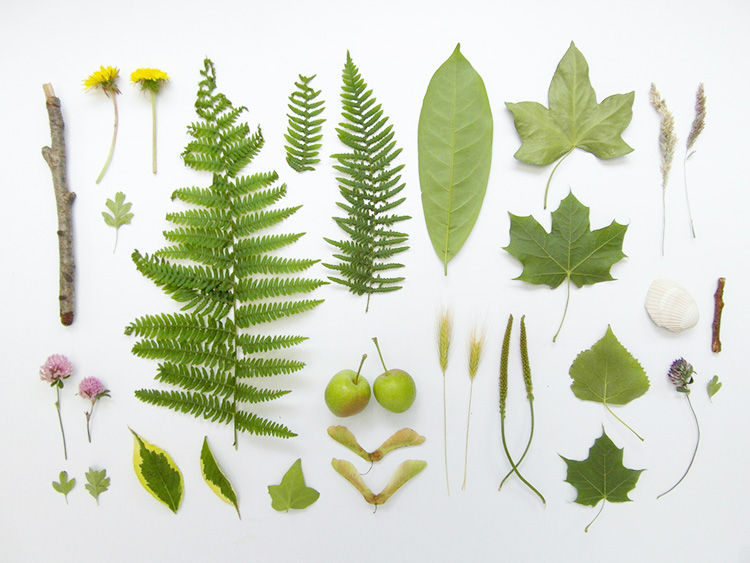
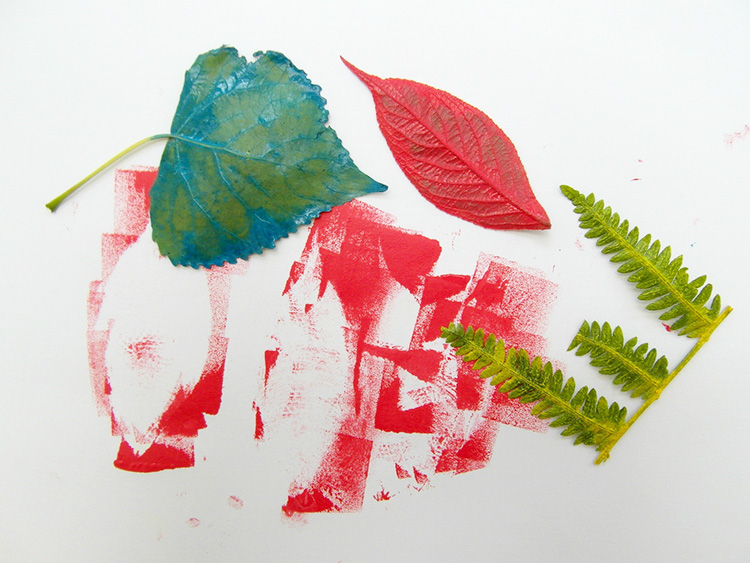
You Will Need: A selection of natural objects, such as leaves, ferns, flowers, branches, apples and shells – you can use almost anything that has a textured or shaped surface, so go nuts! A range of ink pads Scissors
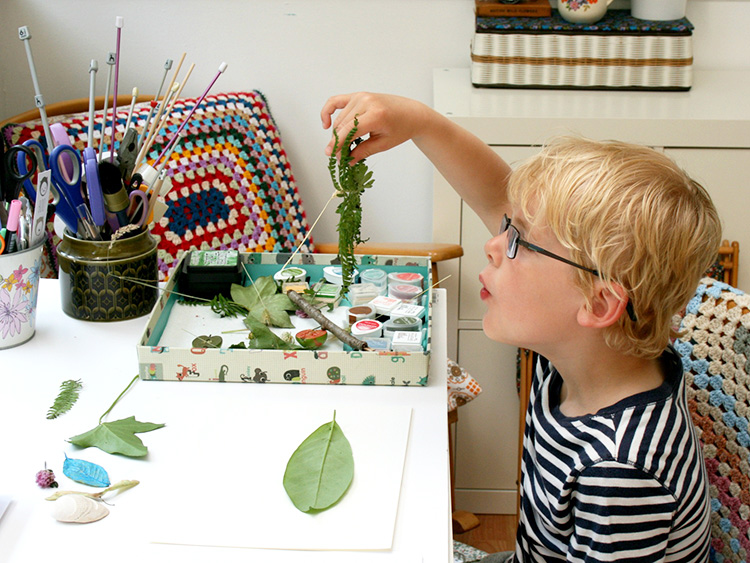
1. Plan with your child what they want to include on their door sign, and then get them to choose the ink colours they want to use.
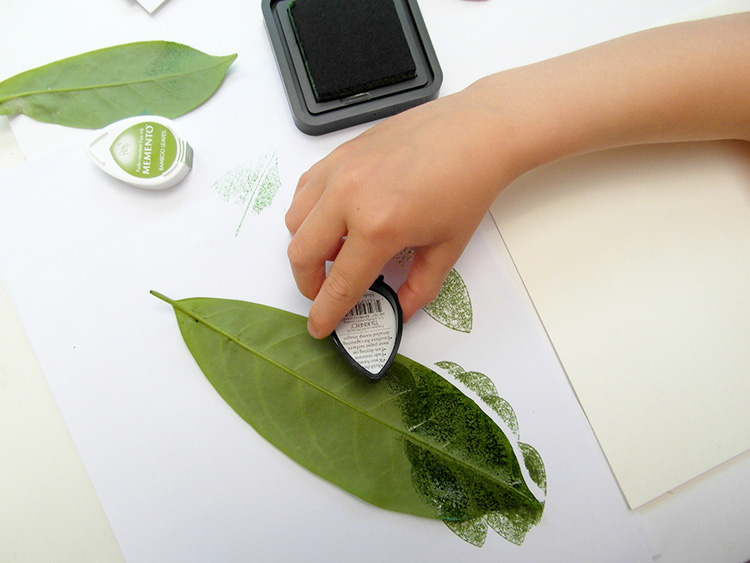
2. Start inking the objects; it’s far easier to press the ink pad onto the objects rather than the other way around – you’ll be able to tell when you’ve got an even covering of ink, which will give the clearest print. 3. Help your child press the objects onto the paper in the shapes they want to make; you could do their name, a message or just a general picture.
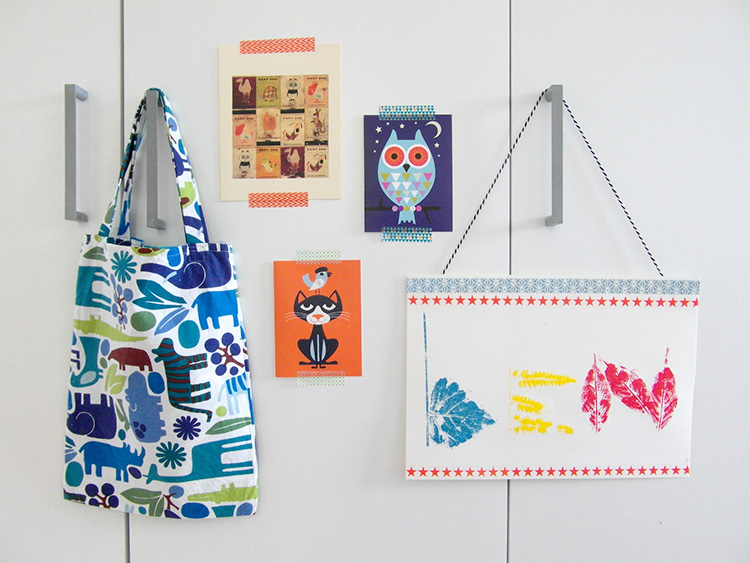
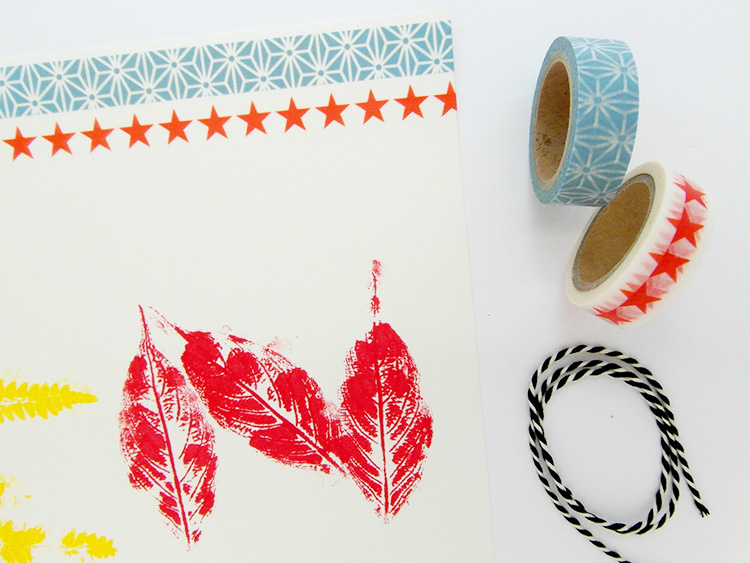
4. Once you’ve finished printing and the ink is dry, add a washi tape border and any other embellishments your child has chosen. 5. Help your child to hang their sign on the door, then stand back and admire! Top Tips:
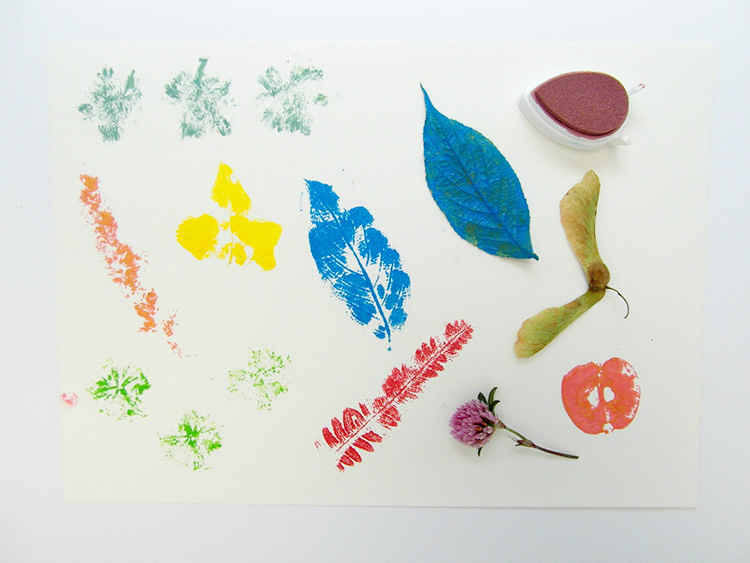
1. Look at different objects to see how they could be used for different shapes, and don’t be afraid to cut them up or chop sections off. We used part of a fern that had been cut from a bigger leaf to make the letter ‘e’.
2. Always do a test print on scrap paper – some objects that look like they’ll print well won’t work at all, and vice versa. 3. Make sure you’ve got the area well covered with newspaper or a mess mat, and that you’ve got plenty of baby wipes to hand – and if you’re worried about stained fingers, avoid using Dewdrop Memento Inks, as they’re virtually impossible to remove straight away! 4. Try to make the print as soon as possible after gathering the natural objects, as a lot of things will start to wilt or go dry, and then will be unusable. |
  Email: info (at) stickytiger.co.uk Phone: 0115 8800 700 |